How to Find Leaks in Your Home: A Step-by-Step Guide
Water leaks at home often go unnoticed until the damage is done. It might surprise you that even a small hidden leak can waste up to 8,000 litres of water a year . What most people miss is that checking just a handful of key spots with the right tools can uncover leaks before they turn into expensive headaches.
Table of Contents
Quick Summary
| Key Point | Explanation |
|---|---|
| 1. Gather essential leak detection tools | Tools like moisture meters, flashlights, and gloves are necessary for thorough leak investigation and safety. |
| 2. Inspect high-risk areas for leaks | Regularly check bathrooms, kitchens, and basements for signs of water damage and potential leaks. |
| 3. Monitor your water meter for irregularities | Checking for movement in the water meter can indicate hidden leaks when no water is in use. |
| 4. Conduct pressure tests for plumbing integrity | Use a pressure gauge to identify leaks based on water pressure fluctuations in your plumbing. |
| 5. Verify findings and make necessary repairs | Validate your leak findings using documentation and repair minor leaks or seek professional help for complex issues. |
Step 1: Gather Your Tools and Materials
Detecting water leaks in your home requires a strategic approach and the right equipment. Before diving into the investigation, you need to assemble a comprehensive toolkit that will help you identify potential moisture problems efficiently and safely.
To start, gather essential tools that will enable thorough leak detection. Your primary equipment should include a moisture meter , which allows you to measure moisture levels in walls, floors, and other surfaces. These devices provide quantitative data about potential hidden water damage. Digital moisture meters are particularly helpful, offering precise readings and easy-to-understand results.
Next, collect additional tools that will support your leak investigation. You will want to have:
- Flashlight with strong beam
- Protective gloves
- Notepad and pen for documentation
- Ladder for accessing hard-to-reach areas
- Infrared thermal imaging camera (optional but recommended)
Protective gear is crucial during your leak investigation. Wear rubber gloves to protect your hands and consider safety glasses if you will be inspecting areas with potential mold or debris. A dust mask can also provide additional protection when examining potentially damp spaces.
Your documentation tools are equally important. A detailed notepad will help you track moisture locations, measurements, and potential problem areas. Take clear notes about where you detect unusual moisture levels, including specific measurements from your moisture meter. This documentation can help you create a comprehensive picture of potential leak sources and assist professionals if you need further assistance.
While some homeowners might have these tools readily available, others may need to purchase or rent specialized equipment. Consider borrowing an infrared camera from a local hardware store or hiring a professional if advanced detection methods are required. Remember that thorough preparation is the first step toward successful leak detection and preventing potential water damage in your home.
Below is a summary table outlining the essential tools and materials needed for effective leak detection at home, including their main uses and helpful notes.
| Tool/Material | Purpose/Use | Notes |
|---|---|---|
| Moisture meter | Measures moisture in walls, floors, surfaces | Digital models offer precise readings |
| Flashlight | Illuminates dark inspection areas | Use one with a strong beam |
| Protective gloves | Protects hands during inspection | Rubber gloves are recommended |
| Notepad and pen | Documentation of findings and measurements | Record locations and readings |
| Ladder | Access to hard-to-reach areas | Use for high ceilings or attic spaces |
| Infrared thermal imaging camera | Detects hidden moisture through temperature | Optional but highly recommended |
| Safety glasses/Dust mask | Protects eyes and lungs in damp areas | Useful if inspecting for mould or debris |
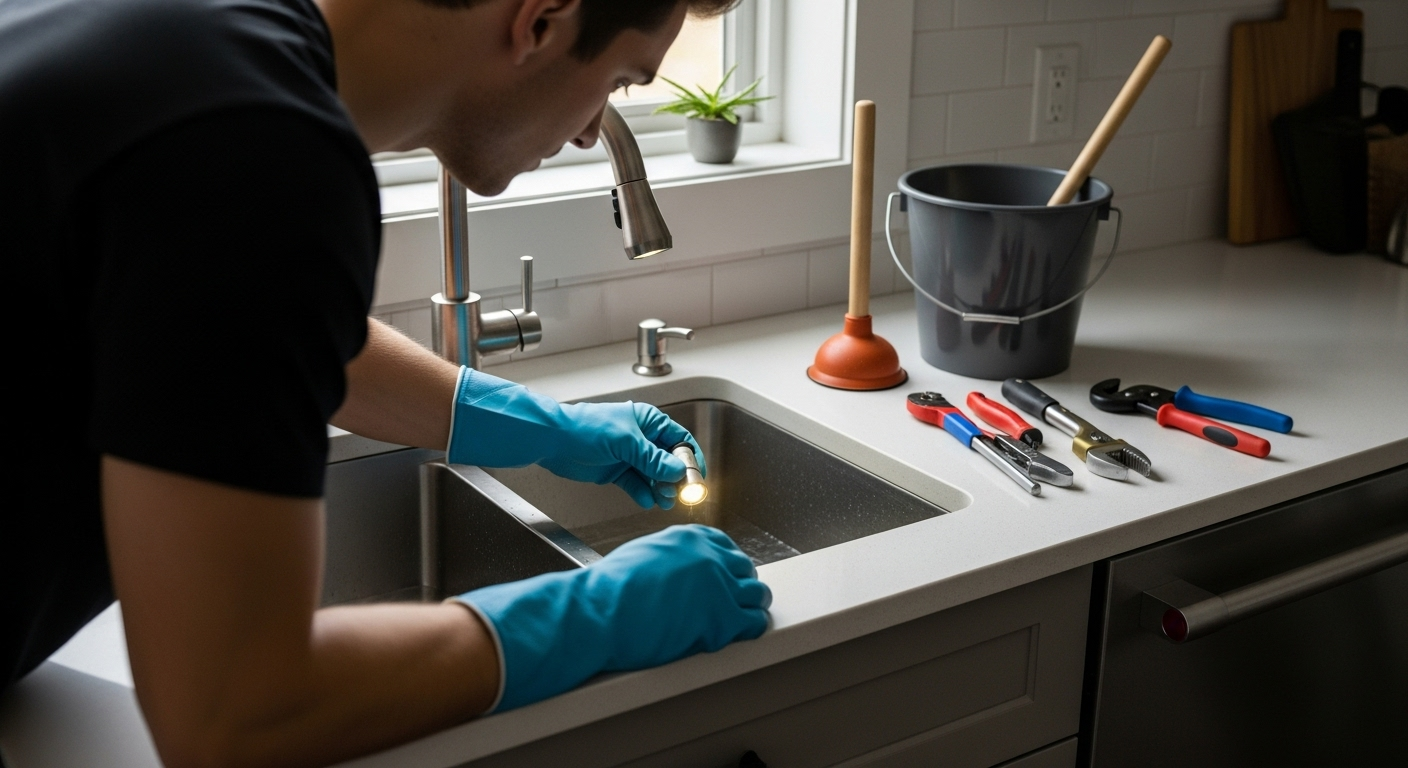
Step 2: Inspect Common Leak Areas
After gathering your tools, the next critical phase in leak detection involves systematically examining the most vulnerable areas of your home where water damage frequently occurs. Understanding these potential trouble spots will help you catch leaks early and prevent extensive property damage.
Start your inspection in the bathroom, which is often the most problematic area for water-related issues. Check around the base of the toilet, where hidden leaks can cause significant structural damage . Look for any discoloration, soft spots on the floor, or signs of water accumulation. Examine the caulking around the toilet base and shower, as deteriorating seals can allow water to seep into walls and flooring. Pay close attention to the area behind the toilet tank and around shower fixtures, where moisture can accumulate unnoticed.
Your kitchen presents another critical zone for potential leaks. Inspect under the sink with particular care , using your flashlight to illuminate dark corners. Look for water stains, mold growth, or any musty odors that might indicate ongoing moisture problems. Check the connections to your garbage disposal, sink pipes, and the area around your dishwasher. Feel along pipe joints for any signs of moisture or corrosion. A small drip can quickly escalate into a major issue if left unaddressed.
Additional areas to carefully examine include:
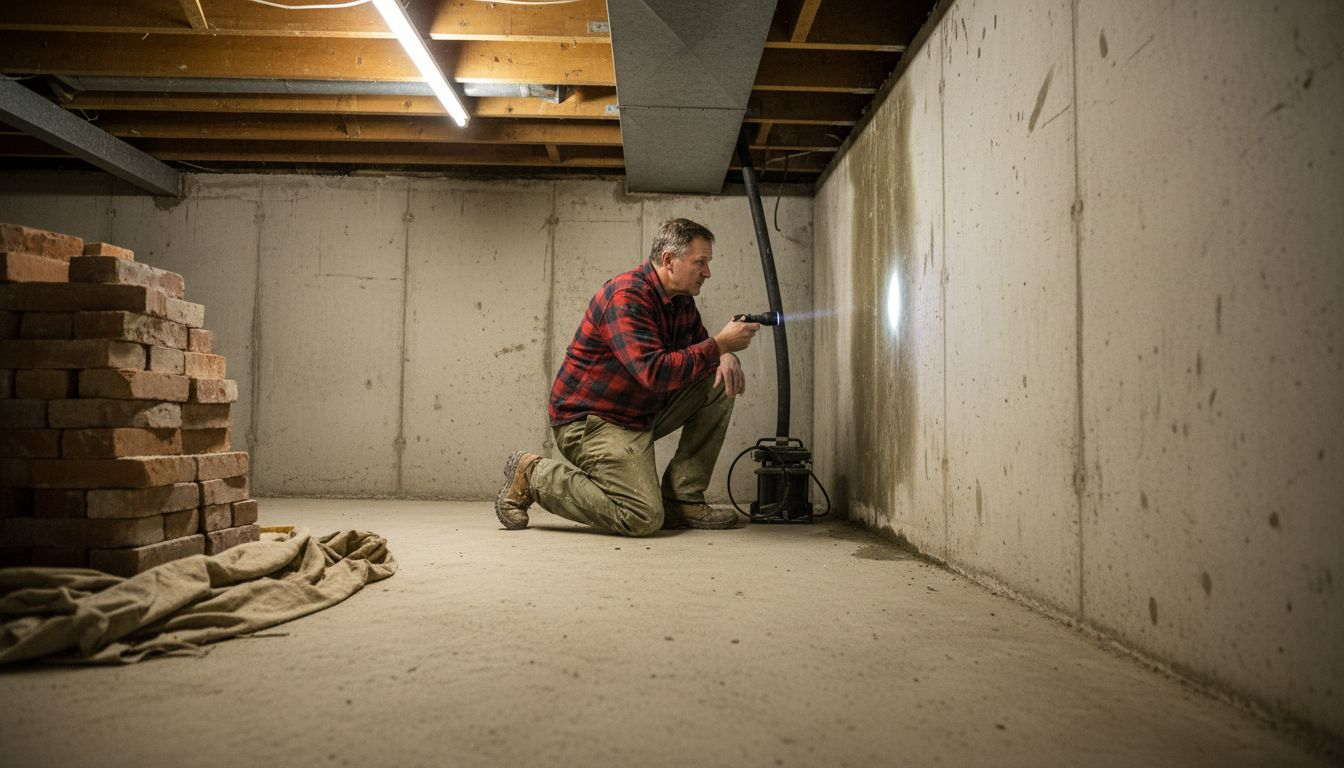
- Basement and crawl spaces
- Around windows and exterior door frames
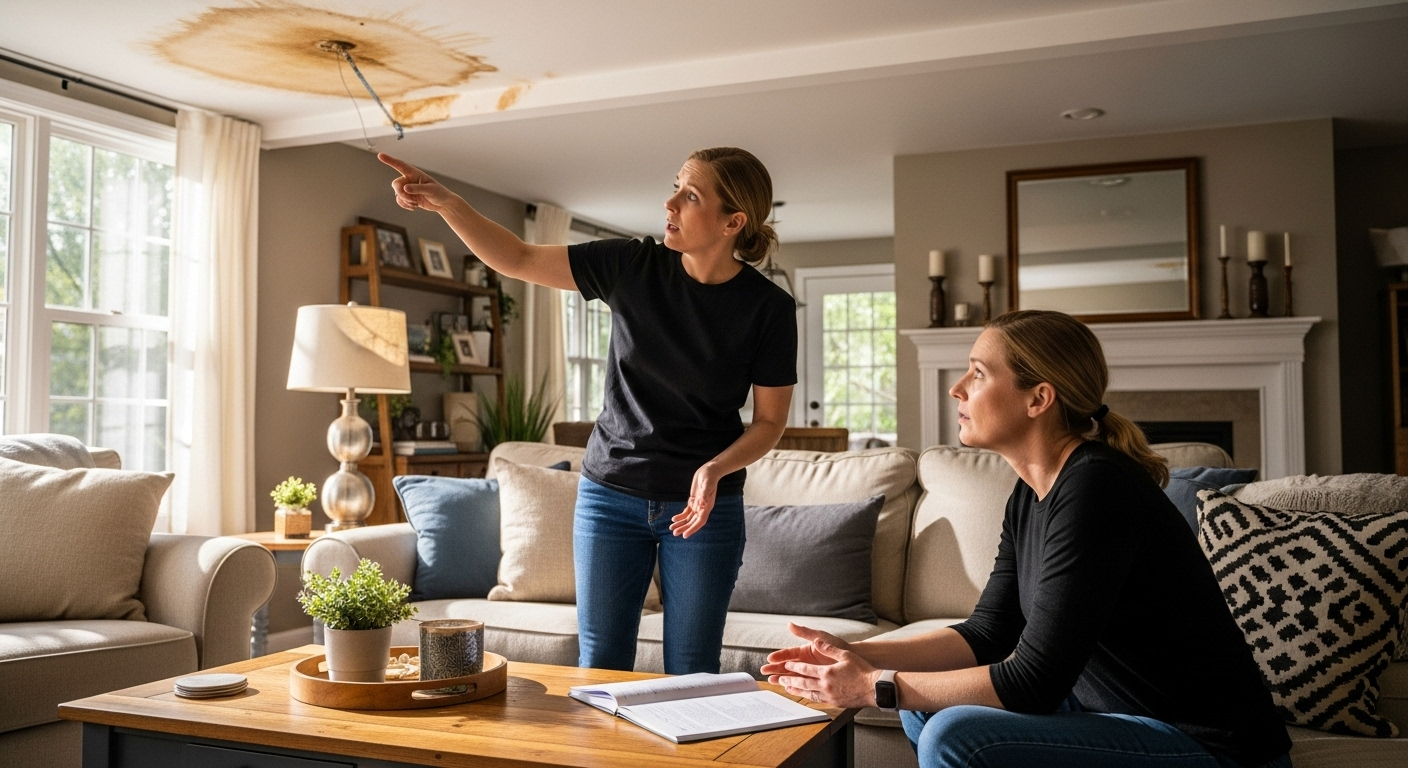
- Ceiling areas near bathrooms and kitchens
- Utility room connections
- Exterior foundation walls
As you move through these areas, use your moisture meter to take readings and document any suspicious spots. Look for subtle signs like peeling paint, warped flooring, or slight discoloration that might indicate water infiltration. Remember that leaks often start small and can go unnoticed for extended periods, causing incremental damage to your home’s structure.
Careful and thorough inspection is key to catching potential problems before they become costly repairs. learn more about preventing water damage and protect your home’s integrity by staying vigilant and proactive in your leak detection efforts.
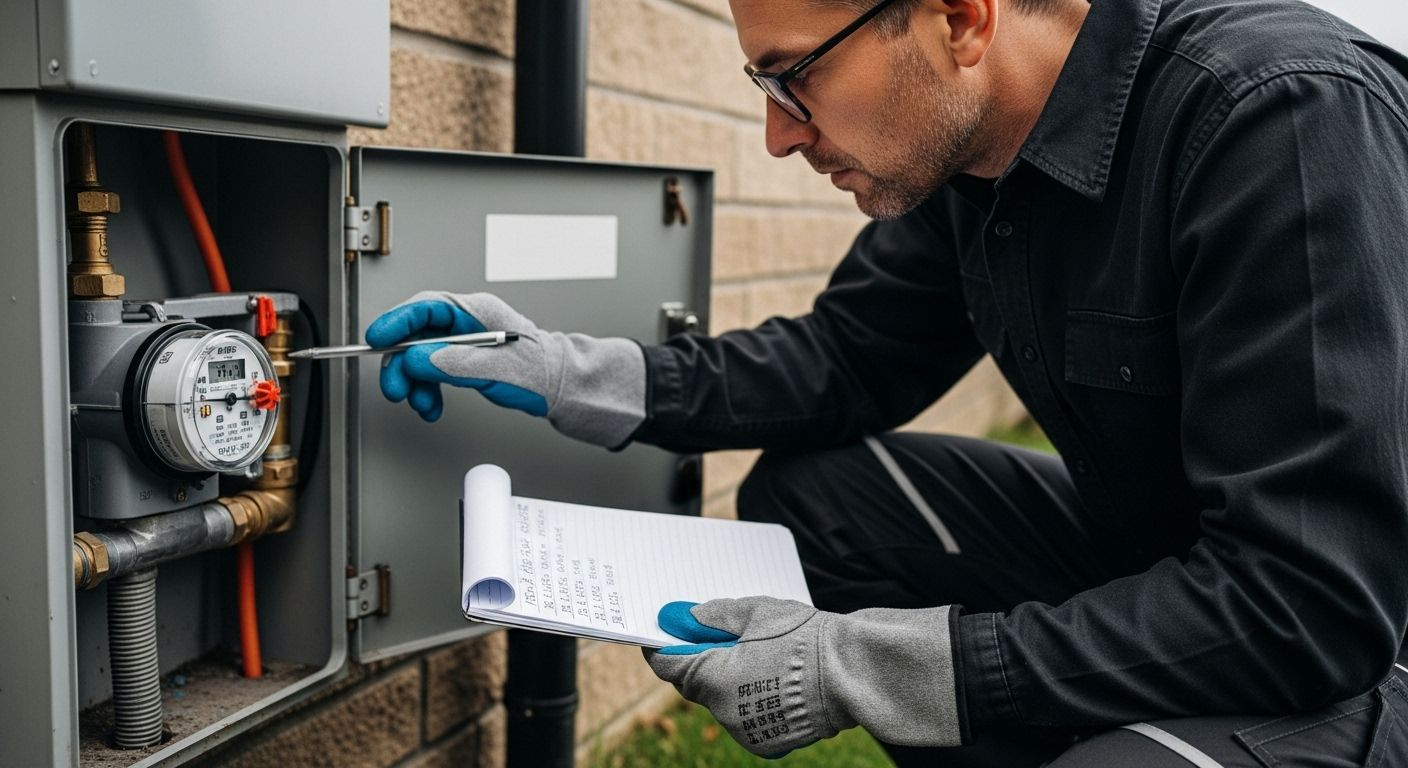
Step 3: Monitor Water Meter Usage
Your water meter serves as an excellent diagnostic tool for detecting hidden leaks that might otherwise go unnoticed. This step involves a systematic approach to understanding your home’s water consumption and identifying potential water loss through undetected leaks.
Begin by locating your water meter, which is typically situated near the street in a covered box or inside your home’s basement or utility area. Familiarize yourself with the meter’s layout and components , paying special attention to the leak detection indicator. This small dial or triangle is designed to move even with minimal water flow, making it an invaluable resource in your leak investigation.
To conduct a comprehensive leak test, you will need to create a controlled environment. Start by ensuring all water-using appliances and fixtures are completely turned off. This means shutting down washing machines, dishwashers, water heaters, and closing all faucets. Take a moment to walk through your home and verify that no water is running anywhere.
Once you have confirmed everything is off, observe your water meter carefully. Watch the leak detection indicator for any movement . Even the slightest rotation can signal an ongoing leak somewhere in your plumbing system. If the dial continues to move when all water sources are inactive, you have strong evidence of a potential leak.
To perform a more precise measurement, consider these steps:
- Record the current meter reading
- Wait 30 minutes to 1 hour without using any water
- Check the meter reading again
- Compare the readings to determine water loss
For homeowners seeking a more detailed analysis, you might want to conduct this test overnight. Before going to bed, record the meter reading and ensure no water is being used. In the morning, check the reading again. Any significant change indicates a potential leak that requires further investigation.
discover advanced leak detection techniques to protect your home from potential water damage. Remember that consistent monitoring and quick action can save you from costly repairs and water waste.
Step 4: Conduct a Pressure Test
Pressure testing is a critical diagnostic method for identifying potential leaks in your home’s plumbing system. This technique allows you to assess the integrity of your pipes and detect hidden water loss that might not be immediately visible during visual inspections.
To begin, you will need a water pressure gauge , which can be easily purchased from most hardware stores. This simple tool connects to an outdoor hose bibb or water spigot and provides precise measurements of your home’s water pressure. Before starting the test, ensure all water-using appliances and fixtures inside your home are completely turned off. This includes washing machines, dishwashers, refrigerators with water dispensers, and any other devices that might draw water.
Carefully attach the pressure gauge to an exterior water connection, making sure it is securely fastened to prevent any air leaks that could skew your readings. Standard residential water pressure should typically range between 40 and 80 pounds per square inch (psi) . If your gauge shows pressure significantly outside this range, it could indicate underlying plumbing issues such as leaks, pipe damage, or problems with your municipal water supply.
When conducting the test, pay close attention to how the pressure reading behaves. A stable pressure indicates a healthy plumbing system, while fluctuating or rapidly dropping pressure suggests potential leaks. Take multiple readings over a 10 to 15-minute period to establish a comprehensive understanding of your system’s performance.
Key indicators to watch during your pressure test include:
- Sudden pressure drops
- Inconsistent gauge readings
- Unusual sounds like hissing or whistling
- Visible water accumulation near test points
If you discover abnormal pressure readings, it is advisable to investigate further or consult a professional plumber. Some homeowners might feel comfortable performing additional diagnostic steps, while others may prefer expert assistance to prevent potential water damage.
learn more about protecting your home’s plumbing and ensure your water system remains in optimal condition. Remember that early detection can save you significant time and money in potential repairs.
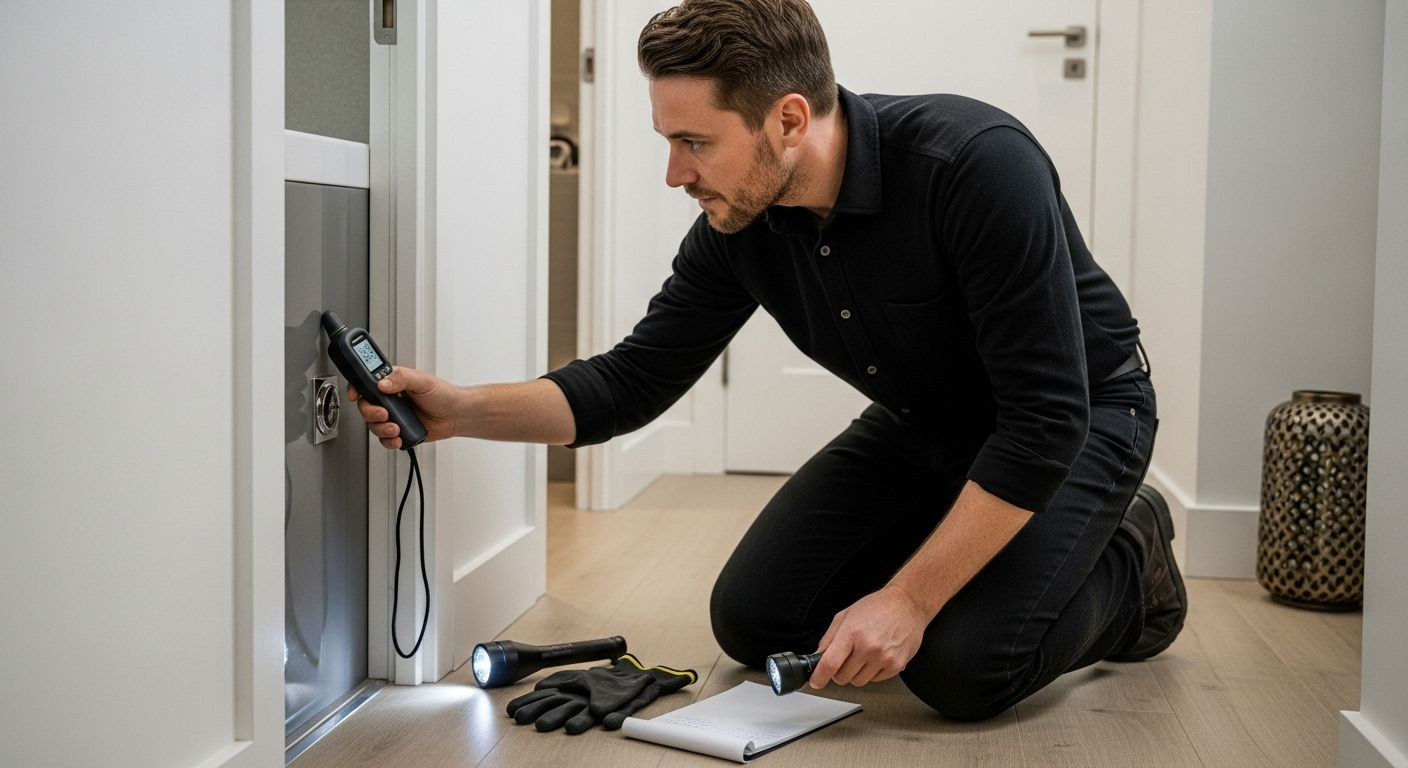
Step 5: Use Leak Detection Technology
Modern technology offers powerful tools for detecting water leaks that traditional methods might miss. By leveraging advanced diagnostic equipment, homeowners can identify potential water damage before it becomes a costly problem.
Thermal imaging cameras represent a cutting-edge approach to leak detection . These sophisticated devices capture temperature variations that often indicate moisture presence. When water seeps into walls, floors, or ceilings, it creates distinct thermal patterns that are invisible to the naked eye. By scanning your home’s surfaces, you can pinpoint potential leak locations with remarkable precision. Professional-grade thermal cameras can detect temperature differences as small as 0.1 degrees Celsius, making them incredibly effective at revealing hidden moisture.
Another remarkable technology is acoustic leak detection equipment. These sensitive devices listen for subtle sounds produced by water escaping through pipes or small openings. Water moving through tiny cracks creates unique acoustic signatures that specialized microphones can capture. Some advanced acoustic tools can even differentiate between different types of leaks, providing detailed information about the potential location and severity of water loss.
Consider the following technological approaches for comprehensive leak investigation:
- Infrared thermal imaging cameras
- Acoustic leak detection devices
- Digital moisture meters
- Wireless water leak sensors
- Endoscopic inspection cameras
When using these technologies, systematic approach matters most. Start by thoroughly scanning areas you suspect might have moisture issues. Move slowly and methodically, allowing the device to capture detailed information. Take multiple readings and document your findings with photographs or digital notes. Some advanced leak detection technologies even offer smartphone connectivity, enabling you to record and analyze data in real-time.
explore advanced leak prevention strategies to protect your home from potential water damage. Remember that investing time in thorough technological investigation can save you significant repair costs in the long run.
Step 6: Verify Findings and Repair Leaks
After meticulously investigating potential leak sources, the critical phase of verification and repair begins. This step transforms your detective work into tangible solutions that protect your home from water damage and prevent costly future repairs.
Systematic verification is key to confirming your earlier findings . Review all the data collected from previous steps, including moisture meter readings, thermal imaging scans, and pressure test results. Cross-reference these observations to create a comprehensive picture of potential leak locations. Pay special attention to areas where multiple detection methods have indicated moisture or pressure irregularities. Some leaks might appear minor but can cause significant structural damage if left unaddressed.
For minor leaks, homeowners can often perform simple repairs. Replacing worn washers, tightening pipe connections, or applying waterproof sealant can resolve small issues. However, it is crucial to understand your personal skill limitations. Complex leaks involving internal wall pipes, extensive water damage, or potential structural compromise require professional intervention. When in doubt, consulting a licensed plumber prevents potential costly mistakes.
Consider these critical verification steps:
- Retest areas after initial repairs
- Check for recurring moisture
- Monitor water meter for continued unexplained usage
- Inspect repaired areas periodically
- Document all repair attempts and findings
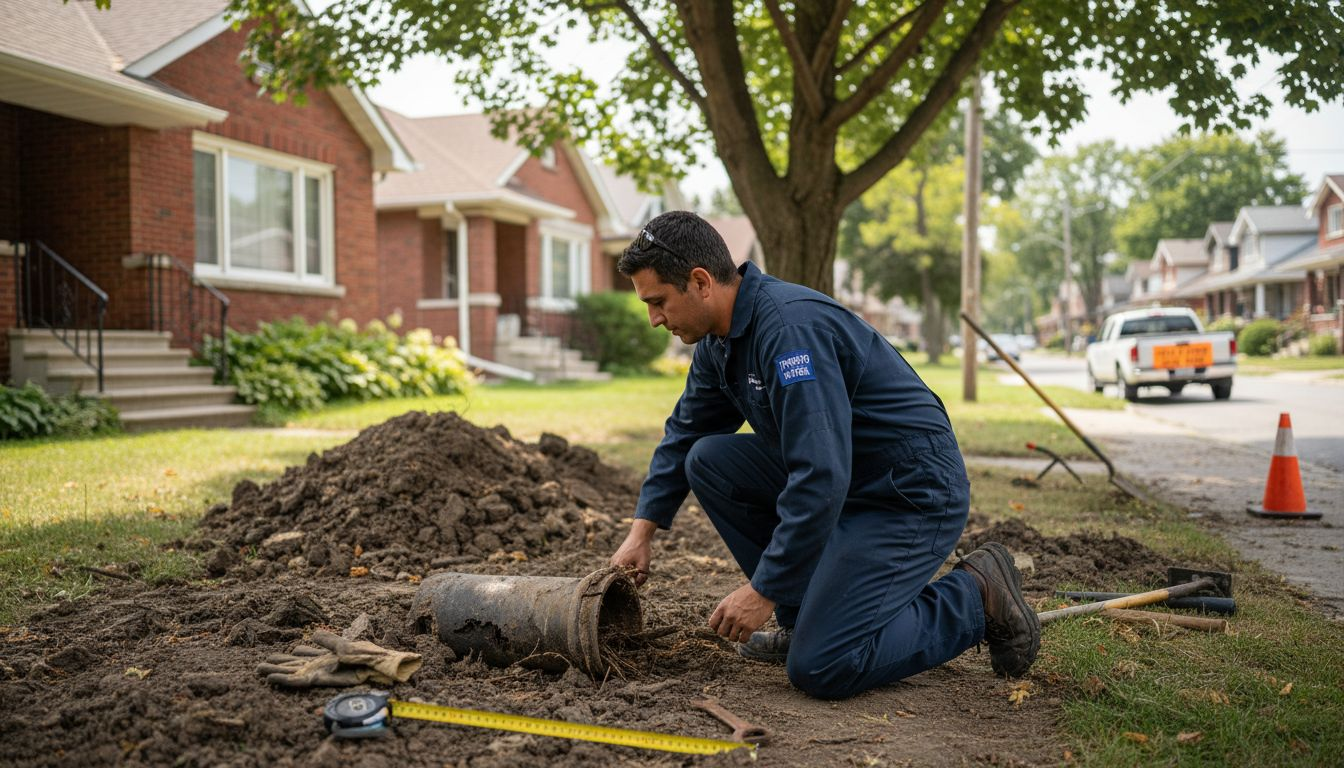
While addressing leaks, take preventative measures to minimize future risks. Inspect pipe insulation, check for corrosion, and ensure proper drainage around your home’s foundation. Some leaks result from external factors like poor landscaping or improper water runoff, which can be mitigated through strategic home maintenance.
The following table provides an at-a-glance checklist of verification steps to ensure identified leaks have been dealt with and highlights preventative actions to minimize future risks.
| Verification Step | Description |
|---|---|
| Retest areas after repairs | Confirm fixes were effective |
| Check for recurring moisture | Monitor previously affected spots |
| Monitor water meter | Watch for unexplained water usage |
| Inspect repaired areas periodically | Identify new signs of water damage |
| Document all findings | Keep thorough records for future reference |
| Inspect pipe insulation | Reduce risk of future leaks |
| Ensure proper drainage | Prevent leaks from external sources |
discover professional leak repair techniques to protect your home’s structural integrity. Remember that thorough verification and timely repairs can save you thousands in potential water damage restoration costs.
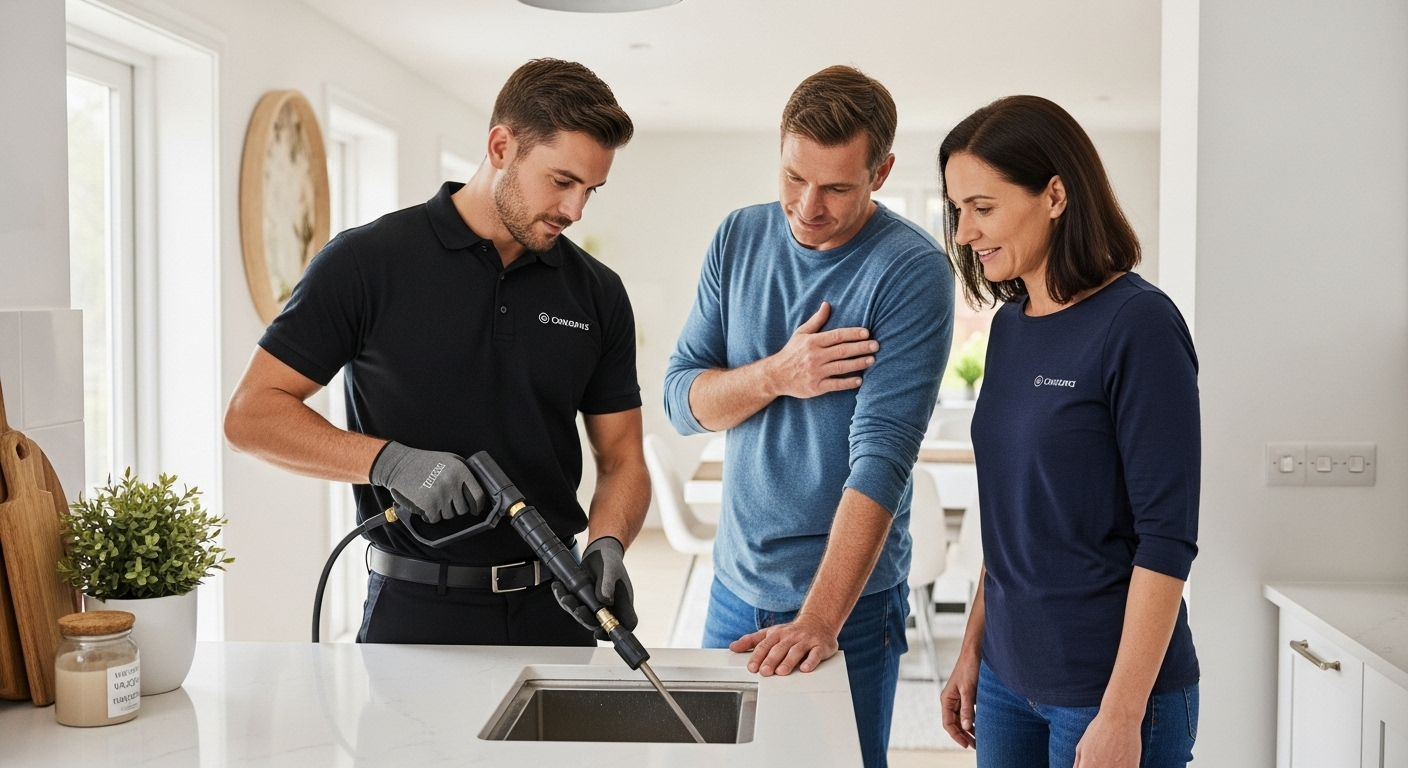
Stop Small Leaks from Becoming Big Problems: Let the Pros Handle It
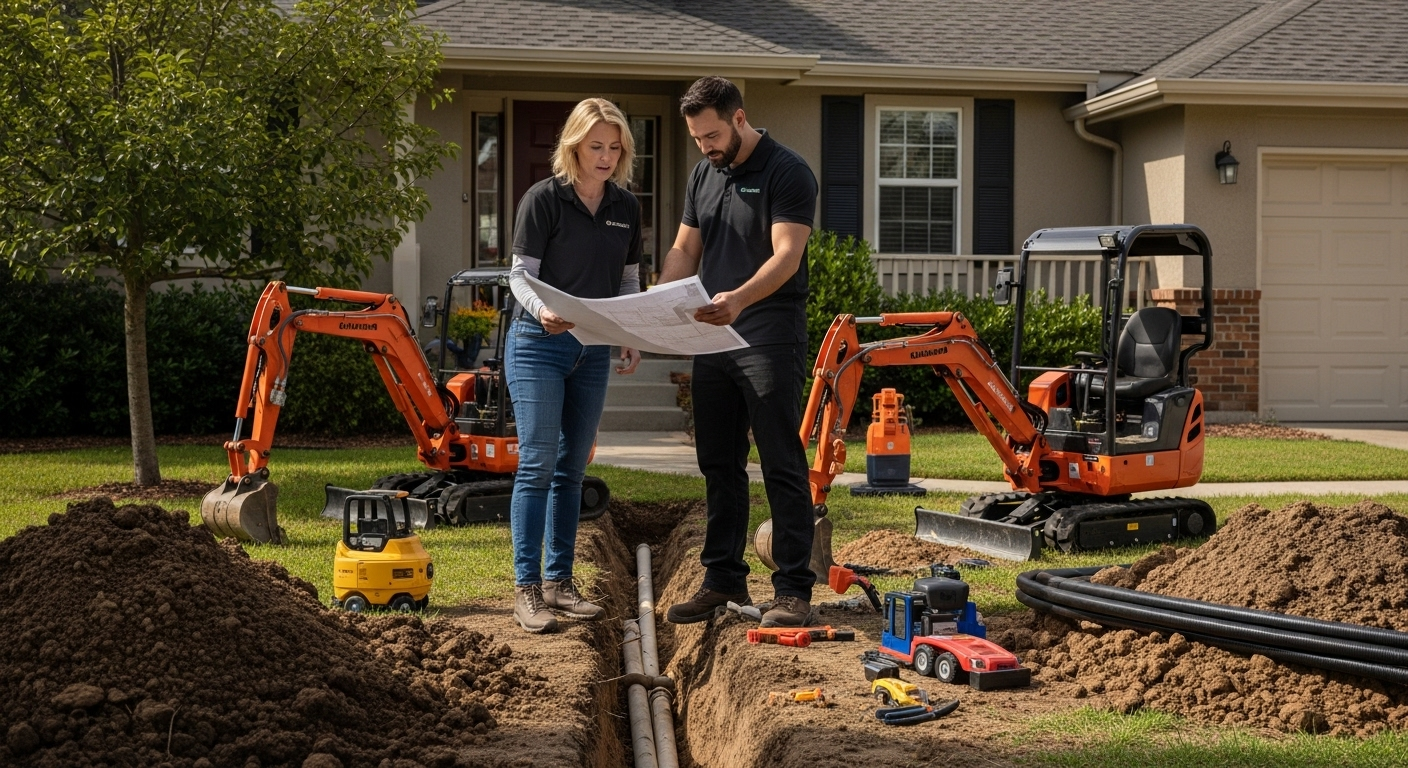
You have taken the first—and most important—step by learning how to find leaks in your home. If your investigation has raised concerns about hidden water damage, confusing meter readings, or suspicious pressure drops, you should not risk letting minor leaks turn into major repairs. Protect your investment and your peace of mind by calling the trusted experts who have been recognized as Toronto’s Best Plumbers.

Every moment counts when you spot potential leaks. Avoid costly water damage and ongoing stress by reaching out to DrainWorks Plumbing. With over 30 years of experience, our team offers fast, honest residential plumbing solutions across Toronto, including leak repairs, waterproofing, and drain replacements. Book your same-day service by visiting our main site and see how we can help you fix leaks before they grow. For more information on resolving tricky leak situations and proven plumbing methods, check out our step-by-step solutions. Take control today so you can trust your home is dry and safe for years to come.
Frequently Asked Questions
How can I detect water leaks in my home?
You can detect water leaks by using a moisture meter to measure moisture levels in various surfaces, inspecting common leak areas like bathrooms and kitchens, monitoring your water meter usage, conducting a pressure test, and utilizing leak detection technology such as thermal imaging cameras and acoustic devices.
What tools do I need for leak detection?
Essential tools for leak detection include a moisture meter, flashlight, protective gloves, a notepad, a ladder, and optionally, an infrared thermal imaging camera. These tools help in thoroughly investigating and documenting potential moisture problems in your home.
How do I monitor my water meter for leaks?
To monitor your water meter for leaks, ensure all water sources in your home are turned off, then watch the leak detection indicator on the meter for any movement. Record the water meter reading, wait for a period without using water, and then check the reading again. Any significant change indicates a potential leak.
What should I do if I find a leak in my home?
If you find a leak, first verify your findings by retesting the area or using additional methods like moisture readings. For minor leaks, you may attempt simple repairs. However, for complex issues, it is advisable to consult a licensed plumber to prevent further damage.
Recommended