Master Wall Waterproofing for a Dry Home in 2025
Wall waterproofing might sound straightforward. Most people picture a quick coat of sealant and call it good. But studies show that over 60 percent of homeowners miss early signs of moisture damage , leading to costly repairs down the road. The real secret starts before you ever open a can of waterproofing paint.
Table of Contents
Quick Summary
| Key Point | Explanation |
|---|---|
| 1. Conduct a thorough assessment | Perform visual inspections for signs of moisture like mold or discoloration to evaluate waterproofing needs. |
| 2. Gather suitable materials and tools | Select high-quality waterproofing products appropriate for your wall type and ensure you have essential application tools. |
| 3. Carefully prepare wall surfaces | Clean and repair walls before waterproofing to ensure maximum adhesion and effectiveness of materials applied. |
| 4. Apply waterproofing membrane evenly | Ensure an even application of your chosen waterproofing material to create a seamless barrier against water infiltration. |
| 5. Inspect and test waterproofing effectiveness | Conduct visual inspections and moisture tests to verify that the waterproofing is successful and no moisture is penetrating. |
Step 1: Assess Your Current Waterproofing Needs
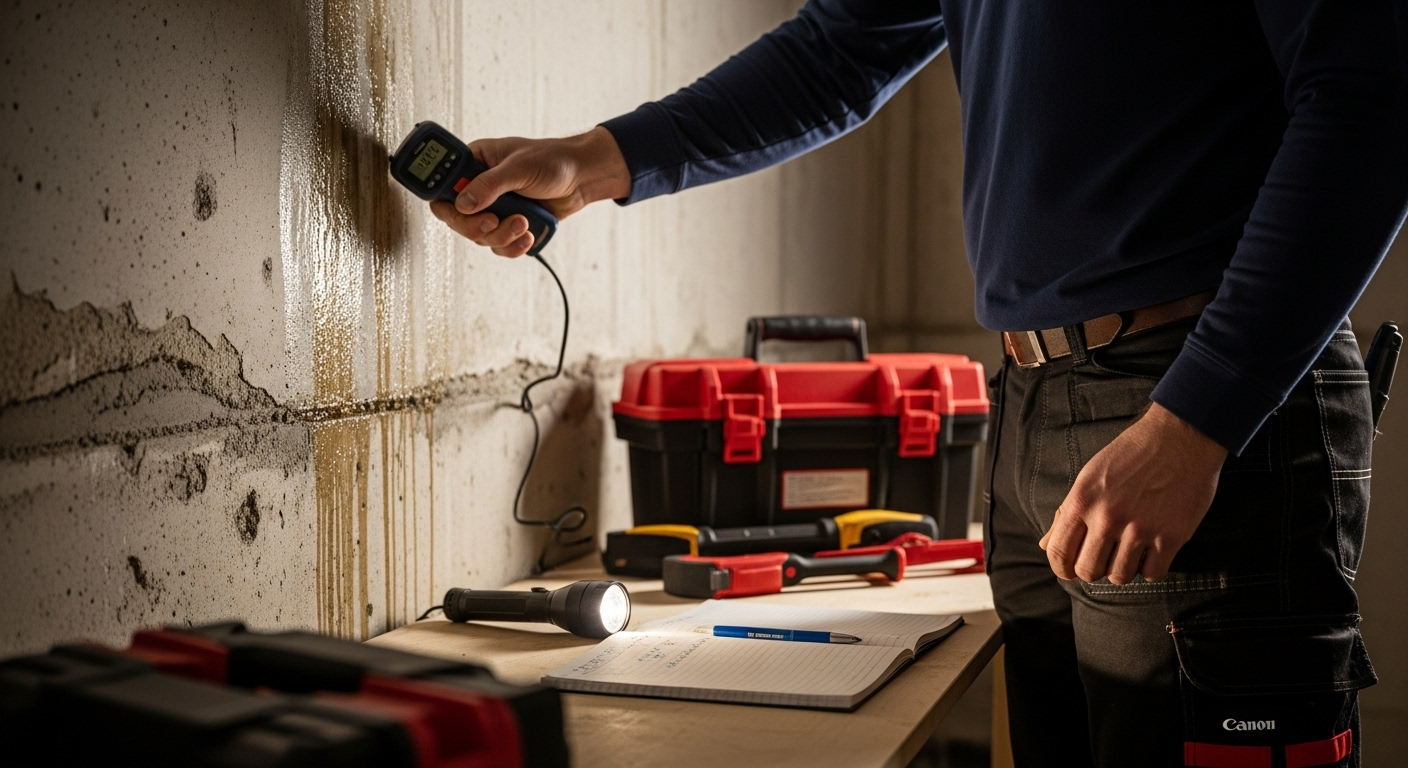
Addressing wall waterproofing starts with a thorough assessment of your home’s current moisture protection status. Understanding your existing waterproofing conditions helps prevent costly water damage and structural issues before they escalate. Most homeowners are unaware of developing problems until significant damage occurs, making this initial evaluation critical.
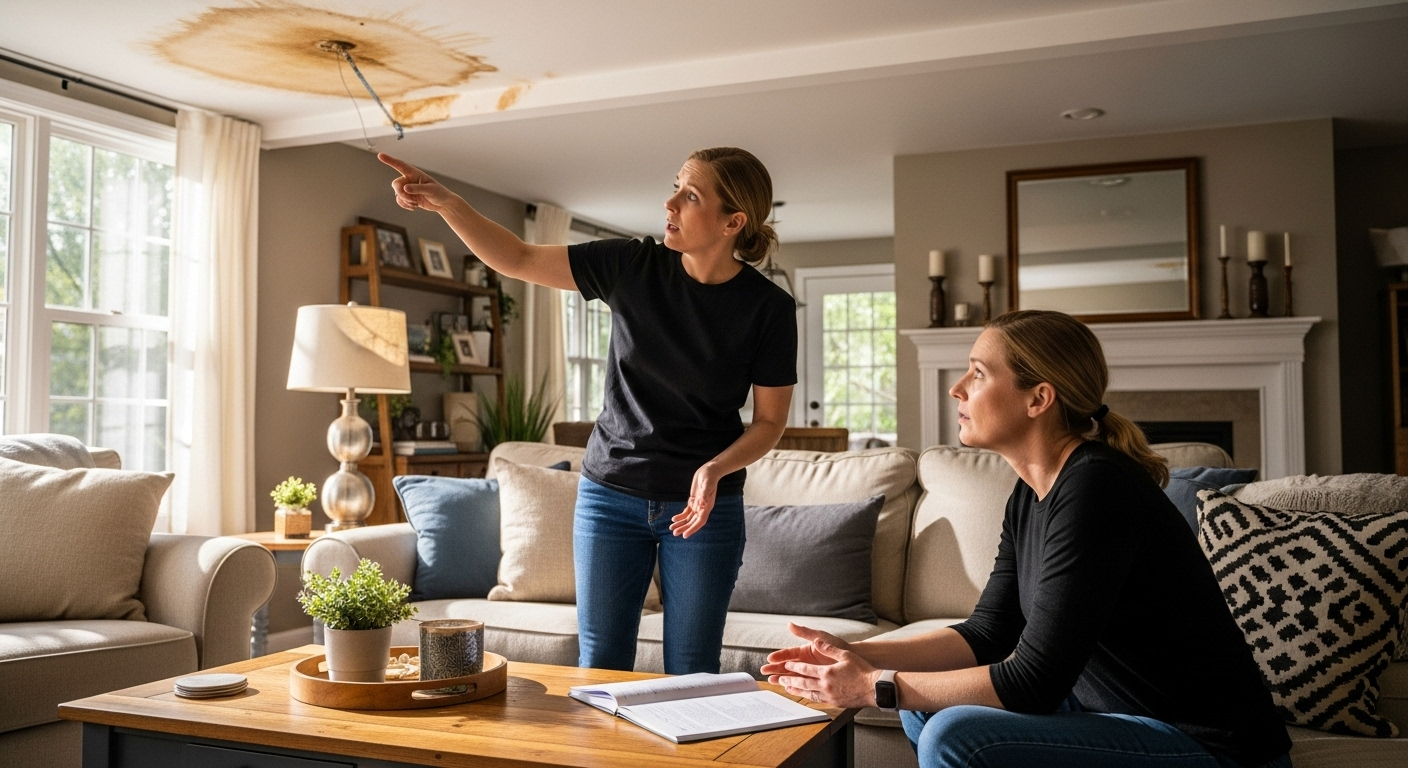
Begin your assessment by conducting a comprehensive visual inspection of both interior and exterior walls. Look carefully for telltale signs of water intrusion such as discoloration , mold growth , peeling paint , or efflorescence (white powdery mineral deposits). These indicators suggest moisture is penetrating your walls and requires immediate attention. Pay special attention to basement walls, foundation areas, and spaces near windows and exterior openings where water typically finds entry points.
Your inspection should involve checking exterior wall surfaces for cracks, deteriorating mortar between bricks or stone, and areas where soil grade might be directing water toward your foundation. Take time to examine how water flows around your property during rainfall. Watch for pooling near foundation walls or areas where downspouts might not be effectively channeling water away from your home. read more about our exterior waterproofing approach to understand comprehensive protection strategies.
Internally, use a moisture meter to detect hidden water content within wall materials. These tools can reveal moisture levels behind drywall or within insulation that visual inspections might miss. Professional technicians often recommend using infrared cameras to identify temperature variations that could indicate water infiltration in areas not visible to the naked eye. Understanding moisture levels helps determine the urgency and extent of waterproofing interventions needed.
Successful wall waterproofing assessment requires patience and meticulous observation. Document your findings with dated photographs and detailed notes. This record will help track changes over time and provide valuable information for potential professional consultations. By thoroughly examining your home’s current waterproofing condition, you establish a critical baseline for developing an effective moisture protection strategy.
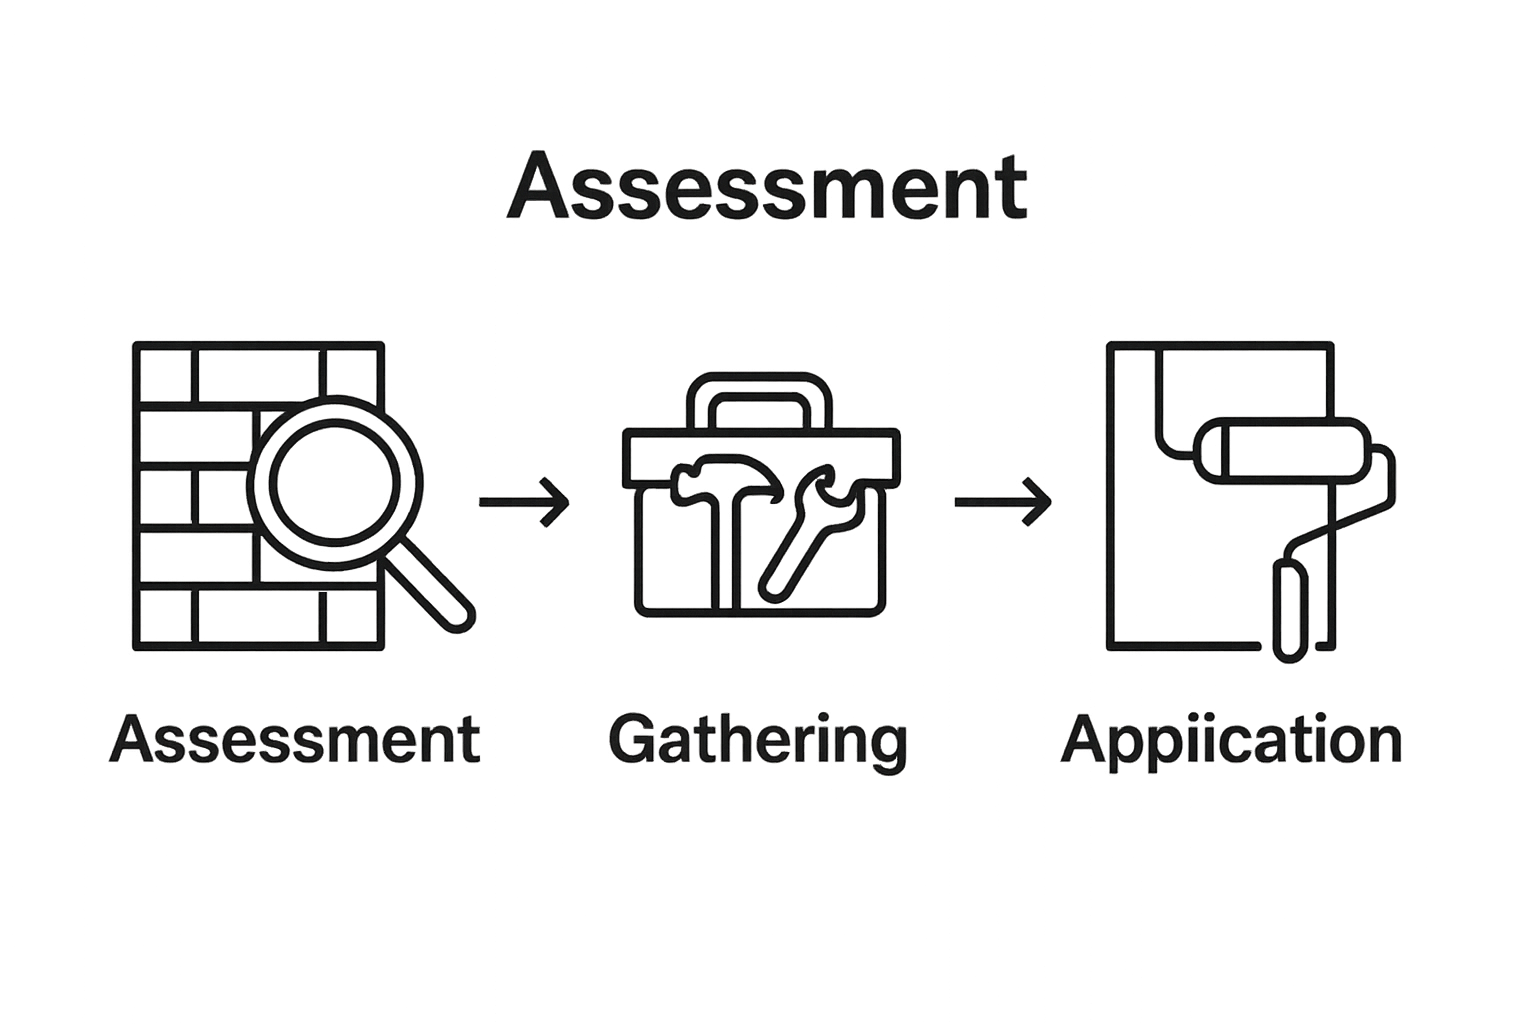
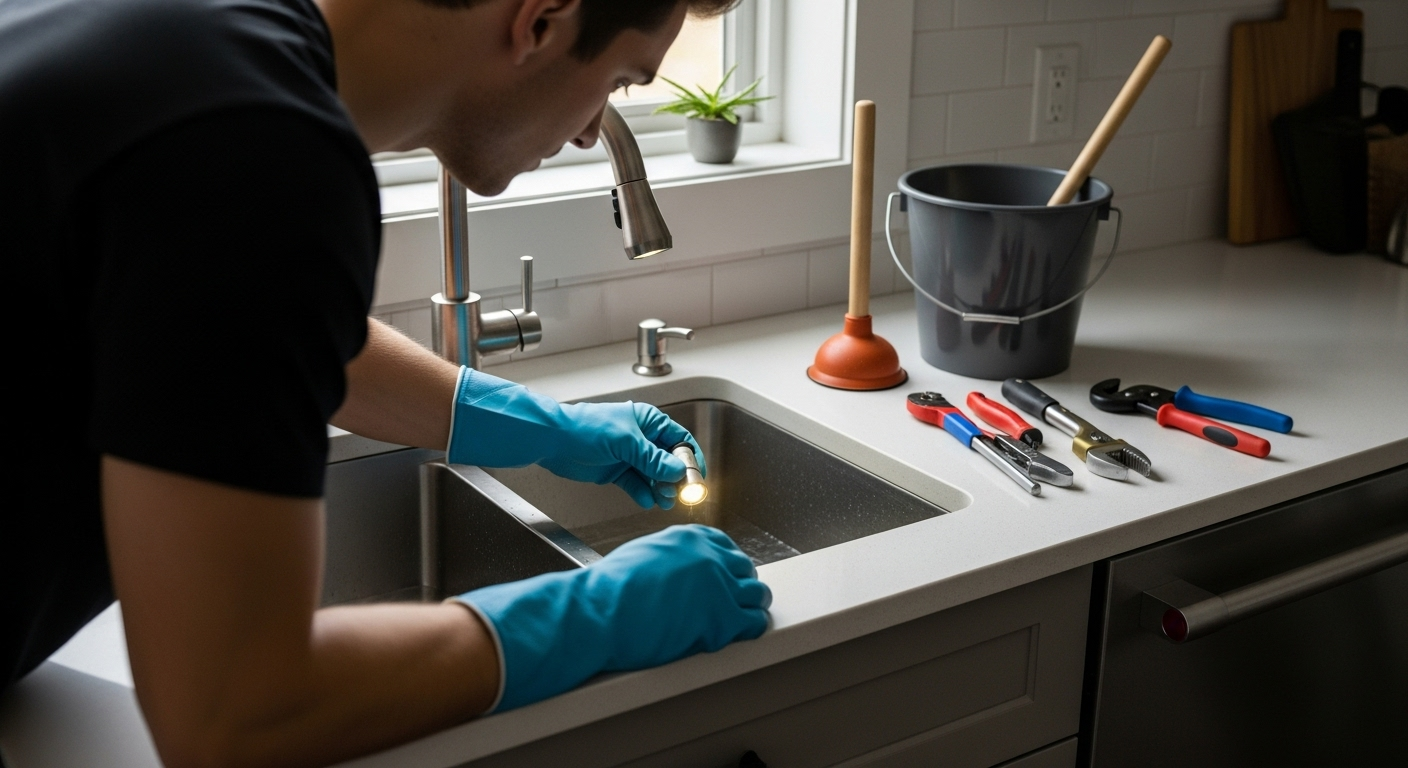
Step 2: Gather Necessary Materials and Tools
Preparing for wall waterproofing requires strategic planning and acquiring the right equipment to ensure a successful moisture protection project. Your assessment from the previous step will guide the specific materials you need, but most homeowners will want a comprehensive toolkit that addresses various potential waterproofing challenges.
Start by selecting high-quality waterproofing materials designed for your specific wall type. Masonry walls require different sealants compared to wooden or drywall surfaces. Silicone-based sealants work exceptionally well for exterior applications, providing flexibility and long-lasting protection against water penetration. For interior walls, look for breathable waterproofing compounds that prevent moisture buildup while allowing walls to release trapped humidity. our guide on exterior waterproofing services can provide additional insights into material selection.
Your toolkit should include precision tools that enable thorough application and surface preparation. Essential items include a professional-grade caulking gun, multi-surface primer, paint rollers with extension handles, protective gloves, safety glasses, and respiratory masks. A high-quality moisture meter becomes invaluable for tracking water content before and after your waterproofing project. Consider investing in infrared thermal imaging tools or borrowing them from a local hardware store to detect hidden moisture zones that traditional methods might miss.
Budget considerations are crucial when gathering materials. While premium waterproofing products might seem expensive initially, they offer significant long-term protection and prevent costly structural damage. Purchase materials from reputable home improvement stores, ensuring you select products specifically rated for your climate and wall construction. Many manufacturers offer technical support and can recommend exact product matches based on your specific waterproofing requirements.
Verify your material compatibility by conducting small test patches in inconspicuous areas. This approach allows you to assess adhesion, color matching, and performance before committing to a full application. By meticulously preparing your toolkit and materials, you set the stage for a successful wall waterproofing project that protects your home from potential moisture intrusion.
Here is a summary table of essential tools and materials for a successful wall waterproofing project, including their main purpose and notes on usage.
| Tool/Material | Purpose | Notes |
|---|---|---|
| Silicone-based sealant | Seals joints and cracks | Ideal for exterior applications |
| Breathable waterproofing compound | Prevents interior moisture buildup | Allows trapped humidity to escape |
| Professional-grade caulking gun | Precise application of sealants | Ensures accuracy and control |
| Paint rollers with extension handles | Evenly applies waterproofing coatings | Suitable for both walls and ceilings |
| Protective gloves & safety glasses | Personal protection during application | Reduces risk from chemicals and irritants |
| Respiratory mask | Protects against inhaling fumes | Especially important for enclosed spaces |
| Moisture meter | Detects hidden moisture in walls | Use before and after treatment |
| Infrared camera (optional) | Identifies temperature variations | Helps find concealed moisture zones |
Step 3: Prepare the Surface for Waterproofing
Preparing surfaces for waterproofing represents a critical phase that determines the long-term effectiveness of your moisture protection strategy. Proper surface preparation ensures maximum adhesion of waterproofing materials and creates a clean, stable foundation for your protective treatments. Rushing or skipping this step can compromise your entire waterproofing effort, leading to potential water intrusion and costly repairs.
Begin by thoroughly cleaning the wall surfaces using a pressure washer or stiff-bristled brush with a strong cleaning solution designed to remove dirt, mold, and existing loose paint or sealant. Completely remove all contaminants that might prevent proper adhesion of waterproofing materials. Pay special attention to areas with visible cracks, efflorescence, or previous water damage. read more about basement waterproofing techniques to understand comprehensive surface preparation methods.
After cleaning, inspect the surface meticulously for structural imperfections. Small cracks and holes require careful repair using specialized masonry or concrete fillers appropriate to your wall material. For concrete walls, use hydraulic cement to seal hairline cracks, ensuring it penetrates deeply and creates a watertight bond. Wooden surfaces might need wood filler or epoxy-based repair compounds that provide both structural integrity and moisture resistance.
Once repairs are complete, apply a high-quality primer specifically designed for waterproofing applications. This crucial layer creates an optimal surface for sealant adhesion and helps fill microscopic surface irregularities. Choose primers compatible with both your wall material and the waterproofing compound you plan to apply. Use rollers or sprayers for even application, working systematically to ensure complete coverage without missed spots.
Verify your surface preparation by conducting a final moisture and smoothness check. Run your hand across the surface to feel for any remaining rough areas, and use a moisture meter to confirm the surface is completely dry and ready for waterproofing treatment. Proper preparation transforms your wall from a potential water entry point into a resilient barrier against moisture intrusion.
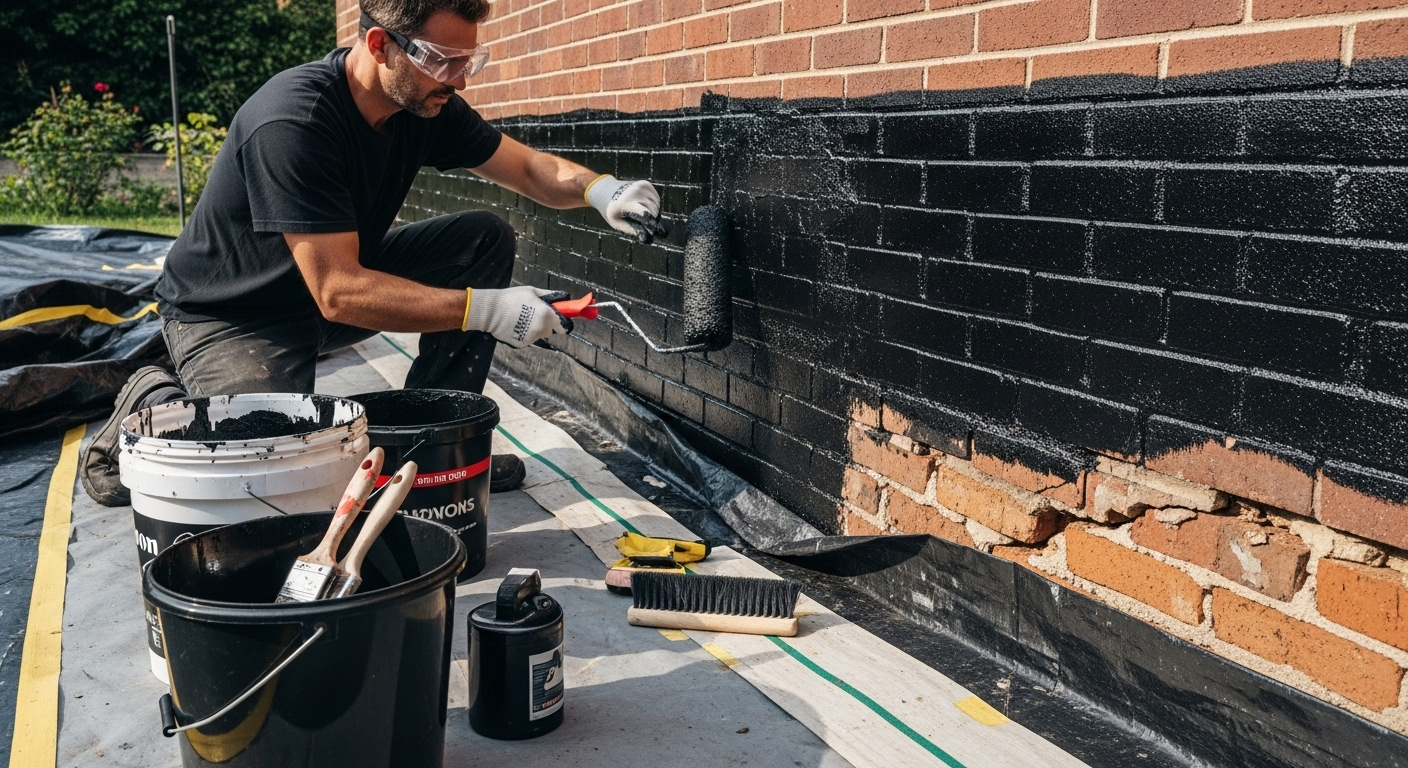
Step 4: Apply Waterproofing Membrane or Coating
Applying a waterproofing membrane or coating represents the critical transformation of your prepared surface into a robust moisture barrier. This step determines the long-term effectiveness of your wall protection strategy, requiring precision, patience, and careful technique. Proper application creates an impenetrable shield against water infiltration, safeguarding your home’s structural integrity.
Choose your waterproofing material based on your specific wall type and moisture challenges.
The following table compares two common types of waterproofing products, highlighting appropriate wall types, main advantages, and product characteristics to help you choose the best option for your needs.
| Type of Waterproofing Product | Suitable Wall Types | Main Advantages | Notable Characteristics |
|---|---|---|---|
| Liquid-applied membrane | Masonry, Concrete | Seamless, flexible coverage | Best for smooth, continuous surfaces |
| Elastomeric coating | Wooden, Complex structures | Expands and contracts with temperature | Good for surfaces prone to movement |
Begin application by ensuring your surface remains completely clean and dry from previous preparation steps. Use professional-grade rollers, brushes, or sprayers depending on your chosen product’s recommended application method. Work systematically from bottom to top, maintaining a consistent thickness across the entire surface. Pay extra attention to corners, seams, and areas around windows or penetrations where water typically finds entry points. Multiple thin layers typically provide better protection than a single thick application, allowing each layer to cure properly.
Temperature and humidity significantly impact membrane performance. Most waterproofing products require specific environmental conditions for optimal curing. Aim to apply your coating during moderate temperatures between 10-25 degrees Celsius with low humidity. Avoid applying during direct sunlight or when rain is forecast, as these conditions can compromise the membrane’s ability to adhere and create a continuous protective layer.
Verify your waterproofing application by conducting a thorough visual inspection after complete curing. Look for uniform coverage, absence of pinholes or thin spots, and smooth transitions between application areas. Use a moisture meter to confirm the surface remains dry and well-sealed. A successful application transforms your wall from a potential water entry point into a resilient barrier against moisture intrusion, providing peace of mind and long-term home protection.
Step 5: Cure and Seal the Waterproofed Area
The curing and sealing phase represents the final critical transformation of your waterproofing project, where careful attention to environmental conditions and precise application techniques determine the long-term effectiveness of your moisture protection strategy. Proper curing ensures your waterproofing membrane becomes a robust, seamless barrier against potential water intrusion.
Begin the curing process by creating optimal environmental conditions. Most waterproofing membranes require specific temperature and humidity ranges to develop maximum adhesion and structural integrity. Aim for consistent temperatures between 10-25 degrees Celsius with moderate humidity levels. Avoid direct sunlight or extreme temperature fluctuations that could compromise the membrane’s ability to set correctly. read more about our exterior waterproofing techniques to understand nuanced curing requirements.
Seal any remaining potential entry points by carefully applying high-quality polyurethane or silicone-based sealants around windows, joints, and architectural penetrations. Use professional-grade caulking tools to create smooth, continuous beads that fill microscopic gaps. Work methodically, ensuring complete coverage without leaving any spaces where water might potentially enter. Tooling the sealant creates a professional finish and improves its ability to maintain a watertight seal during temperature variations.
Ventilation plays a crucial role during the curing process. Ensure adequate air circulation without direct drafts that might disrupt the membrane’s setting. Use fans strategically to maintain consistent airflow, but position them to avoid directly blowing on the freshly applied waterproofing surface. Monitor the curing process carefully, watching for any signs of bubbling, uneven setting, or potential defects that might require immediate attention.
Verify the effectiveness of your waterproofing by conducting a comprehensive inspection after the recommended curing period. Use moisture meters to check surface humidity levels, and perform a visual examination looking for uniform coverage, smooth transitions, and absence of pinholes or thin spots. A successful cure transforms your wall from a vulnerable surface into a resilient, water-resistant barrier that protects your home from potential moisture damage.
Step 6: Inspect and Test for Effectiveness
Inspecting and testing your newly waterproofed walls represents the final crucial verification step that confirms the success of your moisture protection strategy. Comprehensive testing ensures your investment provides genuine protection against potential water intrusion, giving you peace of mind and preventing future structural damage.
Begin your inspection by conducting a thorough visual examination of the entire waterproofed surface. Look for any subtle signs of potential weakness such as hairline cracks, uneven coating, or areas with slightly different coloration that might indicate incomplete coverage. Use a powerful flashlight to illuminate the surface from different angles, which helps reveal imperfections that might be invisible under normal lighting conditions. read more about our exterior waterproofing techniques to understand comprehensive testing approaches.
Utilize professional-grade moisture detection equipment to perform a quantitative assessment of your waterproofing effectiveness. Digital moisture meters provide precise readings that reveal any hidden moisture penetration points. Move the device systematically across the entire surface, paying extra attention to areas around windows, joints, and architectural penetrations where water typically finds entry. Infrared thermal imaging cameras can offer an additional layer of analysis, detecting temperature variations that might indicate moisture presence invisible to the naked eye.
Simulate real-world water exposure by conducting a controlled water test. Using a garden hose or specialized water testing equipment, apply water to the treated surface at different pressures. Observe how water beads and runs off, watching for any signs of absorption or unexpected moisture penetration. This practical test mimics natural rainfall conditions and provides immediate feedback on your waterproofing membrane’s performance. Take detailed notes and photographs during this process to document the results and establish a baseline for future comparisons.
Verify the effectiveness of your waterproofing by confirming that moisture readings remain consistently low across all tested areas. A successful inspection demonstrates uniform coverage, zero moisture penetration, and a resilient barrier that protects your home from potential water damage. Remember that ongoing periodic inspections will help maintain the long-term integrity of your waterproofing investment.
Prevent Moisture Nightmares With Professional Wall Waterproofing
Tired of worrying about mysterious wall stains or that musty basement scent? If you have read our article on mastering wall waterproofing, you already know that hidden moisture and water seepage can quickly threaten your home in Toronto. Uncovered cracks, failed membranes, and missed preparation steps are some of the leading causes of costly structural damage and mold. Do not let your peace of mind slip away because of unsealed weaknesses or improperly handled walls.

Trust the experts at DrainWorks Plumbing to tackle your waterproofing concerns with over 30 years of proven experience. Our licensed team understands every stage from inspection to applying the latest waterproofing membranes. We do more than stop leaks. We help protect the investment you have made in your home. Enjoy honest up-front pricing and the reassurance that comes from Toronto’s most awarded plumbing and drain company. Secure your home’s dry and healthy future by requesting your professional wall waterproofing assessment today. For full details and quick bookings, visit our homepage or start learning about our waterproofing and drain solutions right now.
Frequently Asked Questions
What are the primary signs of water intrusion in walls?
Check for discoloration, mold growth, peeling paint, or efflorescence on walls. These indicators suggest moisture may be penetrating and require immediate attention.
How do I properly prepare a wall surface for waterproofing?
Thoroughly clean the wall with a pressure washer or stiff-bristled brush, repair any cracks or holes, and apply a primer designed for waterproofing before applying the waterproofing membrane.
What is the difference between liquid-applied membranes and elastomeric coatings?
Liquid-applied membranes are ideal for masonry and concrete surfaces, providing seamless coverage, while elastomeric coatings expand and contract, making them suitable for wooden or complex structures.
How can I test the effectiveness of my waterproofing treatment?
Conduct a visual inspection for imperfections, utilize a moisture meter to check levels, and perform a controlled water test by applying water to the treated surface to observe for any signs of moisture penetration.
Recommended