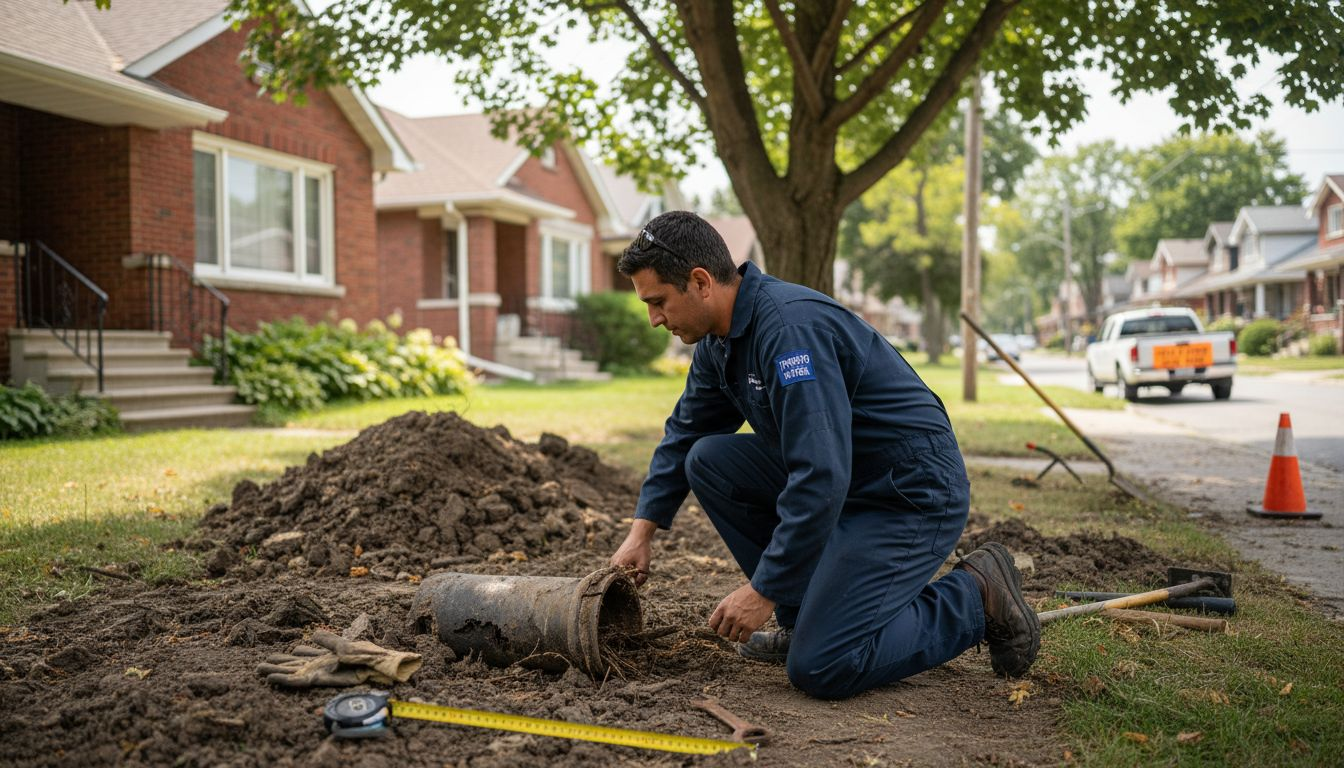
Fixing a Kitchen Sink Won’t Drain: Step-by-Step Solutions
A clogged kitchen sink can grind your whole day to a halt and that’s a hassle almost every Canadian homeowner faces at some point. Sink drains may slow to a trickle or simply stop, but did you know that a slow draining sink usually points to a partial blockage while standing water signals something much more serious ? A lot of folks jump right to harsh chemicals hoping for a quick fix, yet most drain problems can be solved simply with a little method and the right basic tools. Ready to find out why skipping the drain cleaner might actually be the smart move?
Table of Contents
Quick Summary
| Key Point | Explanation |
|---|---|
| 1. Assess the nature of the blockage | Identify if the sink is partially or completely blocked to determine the right approach for repairs. |
| 2. Gather essential tools and materials | Have a plunger, drain snake, and protective gear ready to efficiently tackle the drainage issue without causing damage. |
| 3. Clear the sink area and remove blockages | Clean the sink strainer and use a plunger to address minor clogs before moving on to more advanced methods. |
| 4. Inspect and clean the P-trap | Remove and clean the P-trap to eliminate accumulated debris that may be obstructing drainage. |
| 5. Verify drainage and check for leaks | Run water to ensure smooth drainage and check joints for leaks, tightening connections as needed. |
Step 1: Assess Your Current Situation
When your kitchen sink won’t drain, the first step is carefully understanding the specific nature of the blockage. Most homeowners encounter sink drainage problems that range from minor clogs to more significant plumbing issues. Identifying exactly what’s happening will help you choose the most effective solution.
Start by observing the symptoms carefully. A slow draining sink indicates a partial blockage , while a completely stopped drain suggests a more severe obstruction. Look for standing water that remains in the sink basin after running the tap, unusual gurgling sounds when water attempts to drain, or unpleasant odours emerging from the drain. These are clear indicators that something is disrupting your normal water flow.
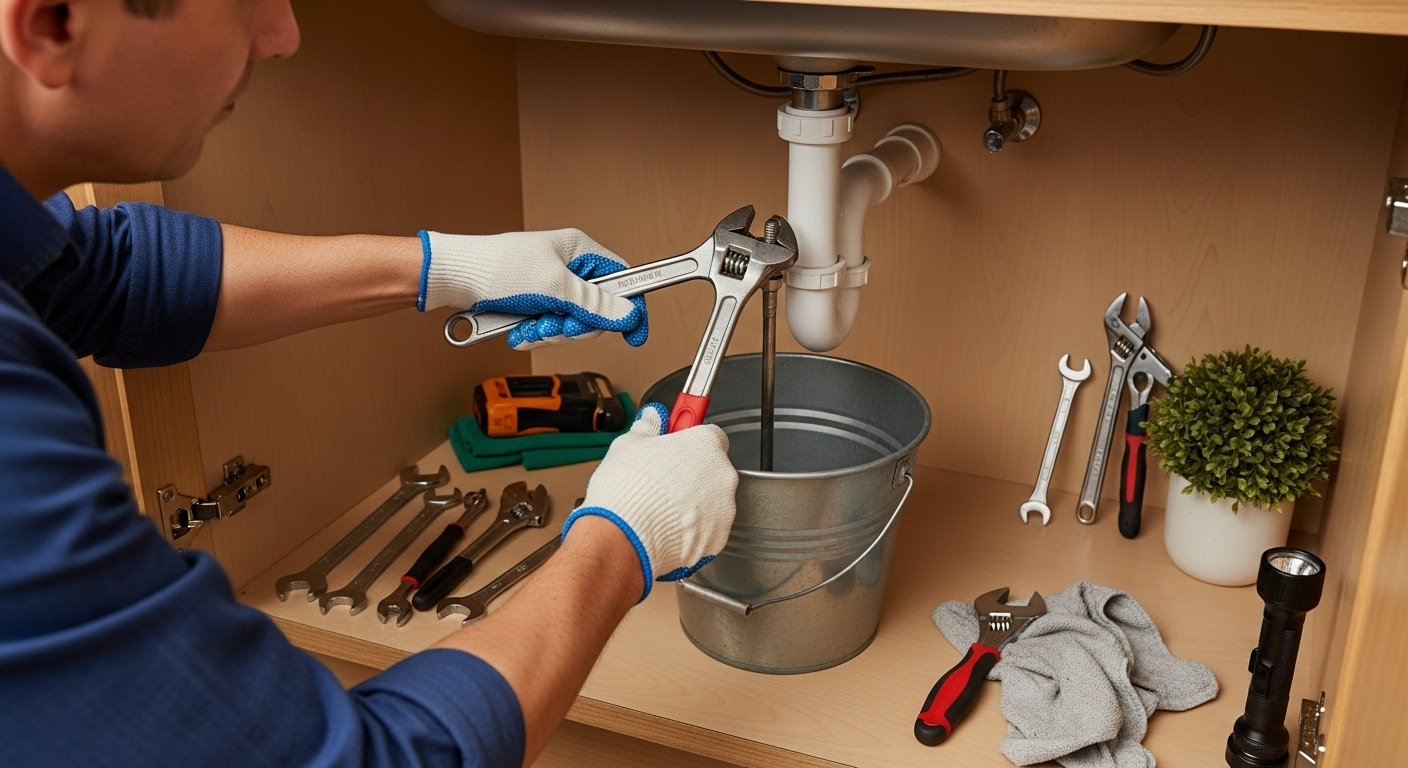
Prepare to investigate by gathering a few basic tools that will help you diagnose the problem. You’ll want a flashlight to peer down the drain, a pair of rubber gloves to protect your hands, and potentially a small mirror to help you see deeper into the drain pipe. A plunger and a bucket are also useful to have nearby. Avoid using chemical drain cleaners at this stage , as they can potentially damage your pipes and complicate the diagnosis.
Gently remove any visible debris from the sink strainer or stopper. Sometimes, accumulated food particles, hair, or soap residue can create immediate blockages. Check if water flows more freely after this initial cleaning. If not, you’re likely dealing with a deeper plumbing issue that requires more targeted intervention.
Pay attention to when the drainage problem occurs. Does it happen only when you use the kitchen sink, or are other nearby drains experiencing similar issues? This information will help you determine whether the problem is localized to the kitchen sink or potentially indicates a broader plumbing system concern. Understanding these details will guide your next steps in resolving the drainage challenge.
Here is a troubleshooting guide summarizing common kitchen sink drainage problems, typical causes, and recommended solutions based on the article’s instructions.
| Problem | Possible Cause | Recommended Solution |
|---|---|---|
| Slow draining sink | Partial blockage | Clear debris from strainer, use plunger |
| Standing water in basin | Severe or complete blockage | Use plunger, then snake or clean P-trap |
| Gurgling sounds | Air trapped due to blockage | Inspect and clear P-trap, plunge drain |
| Unpleasant drain odour | Build-up of food/organic residue | Clean strainer, use vinegar/baking soda |
| Water leak after repair | Loose or worn pipe connections | Check/tighten P-trap, use plumber’s tape |
| Recurring or stubborn clog | Deeper obstruction in pipes | Use snake, clean P-trap, call plumber if unresolved |
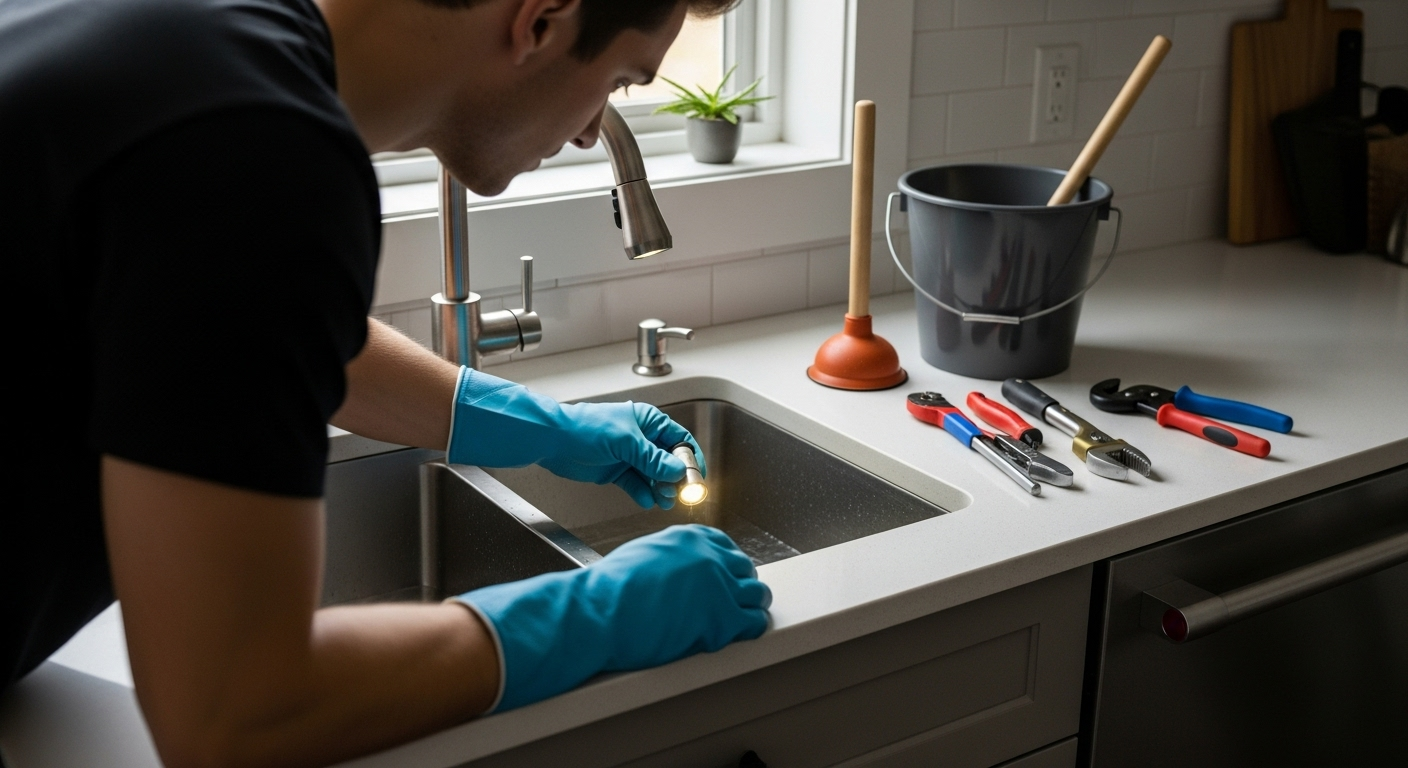
Step 2: Gather Necessary Tools and Materials
Before diving into fixing a kitchen sink that won’t drain, assembling the right tools and materials is crucial for a successful repair. Proper preparation can save you time, frustration, and potential additional damage to your plumbing system. Having everything ready before you start will make the entire process smoother and more efficient .
Your essential toolkit for addressing a stubborn kitchen sink drain should include several key items. You’ll want a plunger with a flat bottom designed specifically for sink use, as these create a better seal compared to toilet plungers. A plumber’s snake or drain auger is another critical tool that can help break up more stubborn blockages. Select a snake with a flexible cable around 25 feet long, which provides enough reach for most household drain issues.
In addition to mechanical tools, gather some protective equipment. Rubber gloves are non-negotiable to protect your hands from potential bacteria and grime. Safety glasses can prevent splashing, and old clothes or an apron will help keep your clothing clean during the repair process. Consider having a bucket nearby to catch any water or debris that might emerge during your unclogging efforts.
For more precise interventions, include some supplementary materials. A flashlight with good battery power will help you inspect the drain opening and potentially see deeper into the pipe. A small mirror can assist in viewing areas that are not directly visible. Some homeowners find a wire coat hanger (straightened with a small hook at the end) useful for manually removing hair or debris near the drain opening.
A few additional items can make your repair more comprehensive. White vinegar, baking soda, and hot water can serve as a natural, gentle drain cleaning solution. Keep some clean rags or paper towels nearby for quick cleanups. Remember that chemical drain cleaners are generally not recommended , as they can damage pipes and are less environmentally friendly than mechanical or natural cleaning methods.
Once you’ve gathered all these tools and materials, arrange them within easy reach near your work area. This preparation demonstrates you’re ready to tackle the drainage problem methodically and effectively.
To help you assemble everything you need in advance, here is a summary of essential tools and materials for unclogging a kitchen sink, along with their specifications and purposes.
| Tool/Material | Specification/Type | Purpose/Use |
|---|---|---|
| Plunger | Flat-bottom (for sinks) | Dislodge minor to moderate clogs |
| Drain Snake/Auger | Flexible, ~25 feet long | Break up or remove stubborn blockages |
| Rubber Gloves | Waterproof, non-slip | Protect hands from grime and bacteria |
| Safety Glasses | Wrap-around | Shield eyes from splashing |
| Bucket | Medium to large | Catch water and debris during repairs |
| Flashlight | High battery life | Illuminate inside of drain and pipes |
| Small Mirror | Handheld | View not directly visible drain sections |
| Wire Coat Hanger | Straightened with hook | Remove debris near the drain opening |
| White Vinegar & Baking Soda | Food-grade, standard | Natural, gentle cleaning solution |
| Clean Rags/Paper Towels | Absorbent | Quick clean-ups and drying |
| Adjustable Wrench/Pliers | Standard size | Loosen/tighten nuts on P-trap and pipes |
Step 3: Clear Out the Sink Area and Remove Blockages
Clearing out your sink area and removing blockages is a critical step in resolving drainage problems. Proper preparation and systematic removal of debris can often solve minor sink drainage issues without requiring advanced plumbing interventions . Your goal is to methodically clear potential obstructions while maintaining a clean and hygienic workspace.
Begin by completely clearing the area around your kitchen sink. Remove all dishes, utensils, cleaning supplies, and any items that might obstruct your work or get wet during the process. Lay down old towels or a protective mat on the countertop and floor to catch any water or debris that might spill during your unclogging efforts. Wear your rubber gloves to protect your hands from potential bacteria and grime .
Start with the simplest intervention by removing the sink strainer or stopper. Most kitchen sink stoppers can be unscrewed or lifted out easily. Inspect this component carefully for accumulated food particles, hair, or soap residue. Clean it thoroughly using hot water and a small brush, removing any visible buildup. This initial cleaning can sometimes resolve minor blockages and improve water flow.
Next, use your plunger to attempt dislodging the blockage. Ensure you have a good seal around the drain opening by covering any adjacent drains or overflow openings with a wet cloth. Apply firm, consistent pressure with the plunger, creating a strong suction that might help break up the obstruction. Repeat this process several times, watching to see if water begins to drain more quickly.
If plunging doesn’t resolve the issue, consider using a drain snake or auger. Carefully insert the snake into the drain, turning the handle to guide it through the pipe. Move the snake gently but firmly, feeling for resistance that might indicate the location of the blockage . When you encounter an obstruction, twist and push the snake to break up or hook the debris, then slowly retract it to remove the material causing the drainage problem.
After your intervention, run hot water for several minutes to flush the drain and check if water flows smoothly. If drainage remains slow or completely blocked, you may need to consider more advanced techniques or professional assistance. Remember, persistent blockages might indicate deeper plumbing issues that require expert intervention.
Step 4: Check and Clean the P-Trap
The P-trap is a crucial component of your kitchen sink’s drainage system, often responsible for trapping debris and potentially causing blockages. Understanding how to inspect and clean this U-shaped pipe can resolve many drainage issues without calling a professional plumber . This curved section of pipe beneath your sink plays a vital role in preventing sewer gases from entering your home while also catching items that might accidentally fall down the drain.
Before beginning, place a large bucket directly underneath the P-trap to catch any water or debris that will inevitably spill out during the cleaning process. Wear rubber gloves and have several clean rags nearby for quick cleanups . Most P-traps can be disconnected using simple hand tools, typically requiring only an adjustable wrench or pliers to loosen the connecting nuts at both ends of the curved pipe.
Carefully loosen the nuts connecting the P-trap to the wall pipe and sink drain. Work slowly and deliberately, ensuring you don’t damage the surrounding pipes. As you remove the P-trap, you’ll likely see accumulated gunk, food particles, and potential blockage materials. Empty the contents directly into the bucket, being careful not to let any large debris slip down the open pipes. Inspect the removed P-trap carefully, looking for significant buildup, corrosion, or potential damage that might require replacement.
Using a flexible brush or old toothbrush, thoroughly clean the interior of the P-trap. Remove all visible debris, paying special attention to corners and curved sections where material tends to accumulate. If the buildup is particularly stubborn, you can soak the P-trap in a mixture of warm water and mild dish soap to help loosen grime. Avoid using harsh chemical cleaners that might damage the pipe’s material .
Before reinstalling the P-trap, take a moment to clean the pipe connections and check for any signs of wear or damage. Apply a small amount of plumber’s tape to the threads to ensure a watertight seal when reconnecting. Carefully reattach the P-trap, ensuring the nuts are tightened securely but not over-tightened, which could crack the pipe or fittings. Run water through the sink to verify there are no leaks and that water flows smoothly through the newly cleaned P-trap.
Step 5: Use a Plunger or Drain Snake if Necessary
When previous cleaning methods haven’t resolved your kitchen sink drainage issue, it’s time to escalate your approach using a plunger or drain snake. These mechanical tools can dislodge stubborn blockages that simple cleaning methods cannot address . Understanding the proper technique is crucial to effectively clearing your drain without causing additional damage to your plumbing system.
Begin with the plunger method, which is often the first line of defense against moderate clogs. Ensure you have a cup plunger specifically designed for sink use, not a flange plunger meant for toilets. Create a tight seal around the drain opening by covering any adjacent openings with a wet cloth. Fill the sink with enough water to cover the plunger’s rubber cup, which helps create better suction. Position the plunger vertically over the drain, maintaining a firm, straight downward pressure .
Apply quick, forceful plunging motions, pushing down and pulling up rapidly without breaking the seal. The goal is to create significant pressure that can dislodge whatever is blocking the pipe. Repeat this motion 10 to 15 times, then quickly pull the plunger away to see if water begins to drain.
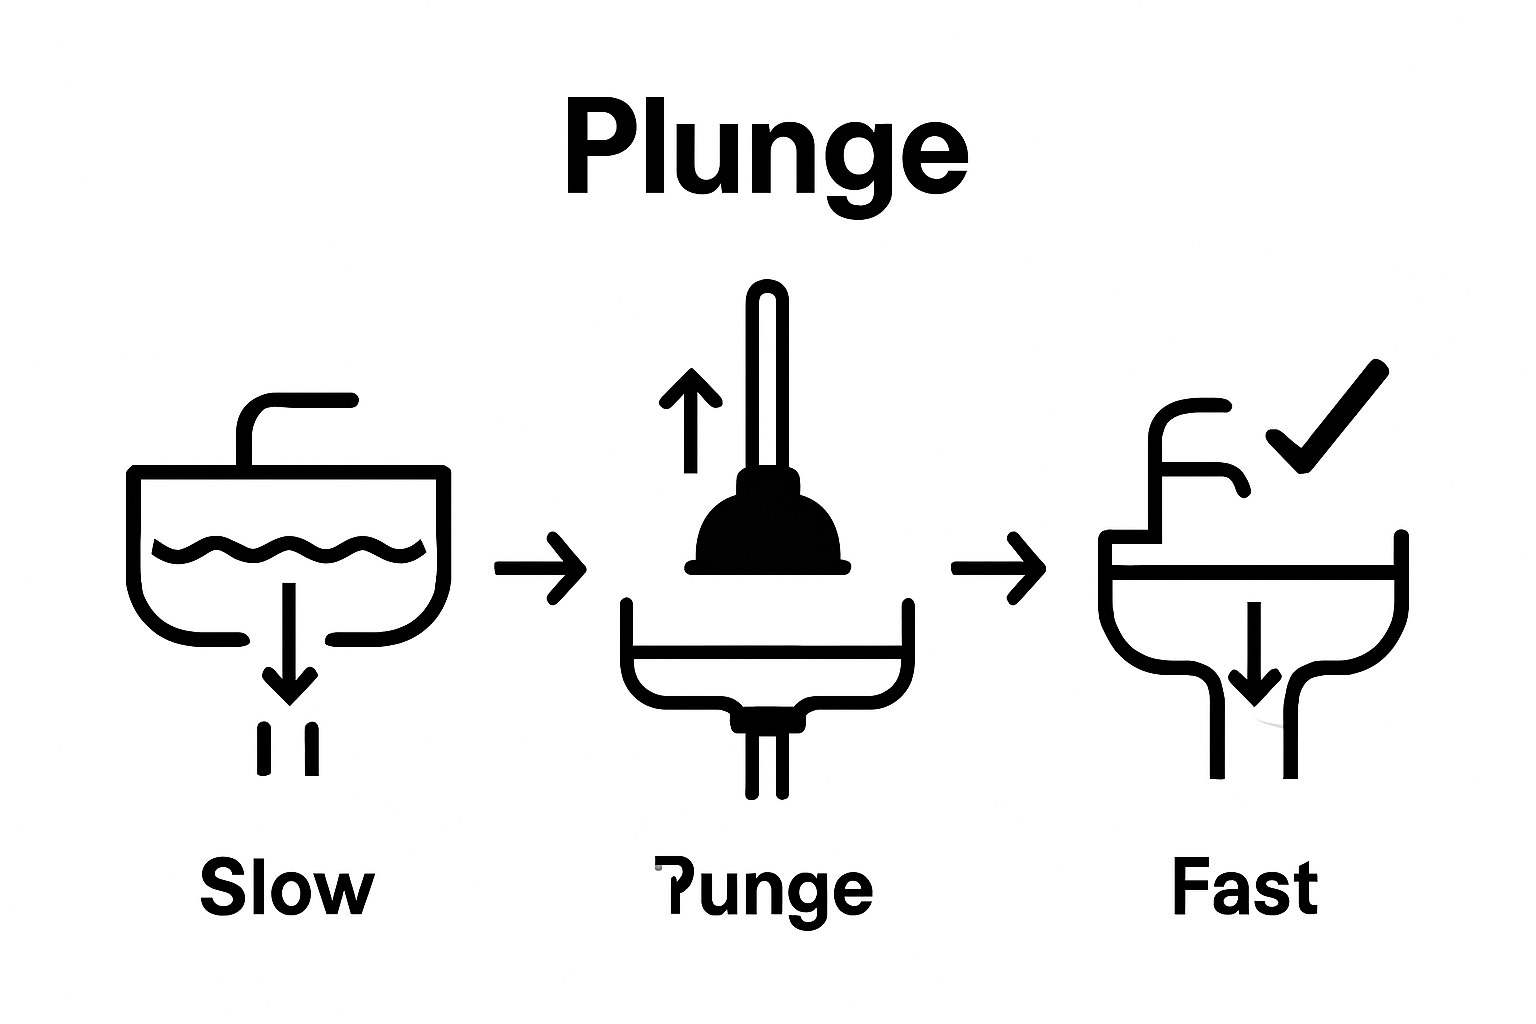 If the water level starts to drop, you’re making progress. Continue plunging until the drain clears completely or you determine that the plunger method will not be successful.
Should plunging prove ineffective, transition to using a drain snake, also known as an auger. Choose a snake with a flexible cable approximately 25 feet long , which provides sufficient reach for most household drain blockages. Carefully insert the snake’s end into the drain opening, turning the handle to guide the cable deeper into the pipe. As you feel resistance, this indicates you’ve encountered the blockage.
Once you’ve located the obstruction, rotate the snake’s handle while applying gentle pressure. This action helps the snake’s end either break up the blockage or hook onto the material causing the clog. Slowly retract the cable, bringing the debris with it. Be prepared for potential messy results, so have a bucket and towels nearby. After removing the snake, run hot water to flush the drain and verify that water flows smoothly.
Remember that persistent or recurring clogs might indicate more significant plumbing issues. If these methods do not resolve your drainage problem, it may be time to consult a professional plumber who can provide a more comprehensive diagnosis and solution.
Step 6: Verify Drainage and Reassemble Everything
After working to clear your kitchen sink’s drainage issue, the final step involves carefully reassembling all components and thoroughly verifying that everything functions correctly. This critical stage ensures your previous efforts have successfully resolved the blockage and restored proper plumbing performance . Methodical reassembly and comprehensive testing will give you confidence that your sink is now fully operational.
Begin by carefully reinstalling the P-trap, ensuring all connections are tight but not over-tightened. Apply a small amount of plumber’s tape to the threading to create a watertight seal and prevent potential leaks. Double-check that the P-trap is positioned correctly, with no twists or unusual angles that might impede water flow. Hand-tighten the connecting nuts first, then use your adjustable wrench to give a final quarter turn , being careful not to damage the pipe or fittings.
Replace the sink strainer or stopper, making certain it sits flush and moves smoothly. If you removed any additional components during your repair process, now is the time to carefully reinstall them. Wipe down all surfaces, removing any debris or water spots that accumulated during your repair work. Clean your tools and store them properly, maintaining them for future use.
To verify drainage, run warm water at different flow rates. Start with a gentle stream, observing how quickly water moves through the drain. Gradually increase the water volume to simulate typical kitchen sink usage. Watch for three key indicators of proper drainage : water should flow smoothly without pooling, no unusual gurgling sounds should occur, and the water level should drop quickly and consistently.
Perform a final leak check by running water and carefully examining all pipe connections underneath the sink. Use a dry paper towel to check for any moisture around the P-trap and connecting joints. If you notice any water seepage, carefully tighten the connections or seek professional assistance if the leaking persists. A thorough verification process ensures you’ve successfully resolved the drainage issue and prevents potential future problems that could arise from improper reassembly.
Should you encounter any continued drainage problems or feel uncertain about any part of the repair process, it’s always wise to consult a professional plumber who can provide expert guidance and ensure your kitchen sink functions perfectly.
Tired of Struggling With a Kitchen Sink That Won’t Drain?
After following each step to clear your kitchen sink without results, the frustration and worry only grow. If you have dealt with stubborn blockages, odours, or repeated clogs, you know a persistent drain issue can disrupt your day and risk water damage. Sometimes, even after using a plunger, cleaning the P-trap, and trying a drain snake, the real problem goes deeper than DIY solutions can handle. That is when you need a professional who understands more than just quick fixes, but the underlying plumbing issues in your home.

Why wait and risk more expensive plumbing repairs? At DrainWorks Plumbing , Toronto homeowners know we deliver trusted solutions for drain clogs, failures in P-traps, and serious kitchen sink backups. Connect with one of our skilled, non-commissioned technicians for a thorough inspection and transparent pricing with no surprises. If you want your kitchen sink running smoothly again, visit our main service page and book your same-day appointment. Our awards from Toronto Life Magazine and HomeStars prove you are in the best hands. Do not let a blocked drain disrupt your home any longer—get true peace of mind now.
Frequently Asked Questions
What should I do first if my kitchen sink won’t drain?
Start by assessing the current situation. Look for signs of blockage like standing water or gurgling sounds, and gather tools such as a flashlight, plunger, and gloves to help diagnose the issue.
How can I use a plunger effectively to unclog my kitchen sink?
To use a plunger, ensure you have a flat-bottom cup plunger for sinks. Fill the sink with enough water to cover the plunger’s rubber cup, create a tight seal, and apply firm, rapid plunging motions without breaking the seal to dislodge the blockage.
What tools do I need to clear a blocked kitchen sink?
Essential tools include a flat-bottom plunger, a drain snake or auger, rubber gloves, a bucket, a flashlight, and possibly a mirror for inspection. Avoid using chemical drain cleaners as they can damage pipes.
How do I clean the P-trap under my kitchen sink?
To clean the P-trap, place a bucket underneath to catch any water. Carefully unscrew the P-trap, remove debris, and clean it with hot water and a brush. Reassemble it securely after checking for damage.