Finding your main water shut-off valve might not be something you think about until disaster strikes. Most homes hide this crucial device in spots you’d never expect and in the Greater Toronto Area, the main shut-off is usually tucked away in the basement near the front wall or the water meter . Odd, right? Yet missing it could mean thousands in repairs if a pipe bursts. Tracking it down now could be the smartest decision you make for your home.
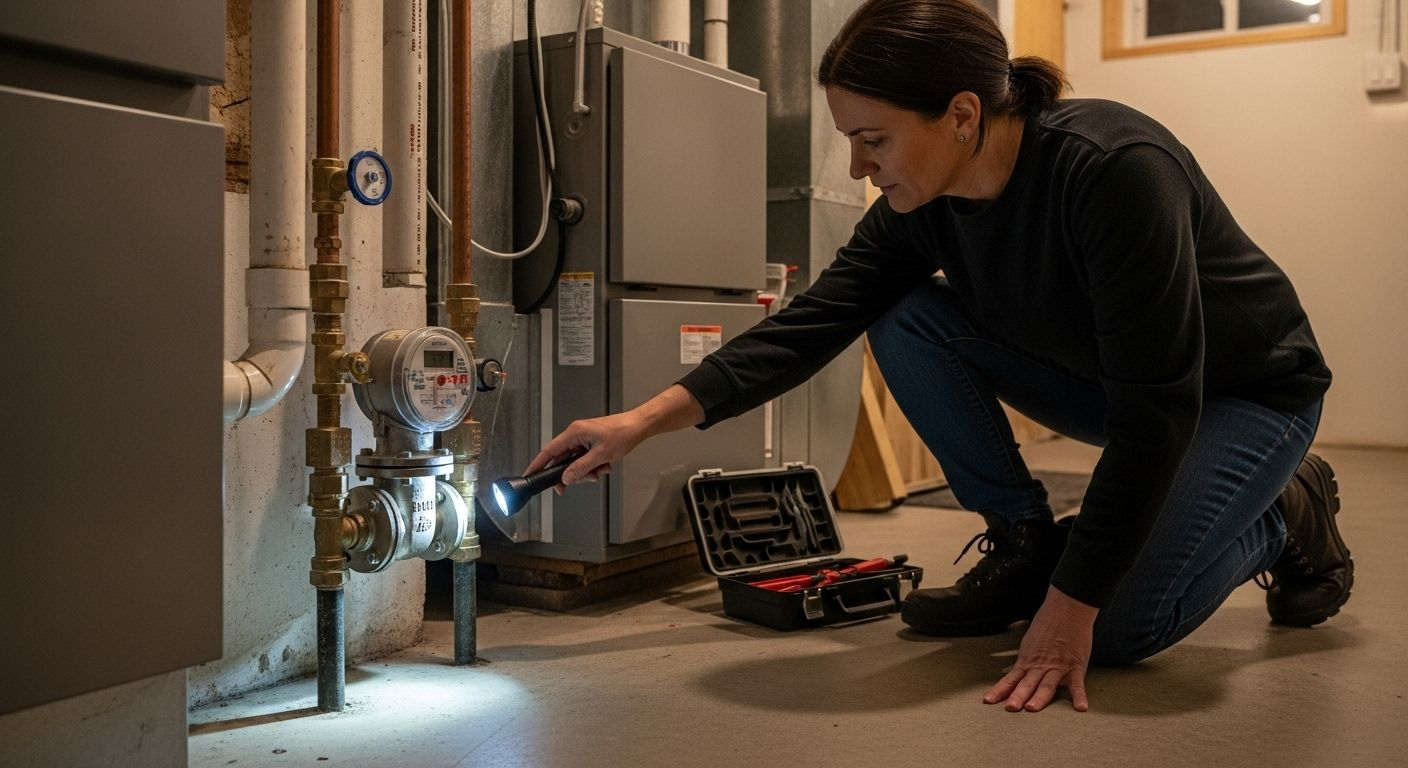
Table of Contents
- Step 1: Locate The Main Water Shut-Off Valve
- Step 2: Assess The Situation And Gather Tools
- Step 3: Turn Off The Main Water Shut-Off Valve
- Step 4: Verify That Water Supply Is Completely Off
- Step 5: Document The Process For Future Reference
Quick Summary
| Key Point | Explanation |
|---|---|
| 1. Locate your main shut-off valve | Knowing where your main water shut-off valve is can save time and reduce water damage during emergencies. |
| 2. Assess the situation first | Understand the type of water problem before shutting off the valve to determine your best course of action. |
| 3. Turn the valve correctly | Properly operate your main shut-off valve depending on whether it’s a ball or gate valve to effectively stop the water flow. |
| 4. Verify the water supply is off | Test various faucets to ensure water is completely shut off, preventing any potential leaks or flooding. |
| 5. Document the shut-off process | Keep a record of your shut-off experience, valve condition, and related insights for future reference and home maintenance. |

|
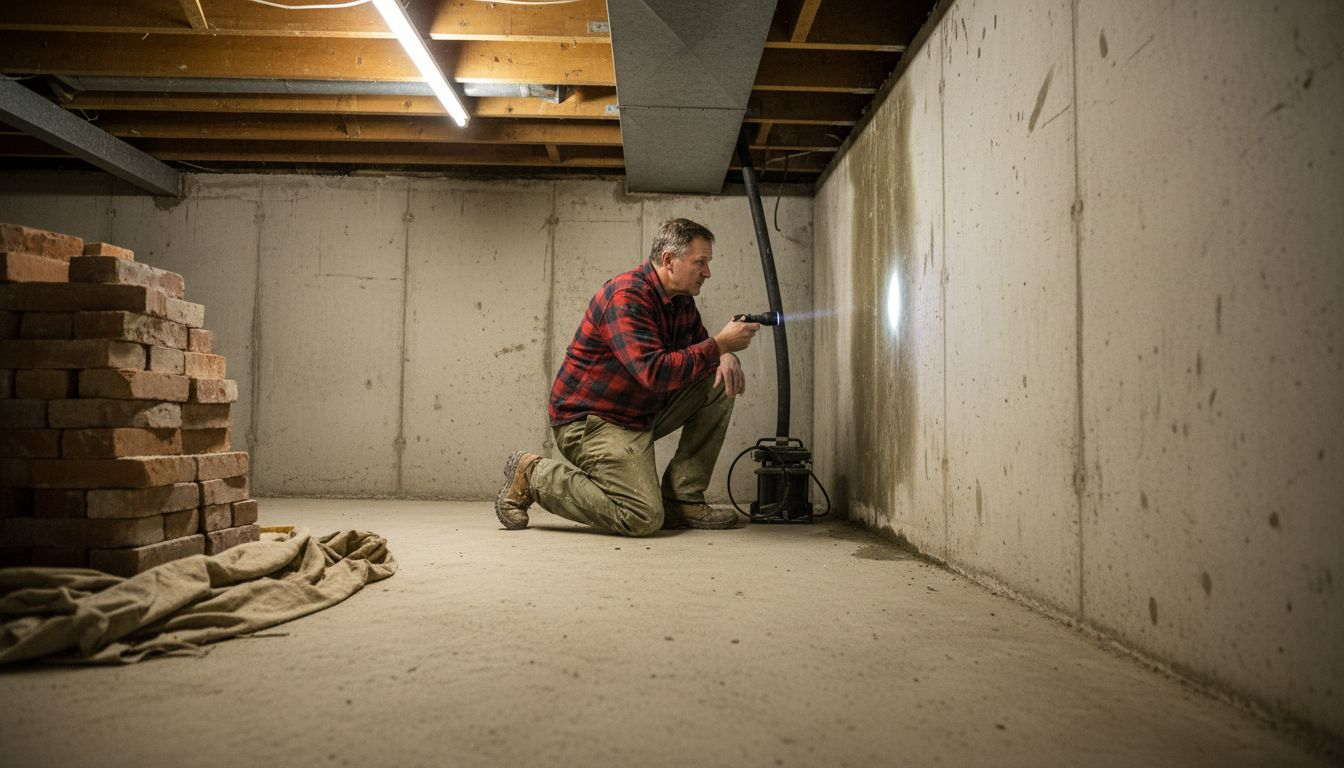
Locating your home’s main water shut-off valve is the critical first step in understanding how to control your water supply during emergencies. Before any potential plumbing crisis strikes, knowing exactly where this valve is situated can save you precious time and prevent extensive water damage to your property.
Most residential homes in the Greater Toronto Area have their main water shut-off valve positioned in one of several predictable locations. Typically, you’ll find this valve in the basement, near the front foundation wall, or close to where the water service line first enters your home. If you have a crawl space or utility room, check those areas first. For homes without basements, look near the water meter, often found in utility closets or near mechanical systems.
To effectively locate your valve, start by systematically checking potential areas. Begin in the basement, scanning the perimeter walls where the water line enters. Look for a metal or plastic handle that might be red, blue, or silver. Sometimes the valve will be near other utility connections like your furnace or water heater. If you’re struggling to find it, trace the path of the main water line entering your home from the street side.
If visual searching proves challenging, consider a few additional strategies. Learn more about water line locations with our expert guide. Some homeowners find consulting their home’s original blueprints or asking previous owners can provide quick insights. For newer constructions, the valve might be located in a more modern utility space or even outside in a buried meter box.
Once you’ve located the valve, familiarize yourself with its operation. Most main shut-off valves are either ball valves with a lever handle or gate valves with a circular wheel-like mechanism. Ensure you can turn the valve smoothly before an emergency occurs. A quarter turn for ball valves or multiple rotations for gate valves will stop water flow completely. If the valve seems stiff or rusty, consider having a professional plumber inspect and potentially replace it to guarantee reliable performance when you need it most.
Remember, knowing your main water shut-off valve’s location isn’t just about emergency preparedness—it’s about taking proactive control of your home’s critical infrastructure. Take a moment now to locate and understand this essential component, potentially saving yourself significant stress and expense in the future.
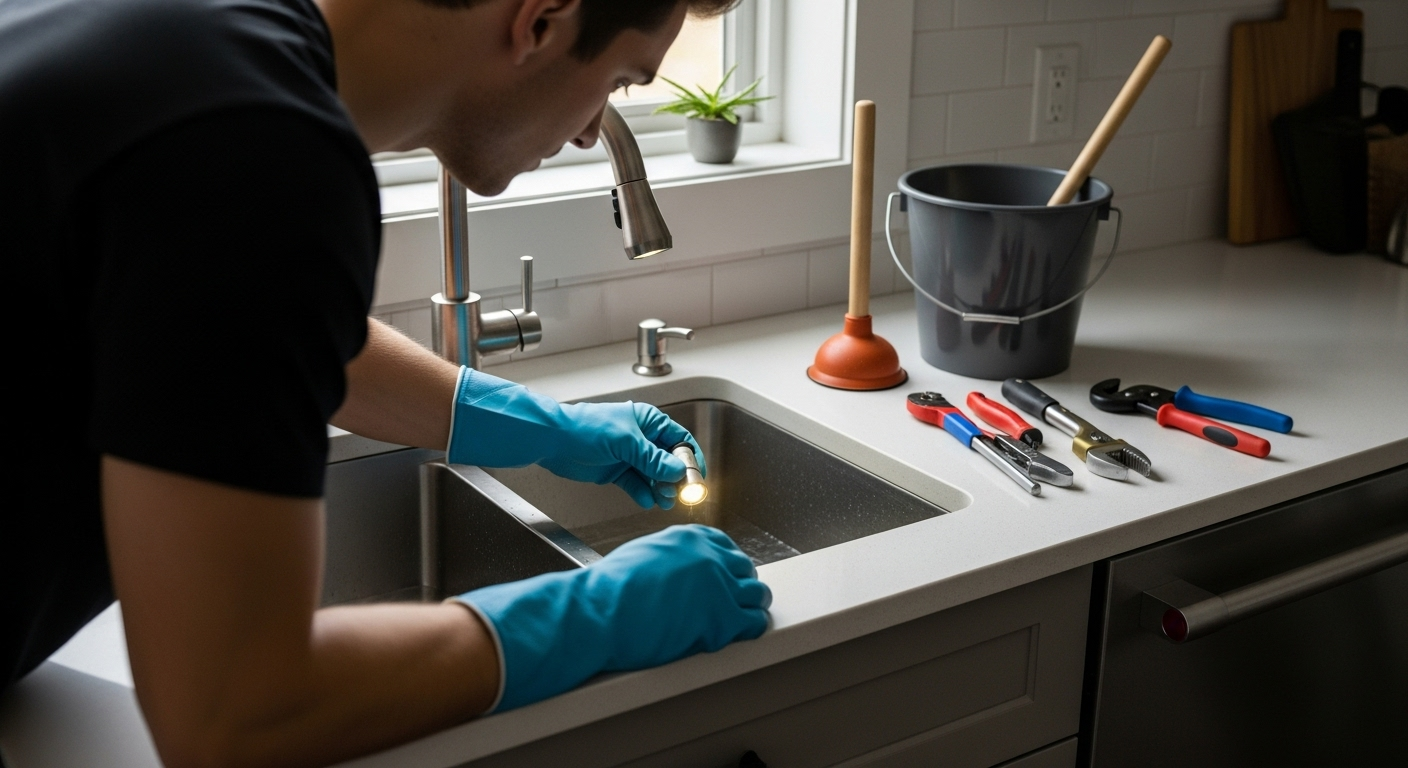
Before turning off your water, a thorough assessment of the situation is crucial to ensure you take the most appropriate and effective action. This step involves understanding the nature of your water-related emergency and preparing the right tools to address it safely and efficiently.
Identifying the specific water problem is your first priority. Are you dealing with a burst pipe, a significant leak, a planned repair, or a potential contamination issue? Each scenario requires a slightly different approach. For instance, a burst pipe might need immediate and complete water shutoff, while a minor fixture leak might only require localized valve closure. Look for visible signs of water damage, listen for unusual sounds like hissing or dripping, and check for unexpected moisture or pooling water around pipes, walls, and floors.
As you assess the situation, you’ll want to gather a few essential tools to help you manage the water shutoff process effectively. Explore our comprehensive plumbing toolkit guide below for more detailed recommendations. Your emergency toolkit should include:
- An adjustable pipe wrench or dedicated water meter key
- Protective work gloves
- A flashlight with fresh batteries
- Towels or a bucket to manage any residual water
- Waterproof tape or pipe repair clamps for temporary emergency fixes
The wrench or water meter key is particularly important, as some main water valves might require specialized tools to turn or might be located in hard-to-reach areas. Ensure your chosen tool fits the specific valve type in your home. If you’re unsure about the valve mechanism, take a moment to inspect it carefully before attempting to shut it off.
Paying attention to safety is paramount during this process. If water is actively spraying or flooding, prioritize protecting electrical systems and valuable belongings. Move electronics, furniture, and important documents away from the affected area. Consider wearing rubber-soled shoes to minimize electrical risk, especially if water is near electrical outlets or appliances.
Before proceeding with water shutoff, communicate with other household members about what you’re doing. Ensure everyone understands the situation and knows to avoid the affected area. If the water issue seems complex or potentially dangerous, don’t hesitate to contact professional plumbing services who can provide expert assistance and minimize potential damage to your home.
Turning off the main water shut-off valve is a critical skill that can prevent significant water damage and help you manage unexpected plumbing emergencies. This step requires careful attention and a methodical approach to ensure complete water supply interruption.
The method for shutting off your water depends on the type of valve installed in your home. Most residential properties have either a gate valve with a circular wheel-like handle or a ball valve with a lever handle. For gate valves, you’ll need to rotate the wheel clockwise multiple times until it stops, which completely closes the water flow. Ball valves require a simple quarter turn of the lever until it’s perpendicular to the pipe, effectively blocking water passage.
Understand valve mechanisms in more detail with our expert recommendations. When approaching the valve, move slowly and deliberately. If the valve appears rusty or hasn’t been used in years, apply gentle, steady pressure. Avoid using excessive force that might break the valve or cause pipe damage. If the valve seems stuck, consider applying a small amount of penetrating lubricant and waiting a few minutes before attempting to turn it again.
To verify you’ve successfully shut off the water, perform a few quick checks. Open a faucet at the lowest point in your home, typically in the basement or on the ground floor. If no water or only a minimal trickle emerges, you’ve successfully closed the main valve. Another confirmation method involves listening for water flow sounds and checking that no water continues to run from household fixtures.
Special considerations exist for different home configurations. Older homes might have valves in unexpected locations or require specialized tools. If you encounter difficulty or uncertainty, it’s crucial to contact a professional plumber who can safely manage the water shutoff process. Some homeowners might also discover their valve is damaged or non-functional during this process, which signals the need for immediate professional replacement.
Be prepared for potential residual water in your pipes after shutting off the main valve. Have towels or a bucket ready to catch any remaining water that might drain from open faucets. Communicate with all household members about the water being shut off to prevent confusion or accidental water use. By following these steps carefully, you’ll effectively control your home’s water supply and mitigate potential plumbing emergencies.

Verifying that your water supply is completely shut off is a critical step that prevents potential water damage and ensures the success of your emergency plumbing intervention. Simply turning the valve is not enough without confirming the complete cessation of water flow throughout your home’s plumbing system.
Begin your verification process by systematically testing different water sources in your home. Start with the lowest point of your plumbing system, typically a basement or ground floor sink or utility faucet. Turn on both hot and cold water taps fully and observe the water flow. A complete water shutoff will result in no water or only a minimal initial trickle that quickly stops. If water continues to flow strongly, this indicates that your main valve might not be fully closed or there could be an issue with the valve mechanism.
Next, move through your home and test additional fixtures. Check kitchen and bathroom faucets, outdoor hose bibs, and any other water sources. Pay special attention to multi-story homes, where water might behave differently due to existing pressure in upper-level pipes. Some residual water in pipes is normal, but continuous flow suggests a problem with your shutoff.
For a more technical verification, observe your water meter if accessible. Most water meters have a small triangular or diamond-shaped dial that indicates water movement. With all fixtures closed, this dial should remain completely stationary. Any spinning or movement suggests water is still flowing somewhere in your system, which means your main valve might not be fully closed.
Important considerations emerge during this verification process. Older homes with complex plumbing systems or multiple water entry points might require more thorough checking. Be prepared to feel slight moisture or see minimal water drainage, which is different from active water flow. If you’re consistently unable to stop water flow or notice unusual behavior, it might indicate a more significant plumbing issue requiring professional intervention.
Additional verification steps include listening carefully for any hissing or running water sounds and checking areas prone to water accumulation like basement floors or under sinks. By methodically working through these checks, you’ll gain confidence that your water supply is truly and completely shut off, protecting your home from potential water-related damage.
To help ensure you've completely shut off your home's water supply, use this simple verification checklist. Completing each point will greatly reduce your chance of water-related damage.
| Verification Step | What to Do | What to Look/Listen For |
|---|---|---|
| Test lowest faucet | Turn on a basement or ground floor tap | No water or a brief trickle only |
| Check multiple fixtures | Test kitchen, bathroom, and outdoor taps | No ongoing water flow |
| Observe the water meter | Look for movement of meter's dial | Stationary dial means no flow |
| Listen for water sounds | Move through the house and listen | No hissing, dripping, or running |
| Inspect for pooling or dampness | Check basements and under sinks | No new pooled water or moisture |
Documenting the water shut-off process is a crucial step that transforms an emergency response into a valuable learning experience for future home maintenance. By creating a comprehensive record, you’ll provide critical information for yourself, family members, and potential future homeowners about your property’s unique water management characteristics.
Start by creating a detailed written document that captures the specifics of your water shut-off experience. Begin with the date and time of the shut-off, noting the precise circumstances that prompted this action. Describe the location of your main water shut-off valve, including specific details like its type (gate valve or ball valve), exact position in your home, and any unique characteristics or challenges you encountered during the process. Keep a home repair journal for home maintenance documentation to enhance your record-keeping skills.
Photographic documentation can be incredibly valuable. Take clear, well-lit pictures of your main water shut-off valve, showing its location, type, and any notable features. Include photos of the surrounding area to provide context. If you encountered any issues during the shut-off process, photograph those as well. These visual records can be crucial if you need to consult a professional plumber or demonstrate a persistent problem.
Your documentation should include a thorough assessment of the valve’s condition. Note any signs of wear, rust, difficulty in turning, or potential future maintenance needs. Create a checklist of observations that future homeowners or maintenance professionals would find useful. This might include the valve’s responsiveness, any unusual sounds or resistance during operation, and the overall condition of the surrounding pipes and infrastructure.
Consider creating a dedicated home maintenance folder or digital file where you can store this information. Include additional relevant details such as:
- The age of your home’s plumbing system
- Previous water-related incidents or repairs
- Contact information for your local water utility
- Professional plumber’s contact details
- Rough sketch of your home’s water line configuration
Sharing this documentation with all household members ensures everyone knows how to handle a water emergency. Place a physical copy in an easily accessible location, such as near the water shut-off valve or in a home maintenance binder. Create a digital backup on a shared cloud storage platform so family members can access it from anywhere.
Remember, thorough documentation is more than just a record it’s a proactive approach to home maintenance. By taking the time to document your water shut-off process, you’re creating a valuable resource that can save time, prevent potential damage, and provide peace of mind for years to come.
When you need to stop water damage fast , locating and shutting off your main valve is only the beginning. Even with a clear step-by-step guide, situations like stubborn valves, leaks behind walls, or uncertainty about your plumbing setup can make the process stressful. Your home deserves a reliable plumbing partner who understands the urgency and can address issues like old pipes, faulty shut-off valves, and hidden leaks, all mentioned in our guide above.

Take control before minor problems become major headaches. Trust DrainWorks Plumbing , Toronto’s most recognized team for emergency plumbing and drain issues. Our licensed and insured technicians are ready to provide repairs, valve replacements, and full water line upgrades with transparent pricing you can count on. Do not risk costly water damage or repeat emergencies - book your visit directly at our main site and gain peace of mind from award-winning service. Stay protected, act today.
Frequently Asked Questions
Where is the main water shut-off valve typically located in a Canadian home?
Most Canadian homes have the main water shut-off valve located in the basement, near the front foundation wall, or close to where the water service line enters the home. You can also check crawl spaces or utility rooms if applicable.
How can I identify what type of shut-off valve I have?
You can identify your shut-off valve by its handle type. Most valves are either ball valves with a lever handle (which requires a quarter turn to close) or gate valves with a circular wheel (which requires multiple clockwise turns to close). Inspect the valve carefully to determine its type.
What tools do I need to shut off my main water supply?
Essential tools to shut off your main water supply include an adjustable pipe wrench, protective gloves, a flashlight, towels or a bucket to catch any residual water, and possibly a dedicated water meter key depending on the valve type.
How can I verify that the water supply is completely shut off?
To verify that the water supply is completely off, turn on a faucet at the lowest point in your home. If no water flows after shutting off the main valve, or only a minimal initial trickle occurs, you have effectively closed the valve. Additionally, checking the water meter for movement can confirm if water is still flowing.
Recommended
[How to Fix A Leaky Bathroom Faucet | DrainWorks Plumbing Toronto]( https://drainworks.com/plumbing-blog/how-to-fix-a-leaky-bathroom-faucet)
[Summer’s End Plumbing Checklist: Keep Your Plumbing in Top Shape!]( https://drainworks.com/plumbing-blog/summers-end-plumbing-checklist-keep-your-plumbing-in-top-shape)
[The Most Common Plumbing Emergencies | DrainWorks Toronto]( https://drainworks.com/plumbing-blog/the-most-common-plumbing-emergencies)
[Avoid Outdoor Faucet Leaks - Turn On Your Hose Bib]( https://drainworks.com/avoid-outdoor-faucet-leaks-turn-on-your-hose-bib)