Insulating Pipes for Winter: A Complete Homeowner’s Guide
Toronto winters can turn even the toughest pipes brittle in hours. A single burst pipe can spill as much as 400 litres of water in just eight hours . Most homeowners think that throwing some foam on their pipes is enough. That belief leaves thousands facing expensive water damage each winter.
Table of Contents
Quick Summary
| Key Point | Explanation |
|---|---|
| 1. Assess your current pipe insulation needs | Thoroughly inspect exposed pipes for existing insulation and conditions to identify areas needing attention before winter arrives. |
| 2. Gather appropriate materials and tools | Collect high-quality insulation materials like foam sleeves and necessary tools to ensure effective pipe insulation installation. |
| 3. Clean and prepare pipes before insulation | Ensure pipes are clean, dry, and free from damage to enhance insulation effectiveness and prevent future issues. |
| 4. Secure insulation thoroughly | Wrap joints and connections tightly using silicone tape to create an airtight barrier against moisture and cold air. |
| 5. Verify insulation effectiveness with checks | Conduct thorough visual and temperature inspections to confirm complete coverage and identify any areas that may need reinforcement. |
Step 1: Assess Your Current Pipe Insulation Needs
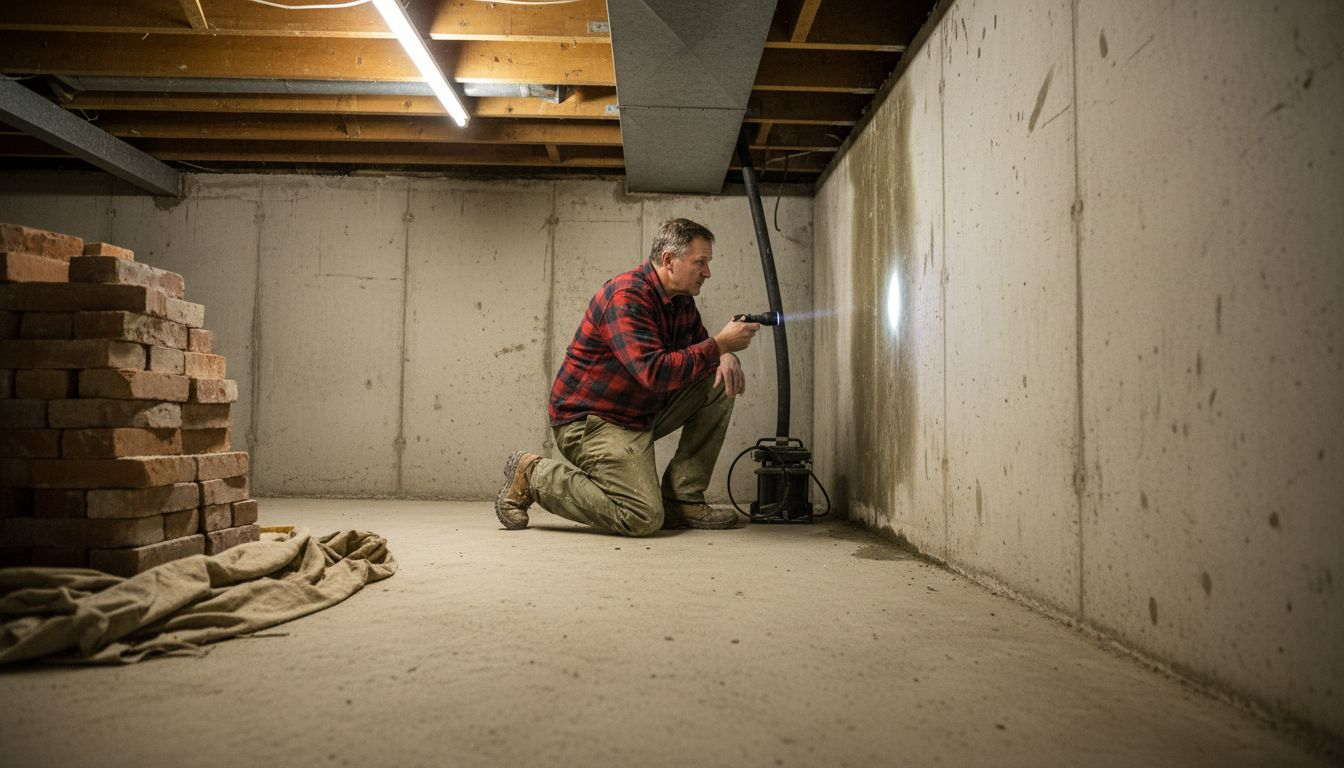
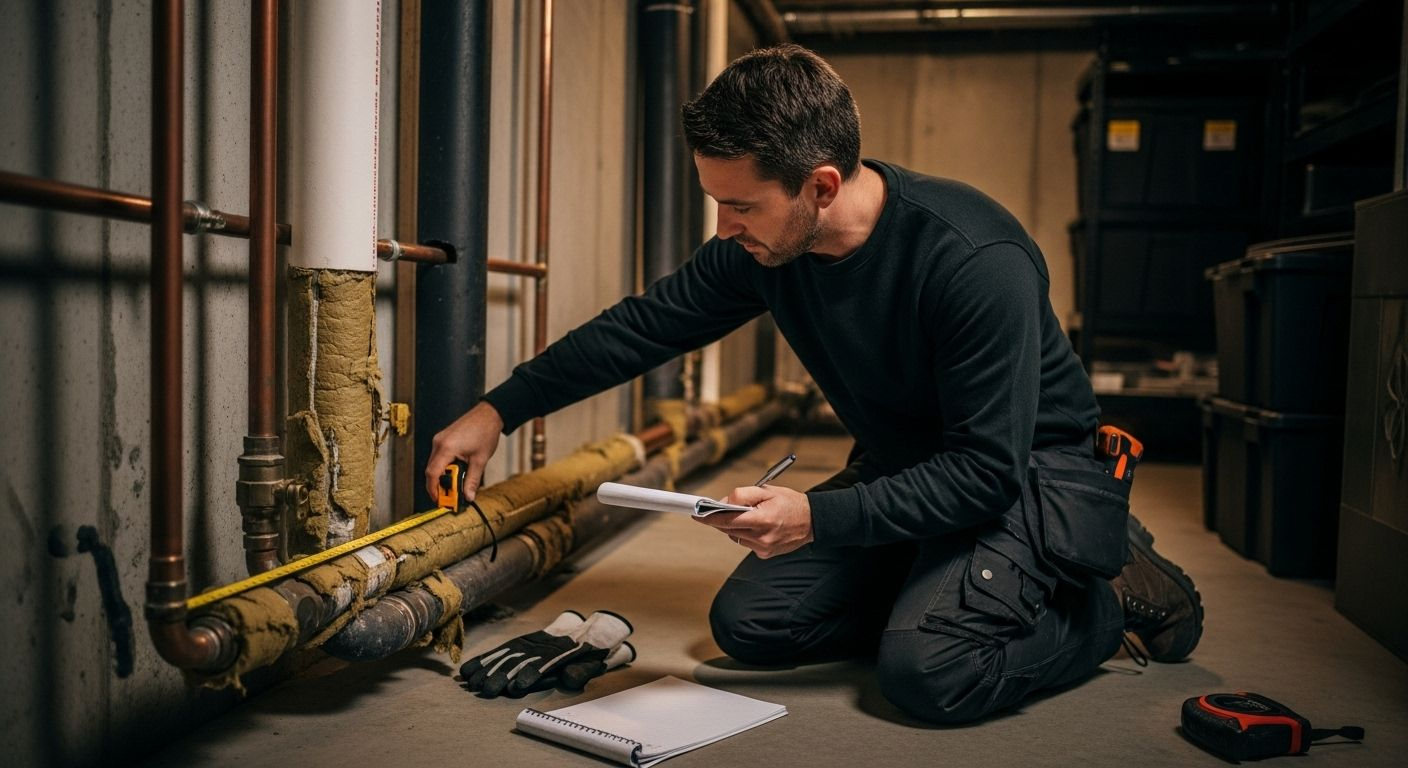
Protecting your home’s plumbing system starts with a thorough assessment of your current pipe insulation status. Winter in Toronto can be brutally cold, and uninsulated pipes are vulnerable to freezing, cracking, and potentially catastrophic damage. Before you invest time and resources into insulating pipes for winter, you need a comprehensive understanding of your home’s existing pipe infrastructure.
Begin your assessment by conducting a detailed visual inspection of all exposed pipes in key areas: basement, crawl spaces, attic, exterior walls, and any unheated regions of your home. Look for signs of existing insulation and its condition. Not all insulation is created equal , and older materials might have degraded over time. Pay special attention to pipes near windows, doors, and exterior walls where temperature fluctuations are most extreme.
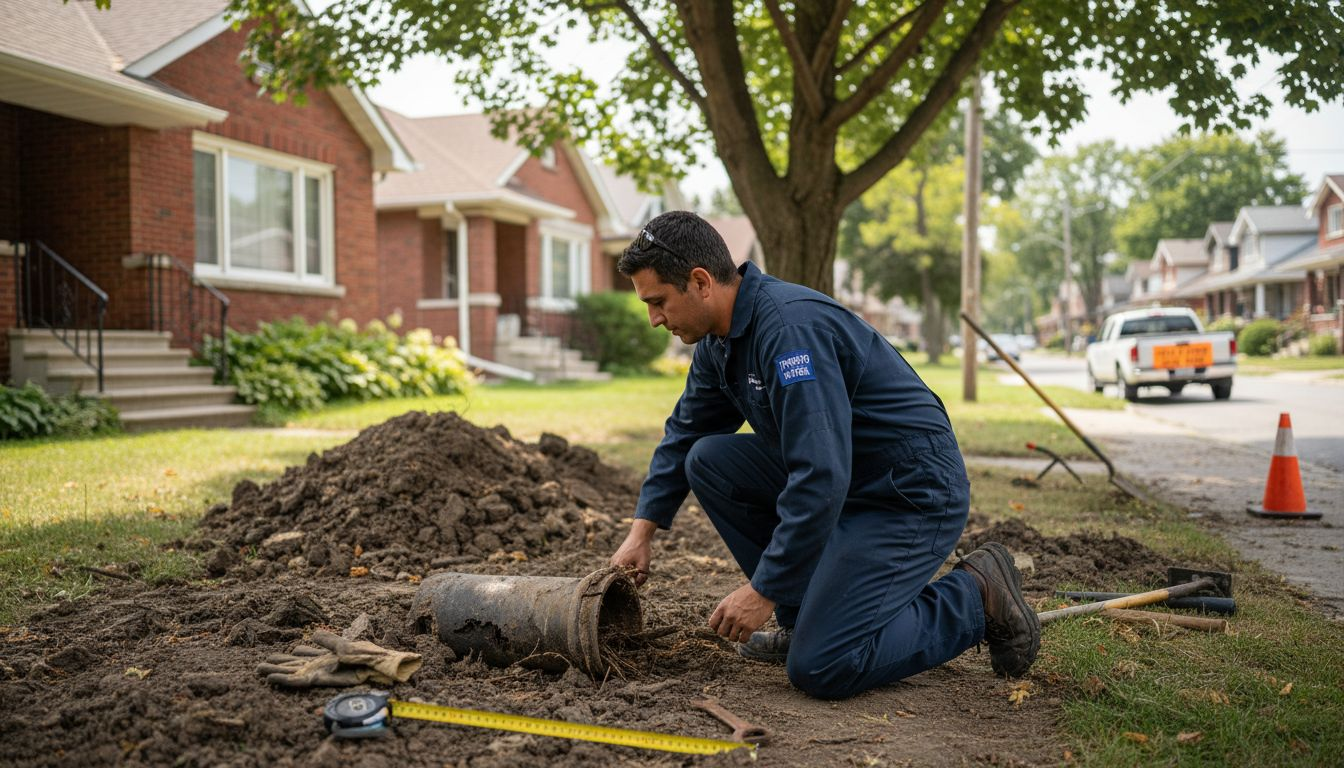
Measure the length and diameter of pipes that require insulation. This information will help you purchase the correct amount of insulation material and determine the most appropriate type. Copper pipes, for instance, conduct cold more readily than other materials and require extra attention. Take detailed notes about pipe location, material, and current condition. Some pipes might have partial insulation or outdated materials that no longer provide adequate protection.
Consider the age of your home and its original construction. Older homes in Toronto neighborhoods like Cabbagetown or the Annex often have unique plumbing configurations that require more customized insulation approaches. Homes built before the 1990s might have pipes more susceptible to freezing and damage. Your assessment should include checking for any existing cracks, gaps, or areas where cold air can penetrate near pipe locations.
To verify your assessment’s completeness, create a simple documentation system. Sketch a basic map of your home’s pipe layout, noting areas that need immediate insulation. Photograph each section of exposed piping to create a visual reference for your upcoming insulation project. This documentation will serve as a valuable guide during the installation process and help you track your home’s plumbing maintenance over time.
Step 2: Gather Necessary Materials and Tools
With your initial pipe assessment complete, the next critical step in insulating pipes for winter involves gathering the right materials and tools. Proper preparation will save you time, frustration, and potentially costly mistakes during the insulation process. Your goal is to collect high-quality materials that provide reliable protection against freezing temperatures and potential pipe damage.
Insulation materials are the cornerstone of your project. Opt for high-quality foam pipe sleeves or fibreglass pipe wrap, which are readily available at most hardware stores in Toronto. The thickness of your insulation should correspond with the pipe diameter and the typical winter temperatures in your region. For most residential pipes, 1-inch thick insulation works effectively. Measure the total length of pipes you identified during your assessment to ensure you purchase sufficient material. Consider purchasing slightly extra to account for potential measurement errors or complex pipe configurations.
Your toolkit should include several essential items to complete the installation smoothly. You will need a utility knife with sharp blades for precise cutting, measuring tape for accurate measurements, protective work gloves, safety glasses, and cleaning supplies to prepare pipe surfaces. Silicone tape or specialized pipe insulation tape will help secure insulation materials and create a tight seal. If you’re working in tight spaces like crawl spaces or near electrical components, a headlamp can provide crucial additional lighting.
Before purchasing materials, double-check compatibility with your specific pipe types. Copper, PVC, and galvanized steel pipes might require slightly different insulation approaches. Some hardware stores offer consultation services where staff can help you select the most appropriate materials for your specific home configuration.
Below is a summary table of common pipe insulation materials, the types of pipes they are suitable for, and their key features to help guide your selection process.
| Insulation Material | Suitable Pipe Types | Key Features |
|---|---|---|
| Foam Pipe Sleeves | Copper, PVC, Galvanized | Easy to install, effective insulation, widely available |
| Fibreglass Pipe Wrap | Most residential pipe types | Good for irregular shapes, high insulation value |
| Heat Tape | Pipes prone to freezing | Provides direct heat, often used under insulation |
| Silicone Tape | All types (for joints) | Seals joints, moisture barrier, flexible use |
| Rigid Foam Board | Exterior wall applications | Extra protection, high resistance to cold air |
| Expanding Foam Sealant | Areas near penetrations | Fills air gaps, moisture resistant |
To verify you have everything needed, lay out all materials and tools before beginning the installation. Create a simple checklist that includes:
- Pipe insulation sleeves or wrap
- Measuring tape
- Utility knife
- Protective gloves
- Silicone tape
- Cleaning cloths
This methodical approach ensures you are fully prepared to move forward with confidence in your pipe insulation project.
Step 3: Prepare Pipes for Insulation Application
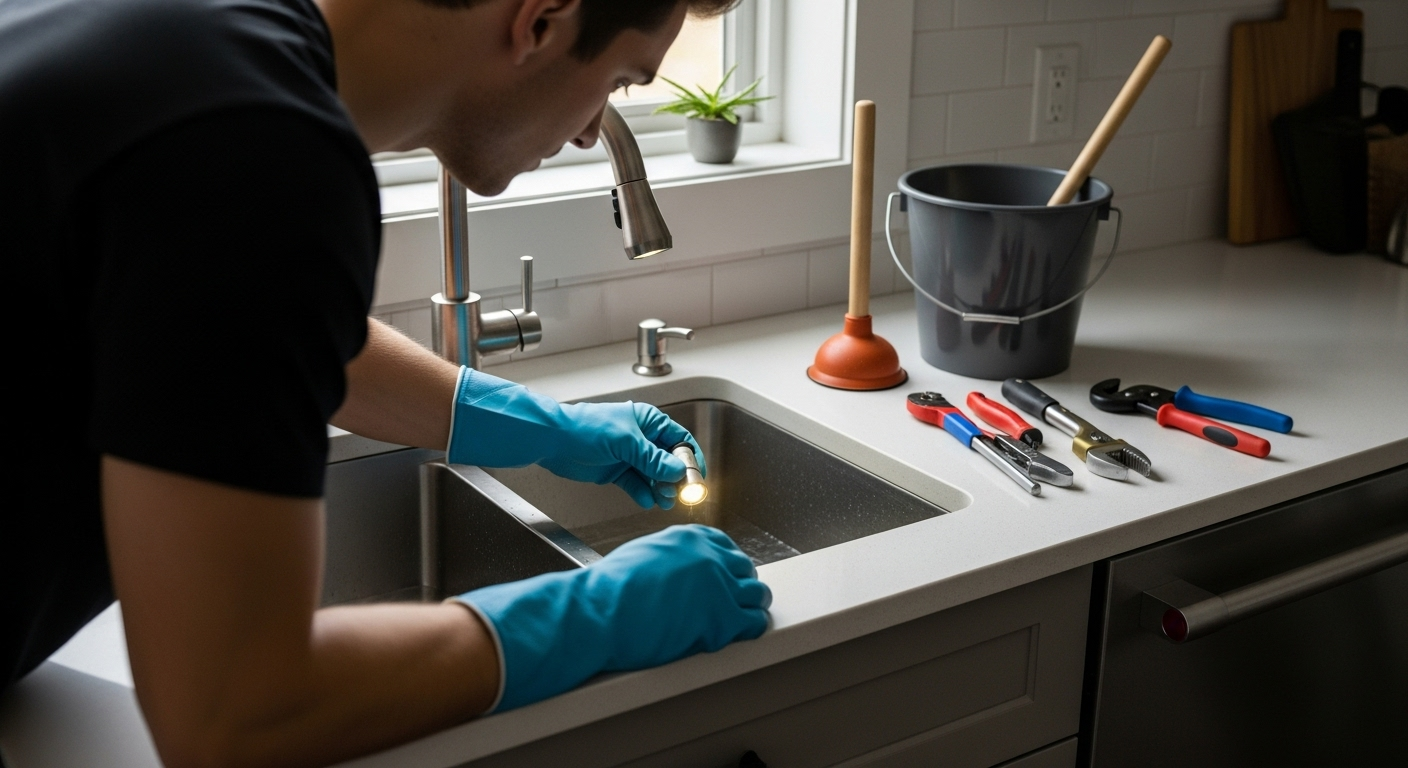
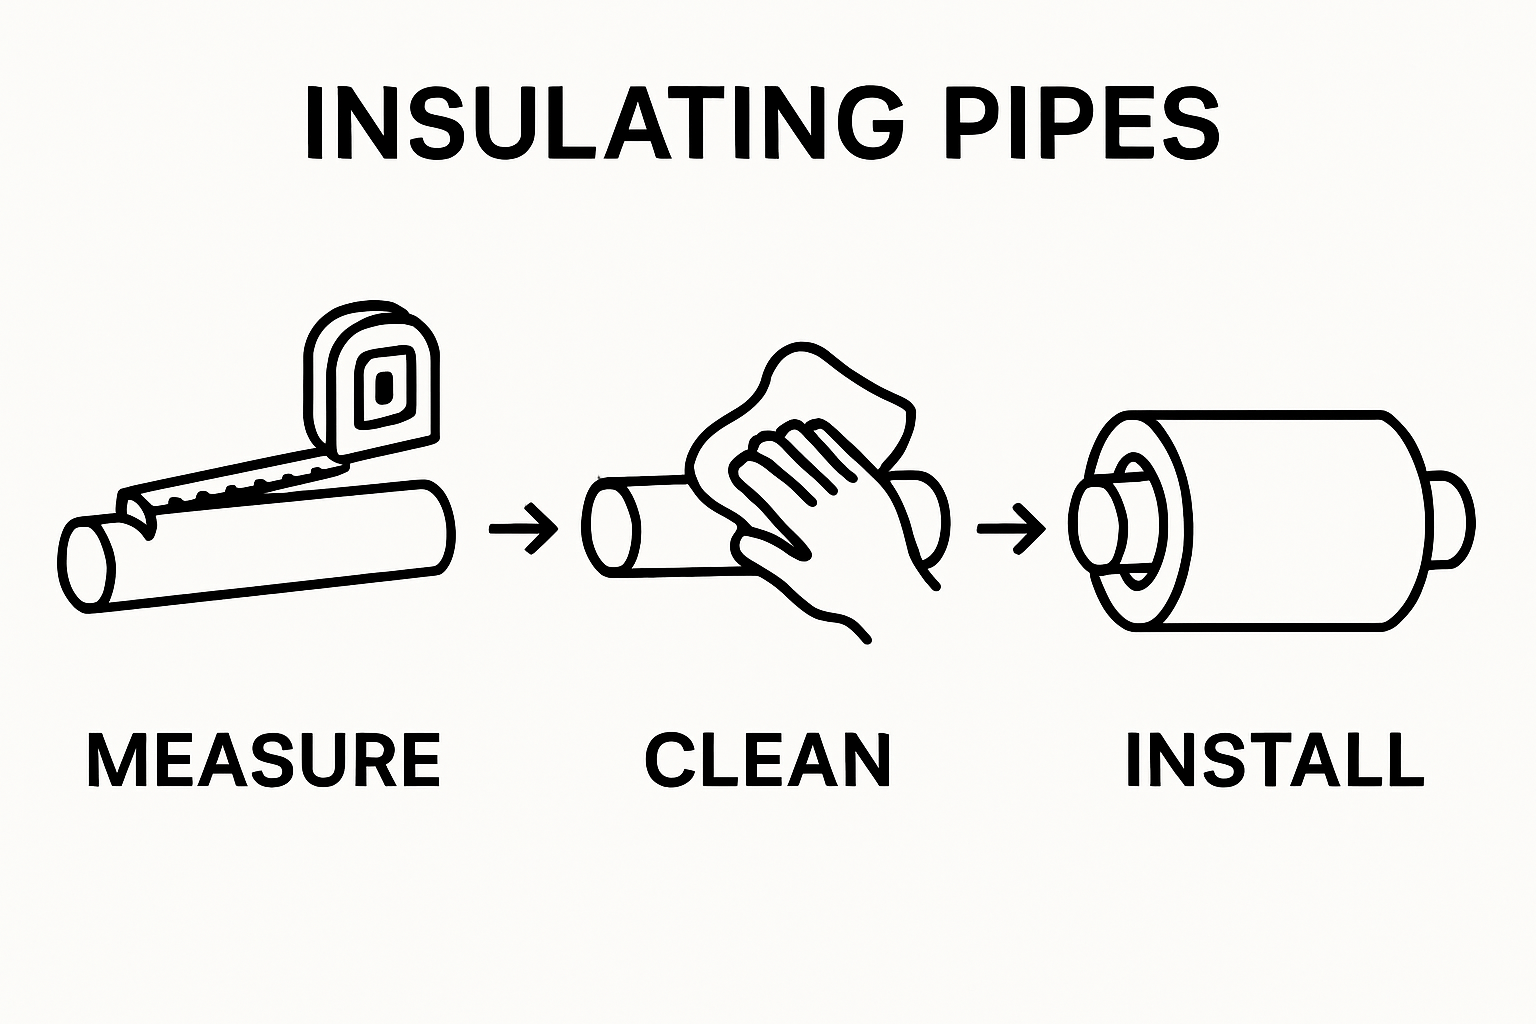
Preparing pipes for insulation is a meticulous process that requires careful attention to detail and thoroughness. Before applying any insulation materials, you must ensure that your pipes are clean, dry, and free from potential complications. read our guide on preventing frozen pipes for additional winter preparation strategies.
Begin by thoroughly cleaning each pipe surface. Dirt, grease, and moisture can compromise the effectiveness of your insulation, potentially leading to reduced performance and potential mold growth. Use a clean, lint-free cloth with rubbing alcohol to remove any accumulated grime, paying special attention to areas with visible dust or residue. Work systematically from one end of the pipe to the other , ensuring complete surface preparation. For pipes in hard-to-reach areas like crawl spaces or behind appliances, consider using an extendable cleaning tool to reach every surface.
Inspect each pipe carefully for existing damage, leaks, or signs of wear that might need addressing before insulation. Small cracks or pinhole leaks can worsen during freezing temperatures, so identifying and repairing these issues now is crucial. Look for discoloration, rust, or areas where pipe joints seem compromised. If you discover significant damage, consider consulting a professional plumber before proceeding with insulation. Minor surface imperfections can be sealed with pipe repair tape , but extensive damage requires professional intervention.
Temperature and humidity play critical roles in successful pipe insulation. Choose a day with moderate temperatures and low humidity for your installation. Extremely cold surfaces can cause condensation, which interferes with insulation adhesion. If working in a damp environment like a basement, use a portable dehumidifier to create optimal conditions. Allow pipes to reach room temperature before beginning the insulation process, as cold pipe surfaces can prevent proper material adherence.
To verify your preparation is complete, perform a final checklist:
- Pipes are completely clean and dry
- Surface damage has been assessed and addressed
- Working area is well-lit and humidity-controlled
- All necessary tools and materials are within reach
- Pipes are at room temperature
A methodical approach to pipe preparation sets the foundation for effective winter insulation, protecting your home’s plumbing system from potential cold-weather damage.
Step 4: Apply Insulation Material to Pipes
With your pipes meticulously prepared, the actual insulation application becomes a precise and methodical process. learn more about protecting your home’s plumbing system as you work through this critical winter preparation step.
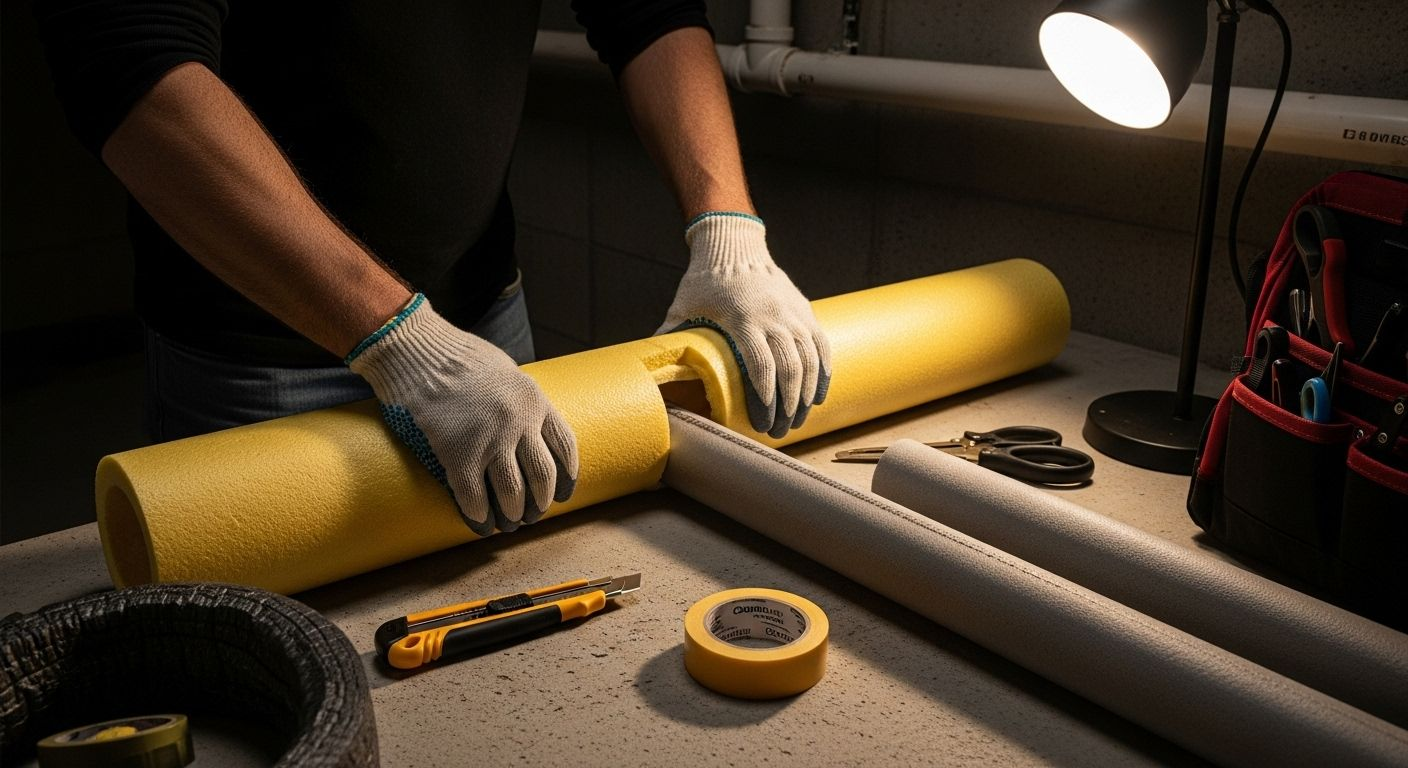
Foam pipe sleeves provide the most straightforward insulation method for most residential pipes. Begin by selecting sleeves that match your pipe diameter exactly. Measure twice and cut once, ensuring a clean, straight cut using a sharp utility knife. The sleeve should run the entire length of the pipe section, with no gaps or exposed areas that could allow cold air penetration. When working with pipes in tight spaces or with irregular configurations, you might need to make strategic cuts or use multiple sleeve sections to ensure complete coverage.
Applying the insulation requires patience and attention to detail. Slide the foam sleeve over the pipe, making certain it fits snugly without compressing the material. Overlap sleeve edges by at least one inch to create a continuous insulation barrier. For pipes with numerous bends or complex routes, you may need to use additional silicone tape to secure the insulation and prevent slippage. Pay extra attention to areas near joints, valves, and connections, as these spots are particularly vulnerable to temperature variations.
Some pipes might require additional protection beyond standard foam sleeves. In extremely cold areas like unheated basements or exterior walls, consider using additional heat tape or thermal wrap underneath the foam insulation. This creates a multi-layered approach that provides maximum protection against freezing temperatures. Be careful not to overlap heat tape too tightly, as this can reduce its effectiveness and potentially cause electrical issues.
To verify your insulation application is complete and effective, perform a comprehensive inspection:
- All pipe sections are completely covered
- No gaps or exposed pipe surfaces remain
- Insulation is snug but not compressed
- Tape or adhesive connections are secure
- Pipe joints and connections are properly insulated
Take your time during this process. Proper insulation is an investment in your home’s infrastructure, protecting against potential water damage and expensive emergency repairs.
Step 5: Secure and Seal the Insulated Pipes
Securing and sealing your newly insulated pipes is the final critical step in protecting your home’s plumbing system from winter’s harsh conditions. explore our comprehensive summer maintenance guide to understand how seasonal maintenance prevents future issues.
Silicone tape becomes your primary tool for creating a robust seal around pipe insulation. Begin by carefully wrapping the tape around each pipe sleeve joint, ensuring a tight and continuous barrier against moisture and cold air. Work methodically, overlapping the tape by at least half its width to create a seamless protective layer. For pipes in particularly challenging locations like exterior walls or unheated crawl spaces, consider using additional weatherproof tape that provides extra moisture resistance.
Pay special attention to pipe connections, valves, and areas where pipes pass through walls or floors. These transition points are most vulnerable to temperature fluctuations and potential air infiltration. Use expanding foam sealant to fill any gaps around pipe penetrations, creating an airtight barrier that prevents cold air from reaching your newly insulated pipes. Apply the foam carefully , avoiding over-application that could put unnecessary pressure on pipe connections.
In areas with extreme temperature variations, you might need to implement additional reinforcement strategies. For pipes running through exterior walls, consider creating a secondary insulation barrier using rigid foam board or additional wrap materials. This multi-layered approach provides an extra buffer against freezing temperatures. Be mindful of maintaining proper pipe support during this process, ensuring that your insulation and sealing techniques do not compromise the structural integrity of the piping system.
To verify the effectiveness of your sealing process, perform a comprehensive inspection:
- All pipe sleeve joints are completely sealed
- No visible gaps or exposed insulation remain
- Expanding foam is neatly applied around wall penetrations
- Tape application is smooth and continuous
- Pipes maintain proper support and alignment
Take your time during this final step. A thorough and meticulous approach to securing and sealing your pipes will provide peace of mind throughout the winter months, protecting your home from potential water damage and expensive emergency repairs.
Step 6: Verify Insulation Effectiveness and Near Completion
The final verification stage is crucial in ensuring your pipe insulation will protect your home throughout the harsh winter months. Thorough inspection becomes your primary tool for confirming the quality and integrity of your insulation work. This comprehensive review will help identify any potential weak points that could compromise your pipes’ protection.
Begin by conducting a systematic visual inspection of every insulated pipe section. Use a bright flashlight to illuminate areas that might be difficult to see, checking for any gaps, loose sections, or uneven insulation application. Pay special attention to areas around joints, bends, and pipe penetrations through walls or floors. Look for any signs of compression or potential moisture accumulation that could reduce the insulation’s effectiveness. Run your hand gently along the insulated pipes to feel for any inconsistencies in coverage or unexpected cold spots.
Temperature testing provides an additional layer of verification for your insulation project. Use an infrared thermometer to measure surface temperatures along the insulated pipes. Compare the temperatures of insulated and non-insulated sections to confirm the effectiveness of your work. A properly insulated pipe should maintain a more consistent temperature, with minimal heat loss. In unheated areas like basements or crawl spaces, the temperature difference becomes even more critical. Take multiple readings at different times of day to ensure consistent performance.
Below is a verification checklist table to help you confirm completion and effectiveness of your pipe insulation project before winter.
| Verification Step | Completion Criteria |
|---|---|
| All pipe sections are completely and evenly covered | No visible gaps or exposed areas |
| Sealing materials are properly applied | Tape and foam sealant are secure, continuous |
| Temperature readings show effective insulation | Consistent temperatures, no cold spots |
| Comprehensive photographic documentation is complete | Photos captured of all insulated pipes |
| No signs of moisture or potential compression exist | Surfaces dry, insulation not compressed |
| Pipe joints and penetrations are properly insulated | Extra attention to transitions and joints |
Documentation plays a key role in your verification process. Create a detailed record of your insulation project, including photographs, measurements, and notes about the materials used. This documentation serves multiple purposes: it helps you track the condition of your pipes over time, provides valuable information for future maintenance, and can be useful for home insurance purposes. Sketch a simple map of your home’s piping system , marking the locations and details of your insulation work.
To comprehensively verify your insulation project’s completion, perform a final checklist:
- All pipe sections are completely and evenly covered
- No gaps or exposed areas remain
- Sealing materials are properly applied
- Temperature readings show effective insulation
- Comprehensive photographic documentation is complete
- No signs of moisture or potential compression exist
Remember, a meticulous verification process is your final defense against potential winter plumbing disasters. Take your time, be thorough, and trust in the protective work you’ve just completed.
Ready to Protect Your Pipes from Toronto’s Winter?
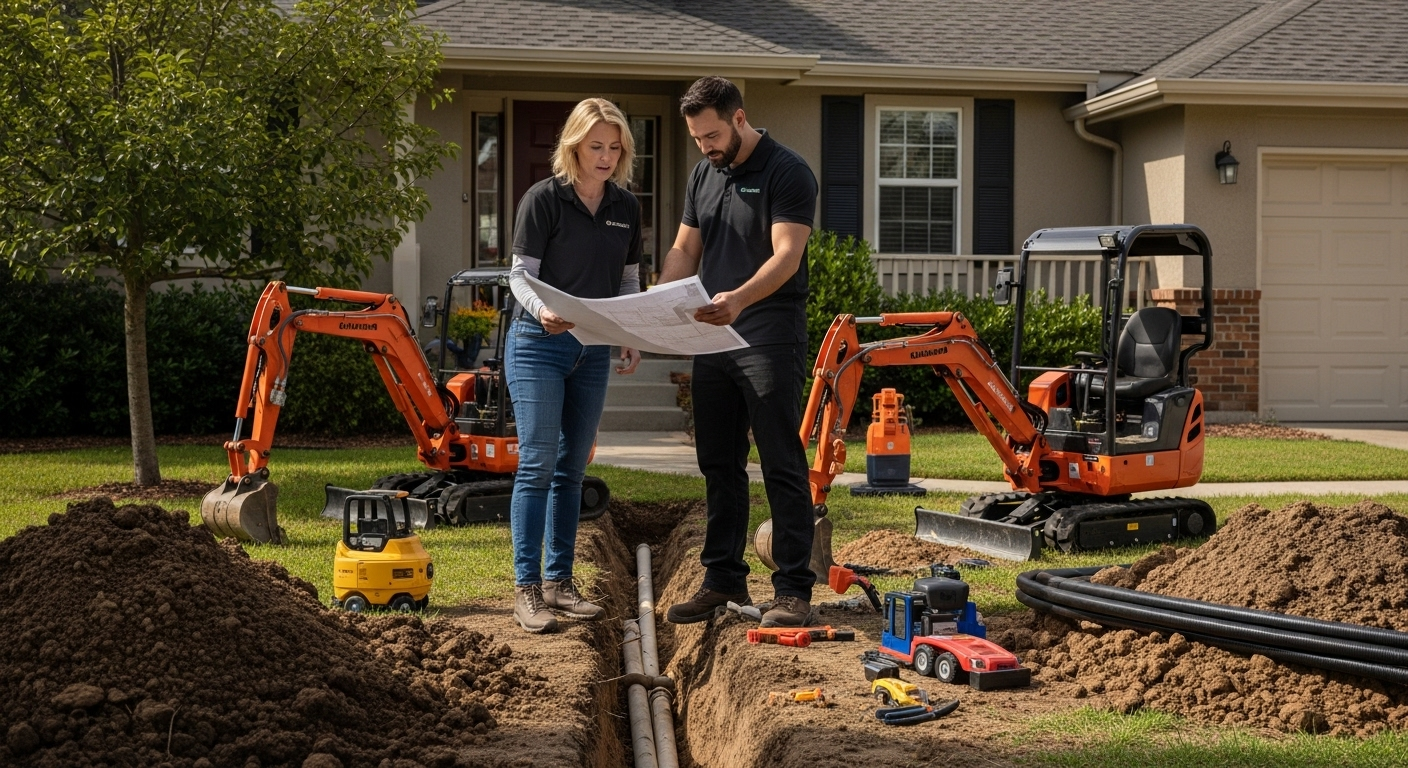
After reading about the risks of freezing and cracked pipes in “Insulating Pipes for Winter: A Complete Homeowner’s Guide,” you know how stressful and expensive winter plumbing issues can become. Missing hidden problem spots during your pipe insulation project or dealing with aging plumbing can leave your home at risk when the cold hits. That uncertainty puts your comfort and budget in jeopardy—especially if you are unsure whether your DIY efforts offer complete protection.

Why take that chance? The experts at DrainWorks Plumbing have over 30 years in Toronto homes, tackling everything from burst pipes to leaks and water line upgrades. Our fully licensed team knows where winter hits hardest and can provide the secure, professional insulation and repairs you need. Schedule a professional plumbing assessment today and gain peace of mind before temperatures drop. Let us protect your home with proven solutions, up-front pricing, and award-winning service—so you stay safe, dry, and warm all season long.
Frequently Asked Questions
How do I assess my current pipe insulation needs?
Begin by conducting a visual inspection of all exposed pipes in key areas such as the basement, attic, and exterior walls. Consider the condition of existing insulation, measure pipe lengths and diameters, and take note of any signs of damage or temperature exposure.
What materials are best for insulating pipes in winter?
High-quality foam pipe sleeves or fiberglass pipe wrap are ideal for insulating pipes. The thickness of insulation should correspond with pipe diameter and local winter temperatures, with 1-inch thick insulation typically recommended for most residential pipes.
How can I ensure my pipe insulation is effective after installation?
Conduct a thorough visual inspection for gaps and loose sections, and use an infrared thermometer to measure surface temperatures along the insulated pipes. Proper insulation should maintain a more consistent temperature and prevent cold spots.
What should I do if I find leaks or damage during my pipe inspection?
Address any leaks or significant damage before applying insulation. Minor imperfections can be sealed with pipe repair tape, but extensive damage should be evaluated by a professional plumber to prevent complications in freezing temperatures.
Recommended