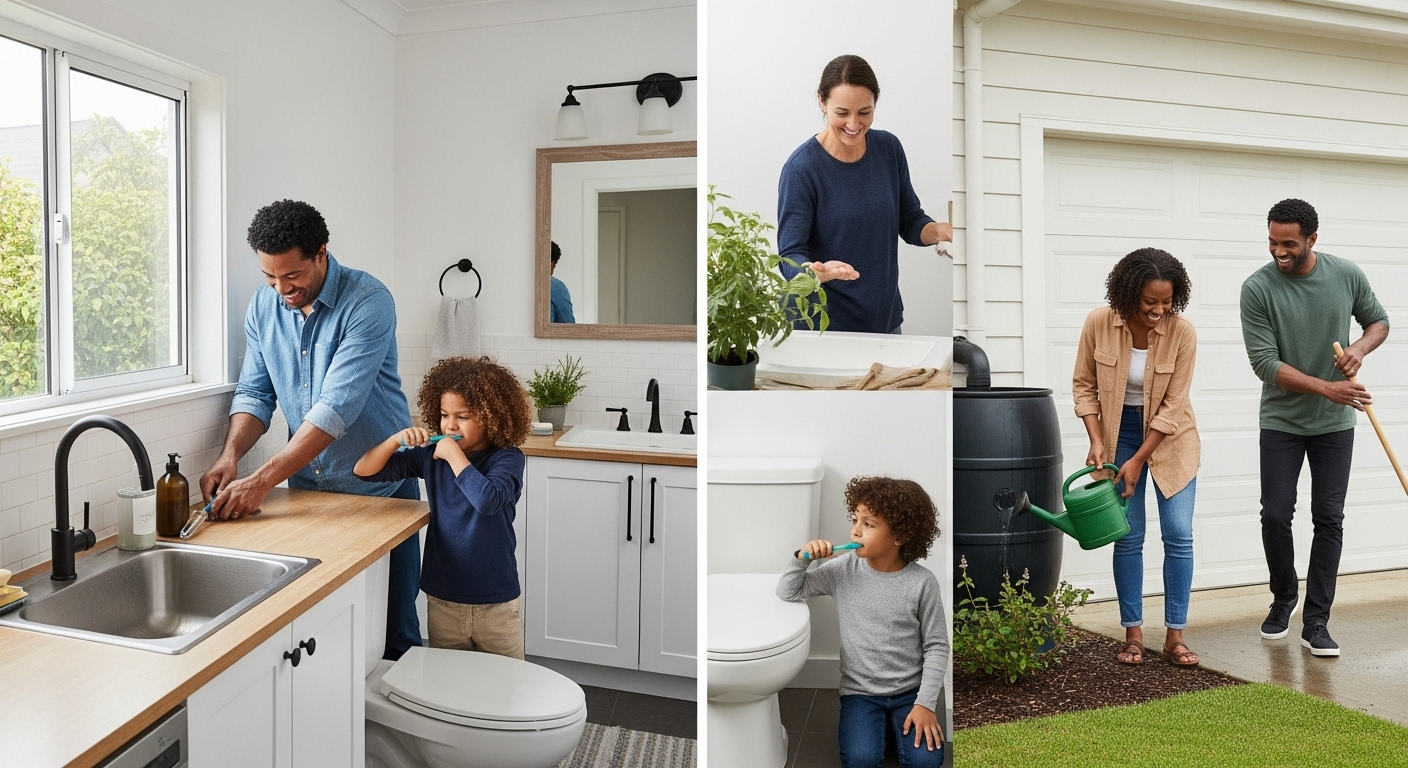
Effective Downspout Drainage Solutions for Your Home
Homeowners might not realize how much damage a little water around the foundation can cause. Just 1 inch of rainfall on an average roof can send over 1,000 gallons of water down your gutters. Surprising, right? Yet the biggest threat usually sneaks in when those downspouts dump water too close to your home. A few simple fixes can be all it takes to keep your basement dry and your investment safe.
Table of Contents
Quick Summary
| Key Point | Explanation |
| 1. Assess your downspout configuration | Examine how water flows during rain to identify problem areas affecting your foundation. |
| 2. Identify drainage problem areas | Look for standing water and erosion to determine where water management needs improvement. |
| 3. Choose suitable drainage solutions | Select options like underground systems or extensions based on your property’s landscape and needs. |
| 4. Install drainage systems correctly | Follow installation techniques that ensure smooth water flow away from your home, avoiding future issues. |
| 5. Test and verify system efficiency | Simulate rain conditions to confirm proper water movement and adjust the drainage system as necessary. |
Step 1: Assess Your Current Downspout Configuration
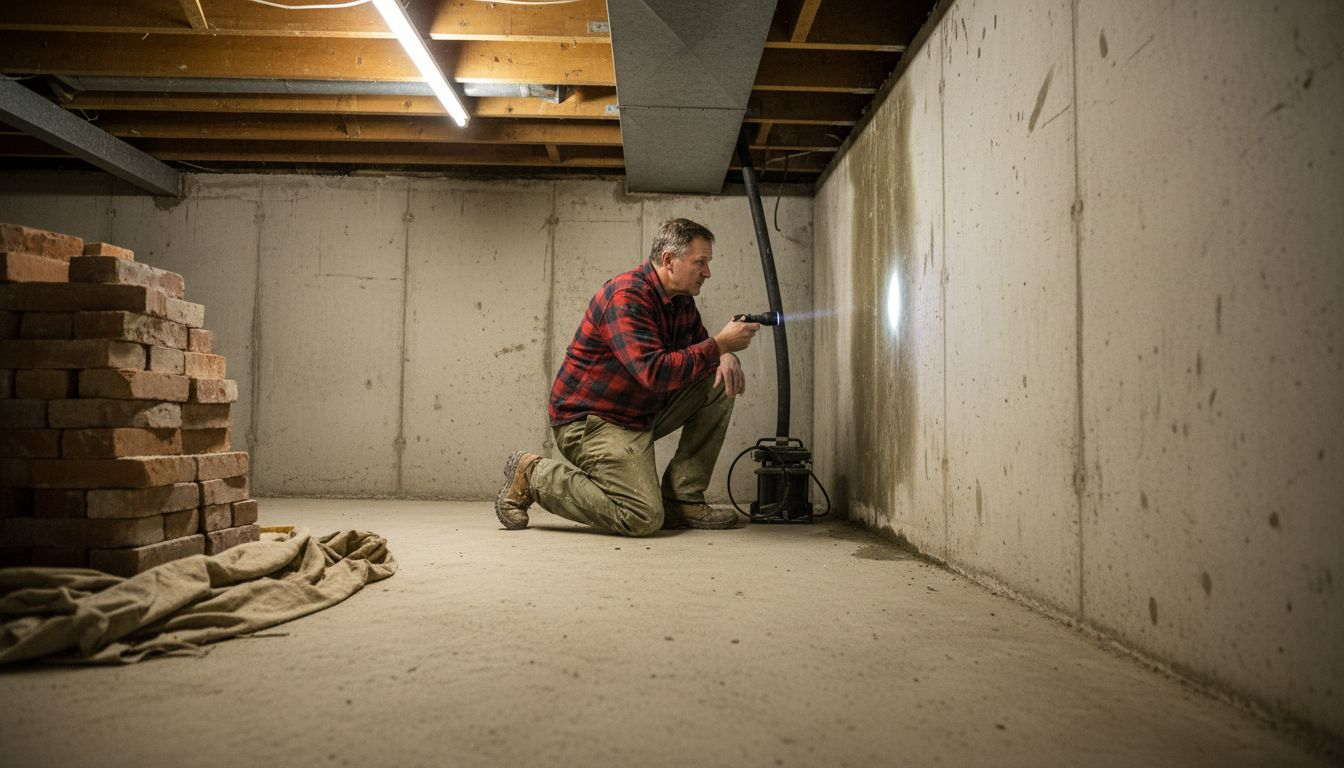
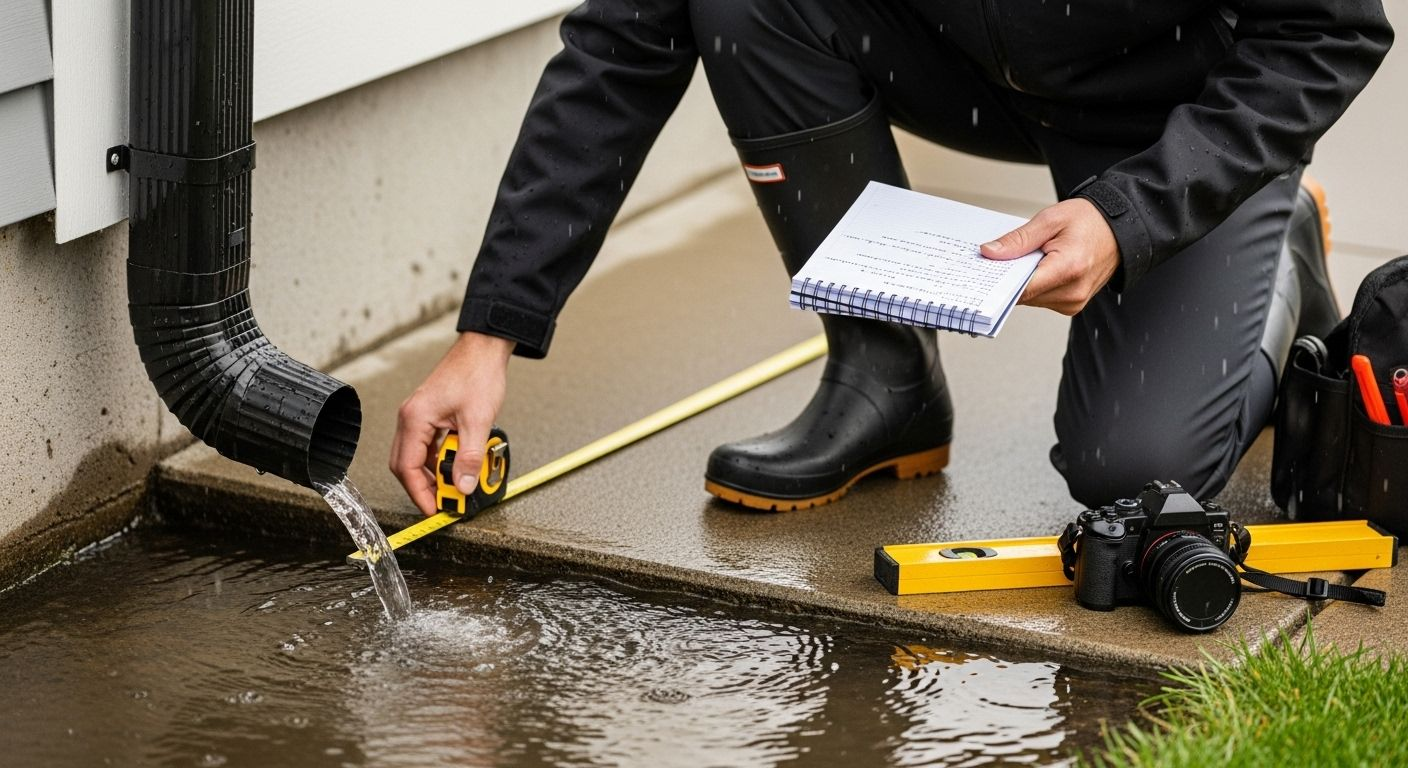
Effective downspout drainage solutions start with a comprehensive assessment of your home’s current water management system. This critical first step helps homeowners understand how water flows around their property and identify potential vulnerabilities that could lead to foundation damage or landscaping erosion.
Begin by conducting a thorough visual inspection of your existing downspouts during or immediately after rainfall. Walk around your home’s perimeter and observe how water moves from your roof through the gutters and downspouts. Look for signs of water pooling near your foundation , which indicates inadequate drainage. Pay close attention to areas where water might be concentrating instead of dispersing evenly away from your home.
Your inspection should focus on several key aspects of downspout performance. Check the angle and positioning of each downspout to ensure they direct water at least 4 to 6 feet away from your home’s foundation . Downspouts that terminate too close to the building can create serious moisture issues over time. Examine the ground slope around these drainage points - ideally, the terrain should gradually slope away from your home to prevent water from collecting and potentially seeping into your basement or crawl spaces.
Tools you’ll want to have on hand for a comprehensive assessment include:
-
Tape measure
-
Carpenter’s level
-
Notebook for documenting observations
-
Camera or smartphone for taking reference photos
-
Sturdy rain boots (for walking around during or after rainfall)
While performing your assessment, look for any signs of gutter or downspout damage such as rust, cracks, misalignment, or sections pulling away from the roofline. These issues can significantly compromise your home’s drainage effectiveness. Take detailed notes about each downspout’s condition, including its material, current state, and any visible problems that might require repair or replacement.
Successful completion of this assessment means you have a clear understanding of your current downspout configuration, potential drainage challenges, and specific areas that need improvement. Your observations will serve as the foundation for developing targeted downspout drainage solutions tailored to your home’s unique landscape and architectural design.
Step 2: Identify Drainage Problem Areas Around Your Home
Identifying drainage problem areas is a crucial step in developing effective downspout drainage solutions that protect your home from potential water damage. This investigative process requires careful observation and understanding of how water interacts with your property during different weather conditions.
The best time to assess drainage issues is during or immediately after rainfall. Water behavior reveals hidden landscape challenges that might not be apparent during dry conditions. Walk around your property systematically, starting at the foundation and moving outward. Look for telltale signs of poor drainage such as standing water, soil erosion, muddy patches, or areas where grass and plants seem stressed or waterlogged.
Pay special attention to the areas surrounding your downspouts. Water should flow smoothly away from your home without creating channels or pooling. Observe how water moves across different surfaces - concrete, grass, garden beds, and pathways each interact differently with runoff. Note any locations where water seems to collect or create mini rivers across your landscape. These observations will help you understand the natural water flow patterns and potential problem zones.
Tools that will help you conduct a thorough assessment include:
-
Waterproof boots
-
Notebook for detailed observations
-
Camera or smartphone for documentation
-
Tape measure
-
Marking flags or stakes (optional)
Consider the overall grading of your property as well. Ideally, the ground should slope away from your home’s foundation at a gentle angle, allowing water to naturally drain away. A slope of approximately 6 inches over the first 10 feet from your foundation is recommended . If you notice water flowing towards your house instead of away from it, this indicates a serious drainage problem that needs immediate attention.
Learn more about preventing water damage during seasonal changes. By meticulously documenting these drainage patterns, you create a comprehensive map of potential water management challenges, setting the stage for targeted and effective downspout drainage solutions tailored to your specific landscape.
Step 3: Choose the Right Downspout Drainage Solutions
Selecting the appropriate downspout drainage solutions requires a strategic approach that matches your specific property characteristics and water management needs. This step transforms your initial assessment into practical, actionable improvements that protect your home from potential water damage.
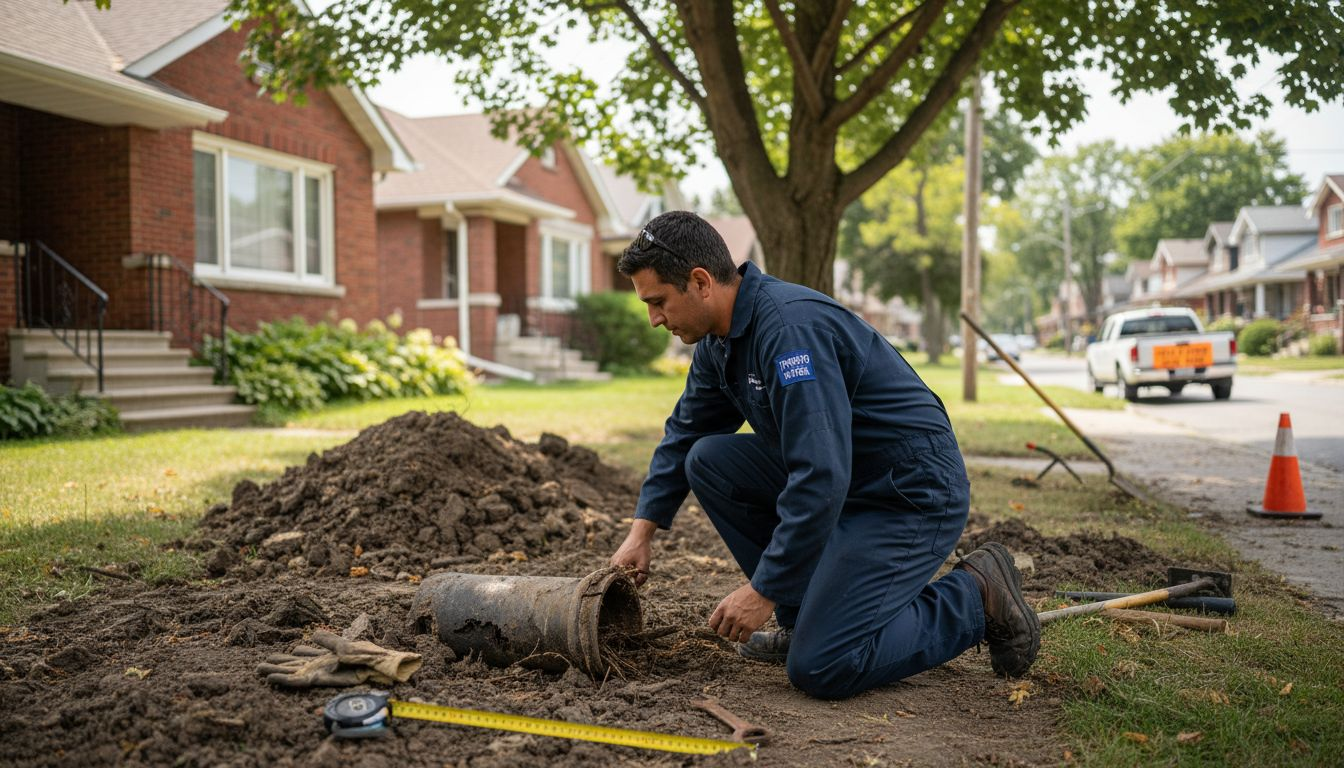
Underground drainage systems offer a comprehensive solution for homeowners dealing with persistent water flow challenges. These systems work by redirecting water through buried pipes that carry runoff far away from your home’s foundation. When installing underground drainage, consider the natural landscape contours of your property. The goal is to create a seamless water management network that efficiently moves water without creating additional erosion or pooling issues.

For properties with challenging terrain or limited space, flexible drainage options provide versatile alternatives. Downspout extensions, splash blocks, and rain gardens can effectively disperse water while adding aesthetic value to your landscaping. Choose materials that complement your home’s exterior and can withstand local weather conditions. Flexible plastic or aluminum extensions are lightweight and easy to install, allowing you to adjust water flow directions with minimal effort.
Consider these key factors when selecting your drainage solution:
-
Total annual rainfall in your region
-
Slope and grading of your property
-
Soil type and absorption capabilities
-
Existing landscaping and garden features
-
Budget and long term maintenance requirements
Explore comprehensive waterproofing strategies to complement your drainage improvements. Some homeowners might benefit from combining multiple drainage techniques. For instance, you could use underground pipes in areas with significant water flow while implementing rain gardens or dry wells in zones with moderate runoff.
Here is a comparison table summarizing different downspout drainage solutions mentioned in the article, helping you select the most appropriate method based on your property’s needs.
| Drainage Solution | Description | Best For | Maintenance Needs |
| Underground Drainage System | Buried pipes move water far from foundation | Persistent water issues, large lots | Occasional cleaning |
| Downspout Extensions | Plastic or metal pipes or hoses extend discharge away from house | Most homes, easy DIY projects | Check alignment |
| Splash Blocks | Solid blocks placed under downspout outlets to deflect water | Spot prevention of soil erosion | Minimal, reposition |
| Rain Gardens | Landscaped areas designed to absorb and filter runoff | Eco-friendly homes, well-drained yards | Occasional upkeep |
| Dry Wells | Underground containers that collect and disperse excess water | Areas with moderate runoff | Inspect annually |
Successful drainage solution selection means creating a comprehensive system that protects your home’s foundation, prevents soil erosion, and manages water effectively during heavy rainfall. Take time to evaluate multiple options and consider consulting a professional who can provide personalized recommendations based on your specific property characteristics. Remember that an effective drainage solution is an investment in your home’s long term structural integrity and protection.
Step 4: Install Chosen Downspout Drainage Solutions
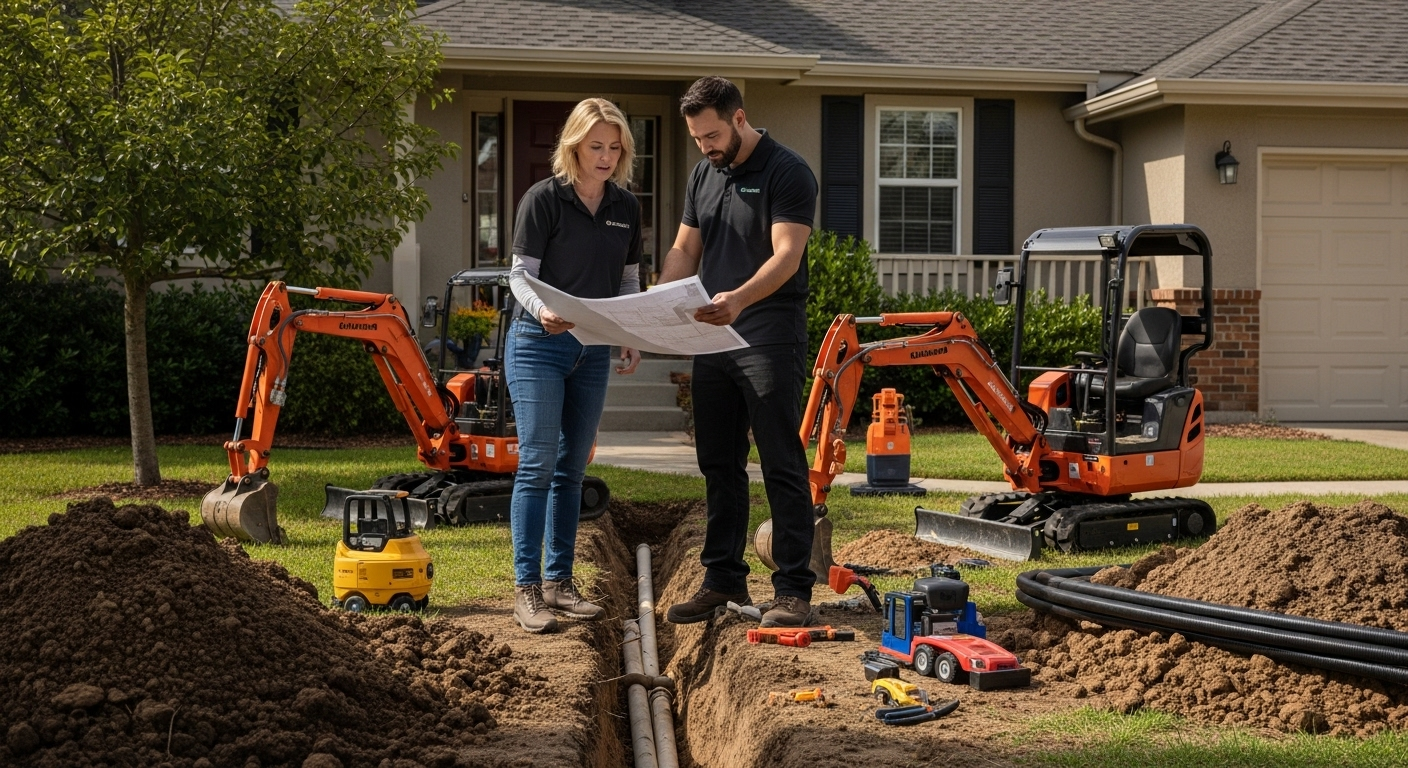
Installing your selected downspout drainage solutions requires precision, careful planning, and a methodical approach to ensure effective water management around your home. This critical step transforms your drainage strategy from conceptual design to practical implementation, protecting your property from potential water damage.
Begin by preparing your work area thoroughly before starting the installation. Clear the surrounding landscape of debris, remove any existing temporary drainage solutions, and mark the exact locations where new drainage components will be placed. Ensure you have all necessary tools and materials ready, including protective gear like work gloves, safety glasses, and sturdy footwear. Measuring tape, a level, shovel, and appropriate piping materials will be essential for creating a robust drainage system.
If you’re installing underground drainage pipes, dig trenches with a consistent slope away from your home’s foundation. The recommended gradient is approximately 1 inch of drop for every 8 feet of horizontal distance. This gentle slope ensures water flows naturally without creating erosion or pooling. Line the trenches with landscape fabric to prevent soil intrusion, then add a layer of gravel to facilitate drainage and provide stable support for your piping.
Essential tools and materials for your installation include:
-
Perforated drainage pipes
-
Landscape fabric
-
Gravel or drainage stone
-
Shovel and digging tools
-
Tape measure
-
Level
-
Protective work gloves
-
Safety glasses
Check out our comprehensive waterproofing approaches to complement your drainage installation. When connecting downspouts to underground systems, use smooth, rigid pipes with minimal bends to promote efficient water flow. Ensure all connections are securely sealed and that pipe joints are properly aligned to prevent potential leaks or blockages.
Verify the effectiveness of your installation by conducting a water flow test. During the next rainfall or by using a garden hose, observe how water moves through your new drainage system. Watch for smooth water movement, absence of pooling near the foundation, and proper redirection of runoff away from your home. A successful installation will demonstrate consistent, unobstructed water flow that protects your property’s structural integrity.

Step 5: Test and Verify the Efficiency of Your Setup
Testing and verifying your new downspout drainage system is a critical final step that ensures your hard work translates into genuine protection for your home. This comprehensive evaluation will help you confirm that your drainage solutions effectively manage water flow and protect your property’s foundation from potential moisture damage.
The most comprehensive test involves simulating heavy rainfall conditions . Use a garden hose to replicate intense water flow, starting at the highest point of your gutters and methodically working your way through the entire drainage system. Watch carefully how water moves through each downspout, underground pipe, and final discharge point. Pay close attention to water speed, direction, and any unexpected pooling or diversion from the intended path. A well-designed system should move water smoothly and quickly away from your home’s foundation without creating erosion or backup.
During your testing process, document your observations meticulously. Track water movement, drainage speed, and any potential issues that arise during your simulation. Look for signs of improper drainage such as water backing up, creating new erosion channels, or collecting near your foundation. These observations will help you identify and address any potential weaknesses in your drainage setup before they become more significant problems.
Key aspects to monitor during your verification process include:
-
Water flow speed and consistency
-
Complete drainage without standing water
-
No erosion around discharge points
-
Proper water redirection away from foundation
-
Absence of soil displacement
-
Smooth transitions between drainage components
Explore additional waterproofing insights to complement your drainage verification. Consider performing multiple tests under different water pressure conditions to ensure your system’s reliability. Repeat the testing process during actual rainfall events to validate your initial observations and confirm the system’s performance in real-world conditions.
The ultimate verification of your downspout drainage solution is its performance during heavy rainstorms. Keep a detailed log of how your system handles natural rainfall, noting any areas that require adjustment or improvement. A successful installation will demonstrate consistent water management, protecting your home’s structural integrity and preventing potential moisture-related issues. Remember that drainage systems may require periodic maintenance and occasional adjustments to maintain optimal performance.
To help you stay organized and efficient, here is a checklist table outlining the key steps to verify proper functioning of your downspout drainage system as described in the article.
| Verification Task | What to Look For | Action if Issue Detected |
| Water Flow Test | Smooth, directed water movement | Adjust slope or alignment |
| Check for Standing Water | No puddles or pooling near foundation | Improve drainage system |
| Inspect for Erosion | No soil displacement around outflows | Add splash block or gravel |
| Verify Pipe Connections | No leaks or disconnections | Reseal or realign pipes |
| Test During Rainfall | Effective drainage in real conditions | Reassess problem areas |
| Document Observations | Notes and photos of any issues | Track for future tweaks |
Put a Stop to Downspout Drainage Worries — Protect Your Home with Confidence
Are you tired of seeing water pooling near your foundation or battling soggy patches in your yard every time it rains? If you are searching for dependable downspout drainage solutions, the challenges in the article — like water pooling, ineffective grading, and improper diversion — are likely all too familiar. Poor drainage leaves homeowners at risk for eroded landscapes, basement leaks, and serious structural headaches.

Why wait for the next big storm to reveal drainage flaws? At DrainWorks Plumbing, our licensed Toronto experts use 30 years of hands-on experience to turn troublesome drainage problems into reliable systems. We offer proven solutions such as waterproofing, main drain upgrades, drain cleaning, and more. By choosing a local leader you can trust, you safeguard your investment and get clear up-front pricing, award-winning workmanship, and dedicated same-day service for urgent situations. Ready to see what expert care can do for your home? Visit DrainWorks Plumbing today and schedule your assessment before the next rainfall causes lasting damage.
Frequently Asked Questions
How can I determine if my downspouts are draining properly?
To check if your downspouts are functioning correctly, observe how water flows during or after rain. Look for pooling water near the foundation, misaligned pipes, and ensure water is directed at least 4 to 6 feet away from your home.
What are some signs of poor downspout drainage?
Signs of poor drainage include standing water near the foundation, soil erosion, muddy patches, and stressed or waterlogged plants. Conduct a visual inspection to identify these issues, especially after rainfall.
What types of drainage solutions are available for downspouts?
Common drainage solutions include underground drainage systems, flexible downspout extensions, splash blocks, and rain gardens. Each option can help redirect water effectively, depending on the unique characteristics of your property.
How do I install underground drainage pipes for my downspouts?
To install underground drainage pipes, dig trenches with a consistent slope away from your foundation. Line the trenches with landscape fabric, add gravel for support, and connect the pipes securely. Ensure proper alignment and conduct a water flow test to verify effectiveness.
Recommended
-
[
SEWAGE BACKUP: WHAT SHOULD YOU DO AND WHY
-
[
Spring Thaw in Toronto: How to Prevent Basement Flooding and Water Damage
]( https://drainworks.com/spring-thaw-in-toronto-how-to-prevent-basement-flooding-and-water-damage)
-
[
YOUR BACKWATER VALVE INSTALLATIONS SPECIALISTS IN TORONTO!
]( https://drainworks.com/plumbing-blog/your-backwater-valve-installations-specialists-in-toronto)
-
[
Plumbing Problems To Watch For When It Rains
]( https://drainworks.com/plumbing-articles/plumbing-problems-to-watch-for-when-it-rains)