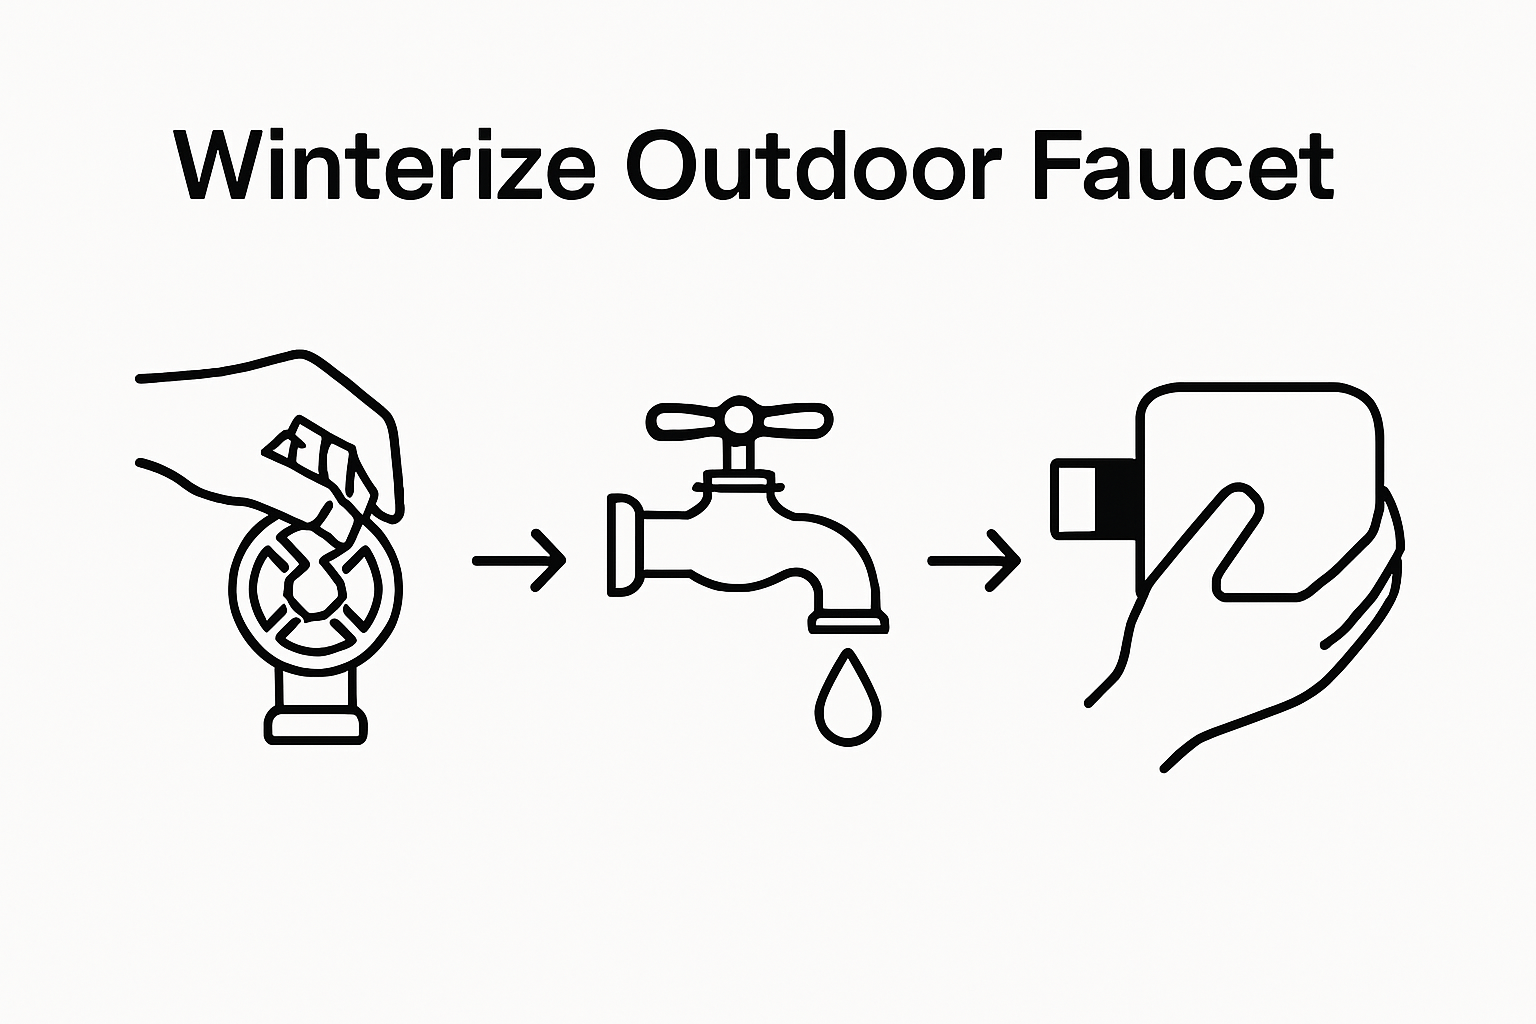
Master Winterizing Outdoor Faucets to Prevent Damage
Getting your outdoor faucets ready for winter is about more than just turning a valve. A single frozen faucet can lead to over $5,000 in repair costs for burst pipes in Canadian homes . Most people think wrapping their faucets with foam is enough, but missing just one hidden spot or leaving even a tiny gap can turn a simple task into a major spring headache.
Table of Contents
Quick Summary
| Key Point | Explanation |
|---|---|
| 1. Turn Off the Water Supply | Locate and close the dedicated shutoff valve to prevent water flow to the outdoor faucet, protecting against freeze damage. |
| 2. Drain the Outdoor Faucet Completely | Remove hoses and open the faucet to ensure all water is expelled from the system, preventing freezing. |
| 3. Insulate with Foam Covers | Cover outdoor faucets with foam insulation to create a barrier against freezing temperatures that could damage pipes. |
| 4. Seal Gaps and Cracks | Use silicone caulk to seal any openings around the faucet area to block cold air and moisture infiltration. |
| 5. Verify Winterization Steps | Conduct a final check to confirm all procedures are correctly completed, ensuring effective protection against winter damage. |
Step 1: Turn Off the Water Supply at the Shutoff Valve
Winterizing outdoor faucets begins with a critical first step: locating and shutting off the dedicated water supply valve. This action prevents water from flowing to exterior faucets, which is essential for protecting your plumbing system from potential freeze damage during cold Canadian winters.
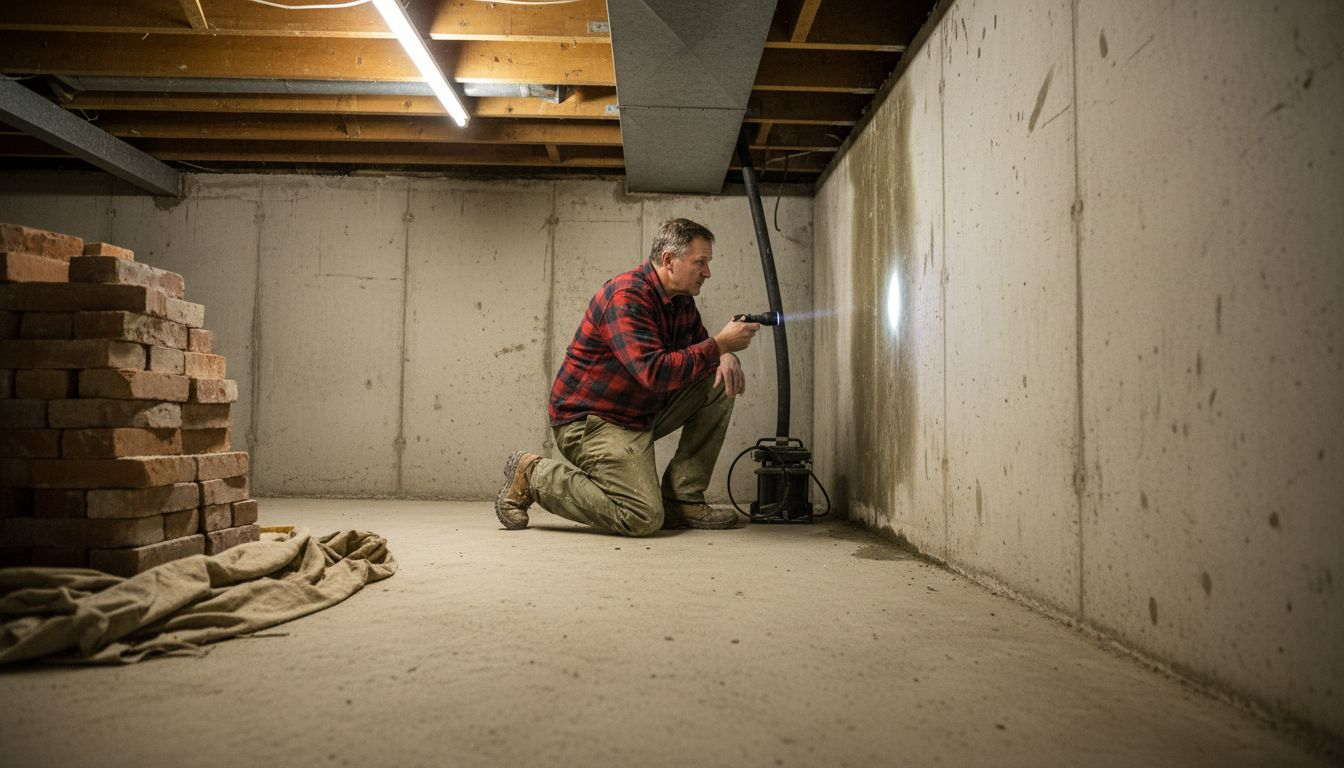
Start by identifying the shutoff valve for your outdoor faucets. In most homes, this valve is located inside your basement, crawl space, or utility room near the point where the water line branches toward the exterior of your home. Look for a valve with a handle that can be turned completely perpendicular to the pipe, which indicates it is fully closed.
Important Locations to Check for Shutoff Valves:
- Near the water meter
- Inside basement walls close to exterior walls
- In utility rooms or mechanical spaces
- Under kitchen or bathroom sinks
When turning off the valve, use smooth and steady movements. Turn the handle clockwise until it stops, which fully closes the water supply. Some valves might require a quarter turn, while others need multiple rotations. If you encounter resistance or the valve seems stuck, avoid forcing it. Instead, apply a light penetrating oil and wait a few minutes before attempting to turn it again.
After closing the valve, open the outdoor faucet to confirm water flow has stopped. You should see only a minimal trickle or no water at all. This step verifies that the shutoff valve is functioning correctly and that you have successfully interrupted water supply to the exterior faucet.
If you cannot locate the specific shutoff valve or feel uncertain about the process, consider consulting a professional plumber. Professionals can help identify the correct valve and ensure proper winterization of your outdoor plumbing systems.
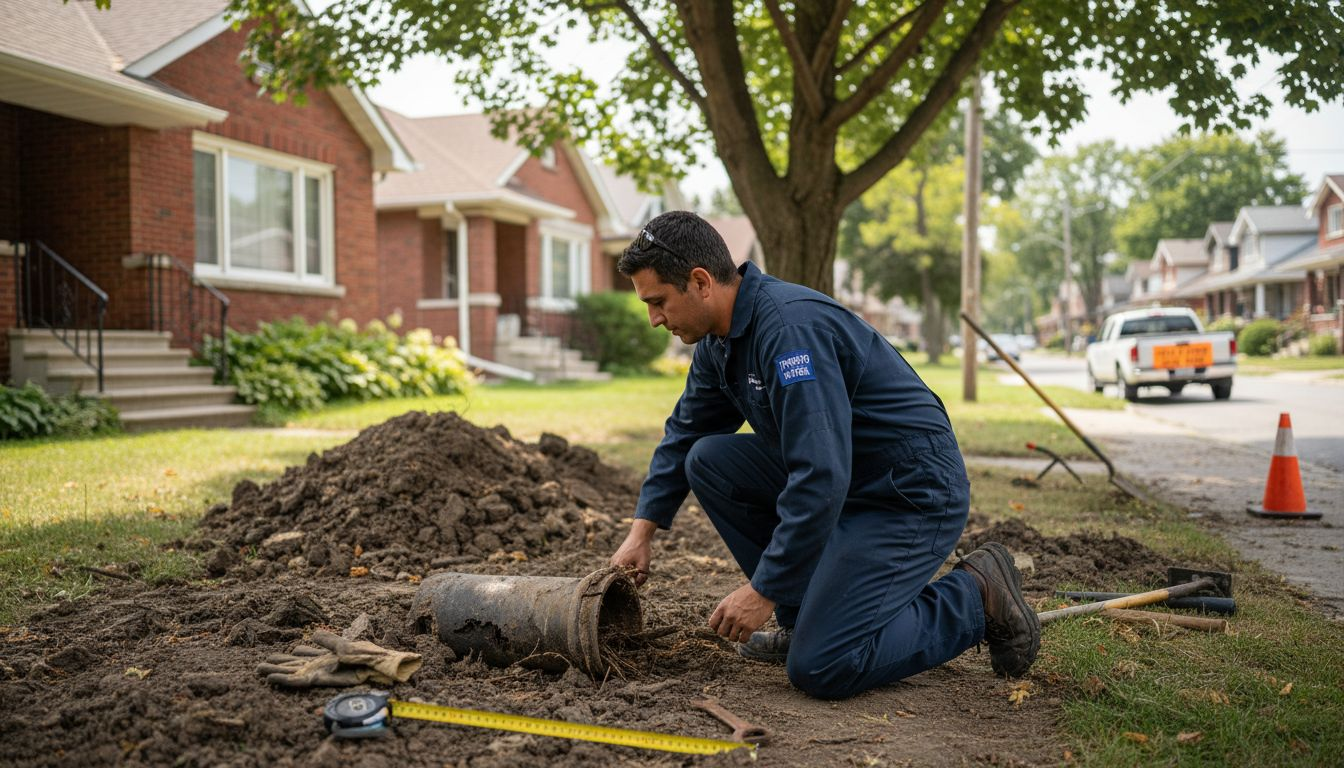
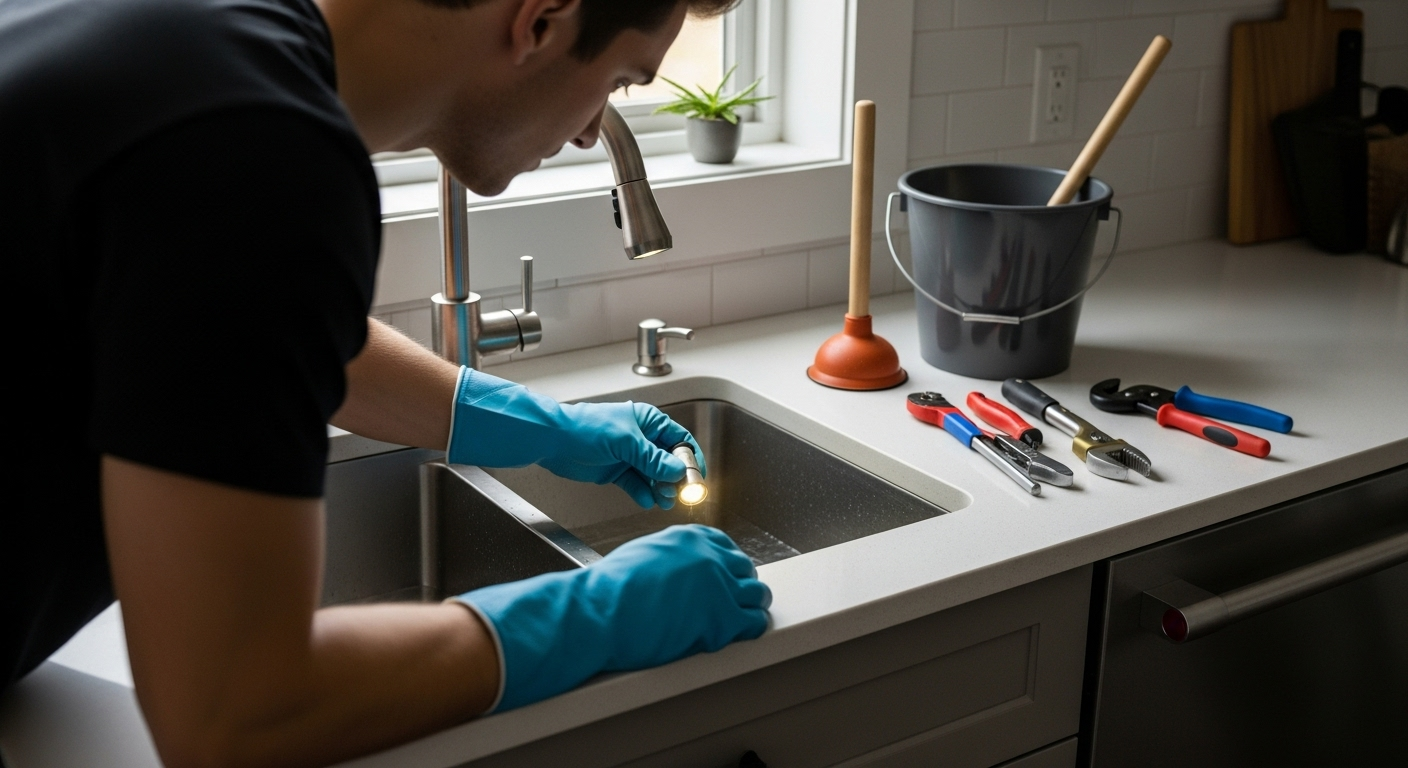
Step 2: Drain the Outdoor Faucet and Connected Piping
After shutting off the water supply, the next crucial step in winterizing outdoor faucets is completely draining the water from the system. This process prevents residual water from freezing and potentially causing significant damage to your pipes and faucet mechanisms. Proper drainage eliminates the risk of expansion and cracking that can lead to costly repairs.
Begin by removing any connected garden hoses, sprinklers, or attachments from your outdoor faucets. Detach these items completely and store them in a dry, protected area for the winter season. Important: Disconnect hoses at both ends and ensure they are fully drained . For hoses with complex attachments, consider hanging them vertically to allow complete water evacuation.
Tools You Will Need:
- Adjustable wrench
- Towel or bucket
- Penetrating lubricant (optional)
With the hoses removed, return to the outdoor faucet and open it fully. This allows any trapped water to escape and helps release pressure in the connected piping. Some faucets might have a small drainage cap or plug near the valve connection point. If present, carefully remove this cap to facilitate complete water removal. Position a towel or small bucket underneath to catch any dripping water.
If your outdoor faucet has a frost-free design , the drainage process works slightly differently. These specialized faucets drain internally when the handle is opened, with water releasing from inside the home’s warm interior. Even with frost-free designs, it is still recommended to disconnect hoses and ensure proper drainage.
For homes with more complex plumbing configurations, read our comprehensive guide on preventing outdoor faucet damage to understand specific nuances. The goal is to ensure no water remains in the exterior pipes or faucet mechanism that could potentially freeze and expand during cold Canadian winters.
Verify that water has stopped flowing and the faucet is completely empty. A successful drainage means minimal to no water continues to drip when the faucet is fully open. This step is critical in protecting your outdoor plumbing from potential freeze damage.
To help you choose the correct supplies and prepare efficiently, here is a table summarizing the recommended tools and materials mentioned for each main step in winterizing outdoor faucets in Canadian homes.
| Step | Tools / Materials | Purpose |
|---|---|---|
| Turn off water supply | Adjustable wrench, penetrating oil (optional) | Shut off valve and handle stuck valves |
| Drain outdoor faucet and piping | Towel or bucket, adjustable wrench, penetrating lubricant (optional) | Catch water, detach hoses, facilitate drainage |
| Insulate with foam covers | Foam faucet covers, measuring tape, scissors (optional), weatherproof tape | Protect faucet from freezing temperatures |
| Seal gaps or cracks | Exterior-grade silicone caulk, caulking gun, utility knife, clean cloth, rubbing alcohol | Block cold air and moisture |
| Verification and storage | None specific, camera for documentation (optional) | Confirm completion and document for records |
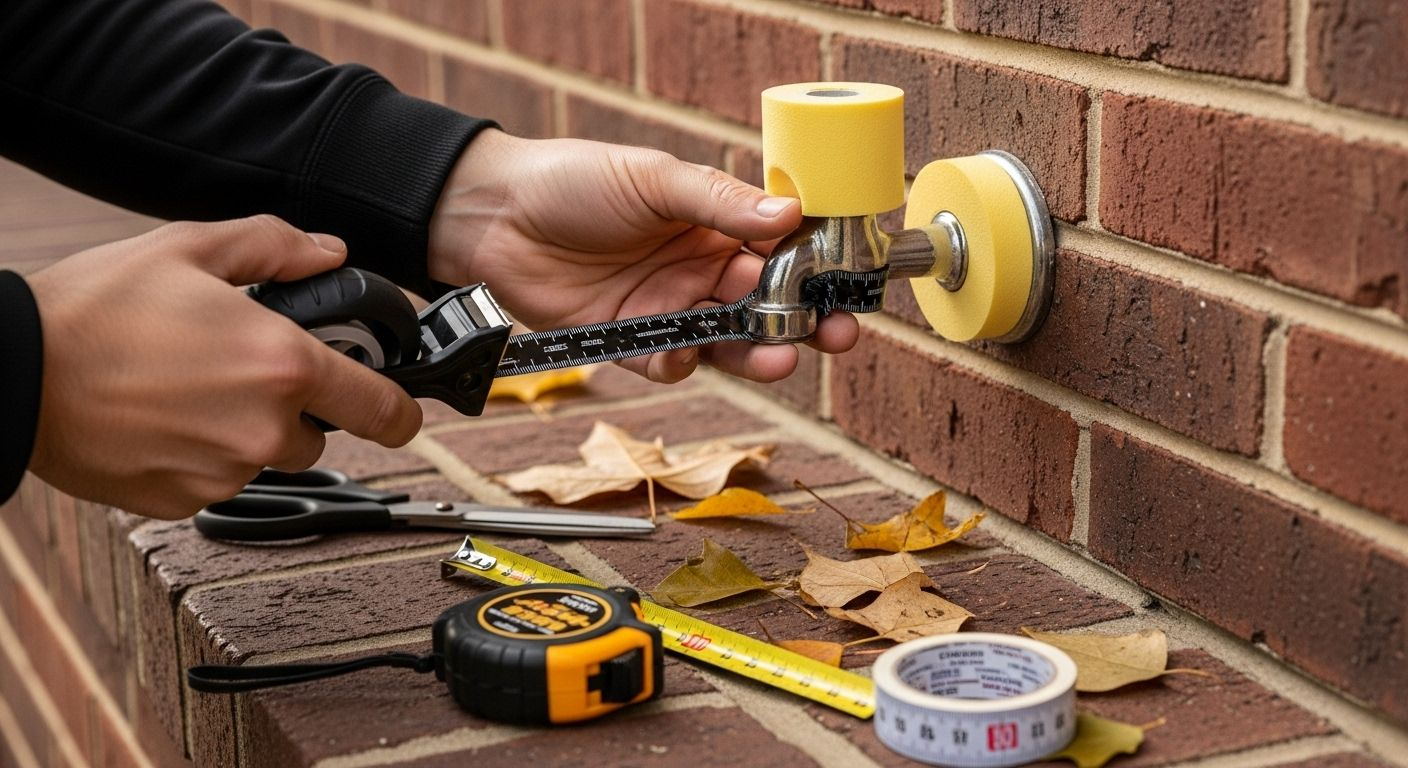
Step 3: Insulate the Outdoor Faucet with Foam Covers
Insulating your outdoor faucets is the final critical step in winterizing your exterior plumbing system. This protective measure creates a barrier against freezing temperatures, preventing potential pipe damage and expensive repairs. Foam covers are an affordable and effective solution that significantly reduces the risk of water freezing inside your exterior pipes and faucet mechanisms.
Essential Materials for Insulation:
- Foam faucet covers
- Measuring tape
- Scissors (optional)
- Weatherproof tape
Begin by selecting a foam faucet cover that matches the size of your outdoor spigot. These specialized covers are designed to fit snugly over the entire faucet, providing comprehensive protection against cold temperatures. When purchasing, measure your faucet beforehand to ensure a proper fit. Most standard foam covers are adjustable, but precise measurements will guarantee maximum protection.
Proper Installation Technique
Carefully position the foam cover over the outdoor faucet, ensuring it completely encapsulates the entire fixture. The cover should extend slightly over the wall connection point, creating a seal that prevents cold air from reaching the pipe. Press the edges firmly to create a tight seal, eliminating any potential gaps that could compromise the insulation.
Explore our comprehensive guide to preventing outdoor plumbing damage for additional insights into protecting your exterior plumbing. Some homeowners with particularly exposed faucets might need additional weatherproofing techniques beyond standard foam covers.
For added protection, consider using weatherproof tape around the edges of the foam cover. This extra step helps secure the cover and provides an additional layer of defense against moisture and cold air. Make sure the tape does not interfere with the cover’s ability to fit snugly against the wall and faucet.
Verify the installation by gently tugging on the foam cover to ensure it is securely attached. The cover should not move or slip when touched. During winter, periodically check the foam covers for any signs of wear, damage, or displacement that might compromise their protective function. A well-installed foam cover will help maintain the integrity of your outdoor faucets throughout the coldest months of the Canadian winter.
Step 4: Seal Any Gaps or Cracks Around the Faucet Area
Sealing gaps and cracks around your outdoor faucet is a critical step in preventing cold air infiltration and potential pipe damage during winter months. Even small openings can allow freezing temperatures to penetrate your home’s exterior walls, creating conditions that might lead to pipe bursts or significant structural issues.
Essential Materials for Sealing:
- Exterior-grade silicone caulk
- Caulking gun
- Utility knife
- Clean cloth or rag
- Rubbing alcohol
Begin by thoroughly inspecting the area surrounding your outdoor faucet. Look carefully for any visible gaps, cracks, or spaces between the faucet pipe and the exterior wall. These tiny openings might seem insignificant, but they can serve as direct pathways for cold air to reach your plumbing, increasing the risk of freezing.
Prepare the surface before applying caulk by cleaning the area meticulously. Use rubbing alcohol and a clean cloth to remove any dirt, debris, or old caulk residue. Proper surface preparation is crucial for ensuring a strong, long-lasting seal that will effectively block cold air and moisture.
Learn more about protecting your home’s exterior plumbing to understand the nuances of comprehensive winterization. When applying exterior-grade silicone caulk, use steady, controlled movements to fill gaps completely. Hold the caulking gun at a 45-degree angle and apply consistent pressure to create a smooth, continuous seal.
Focus on creating a tight barrier around the pipe where it enters the exterior wall. Pay special attention to areas where different building materials meet, as these junctions are often prone to developing small gaps over time. Use your finger or a specialized caulk smoothing tool to press the caulk into the gap, ensuring complete coverage and a neat appearance.
Allow the caulk to dry completely according to the manufacturer’s instructions. Most exterior-grade silicone caulks require 24 to 48 hours to fully cure. During this time, avoid disturbing the sealed area or exposing it to moisture. A properly applied caulk seal will create an additional layer of protection against cold air and potential water infiltration, complementing the foam cover you installed in the previous step.
Step 5: Verify the Winterization Process is Complete
Completely winterizing outdoor faucets requires a systematic verification process to ensure every preventative measure has been implemented correctly. This final step acts as a comprehensive review, helping homeowners confirm that their exterior plumbing is fully protected against potential winter damage.
Winterization Verification Checklist:
- Water supply valve completely closed
- Outdoor faucet fully drained
- Foam cover securely installed
- Gaps and cracks sealed with exterior caulk
- Hoses disconnected and stored
Begin your verification by double-checking the water supply valve. Confirm it is fully closed by attempting to turn it further. Sometimes homeowners might believe they have closed the valve completely, but a slight additional turn reveals it was not fully shut. Precision is crucial in this step to prevent any potential water flow to the exterior faucet.
Next, inspect the outdoor faucet and surrounding area. Ensure the foam cover is tightly secured without any visible gaps or loose edges. Gently tug on the cover to test its installation. The cover should remain firmly in place, providing a complete barrier against cold temperatures. Look closely at the caulking around the faucet area, checking for any signs of cracking, separation, or incomplete coverage.
Explore our comprehensive guide to preventing outdoor plumbing damage for additional insights into maintaining your home’s exterior plumbing system. Pay special attention to the pipe connection points and wall interfaces, where small gaps can compromise your winterization efforts.
Conduct a visual and tactile inspection of all connected areas. Run your hand along the exterior wall near the faucet, feeling for any drafts or temperature differences that might indicate an incomplete seal. Check that all garden hoses have been completely disconnected and stored in a dry, protected area. Moisture left inside stored hoses can create additional complications during freezing temperatures.
As a final verification step, document your winterization process. Take photographs of the sealed faucet, foam cover, and caulked areas. These images can serve as a reference point for next year’s winterization and provide valuable documentation if you need to consult a professional plumber. Remember that thorough preparation now can prevent costly repairs and potential water damage during the harsh Canadian winter months.
Use the following checklist table to review each required step during your final verification process. This will help ensure every winterization measure is properly completed for maximum protection against cold weather.
| Task | Completion Status (✓/✗) | Notes/Reminders |
|---|---|---|
| Shutoff valve fully closed | Confirm no water flows to outdoor tap | |
| Outdoor faucet completely drained | Check for any dripping water | |
| Foam cover securely installed | Ensure snug fit with no visible gaps | |
| Gaps/Cracks sealed with exterior caulk | Inspect for cracks or open areas | |
| All hoses disconnected and stored dry | Prevent hose damage during winter | |
| Caulk cured and undisturbed (if newly applied) | Allow 24–48 hours for curing | |
| Process documented (photos for record-keeping) | Useful for next year and professionals |
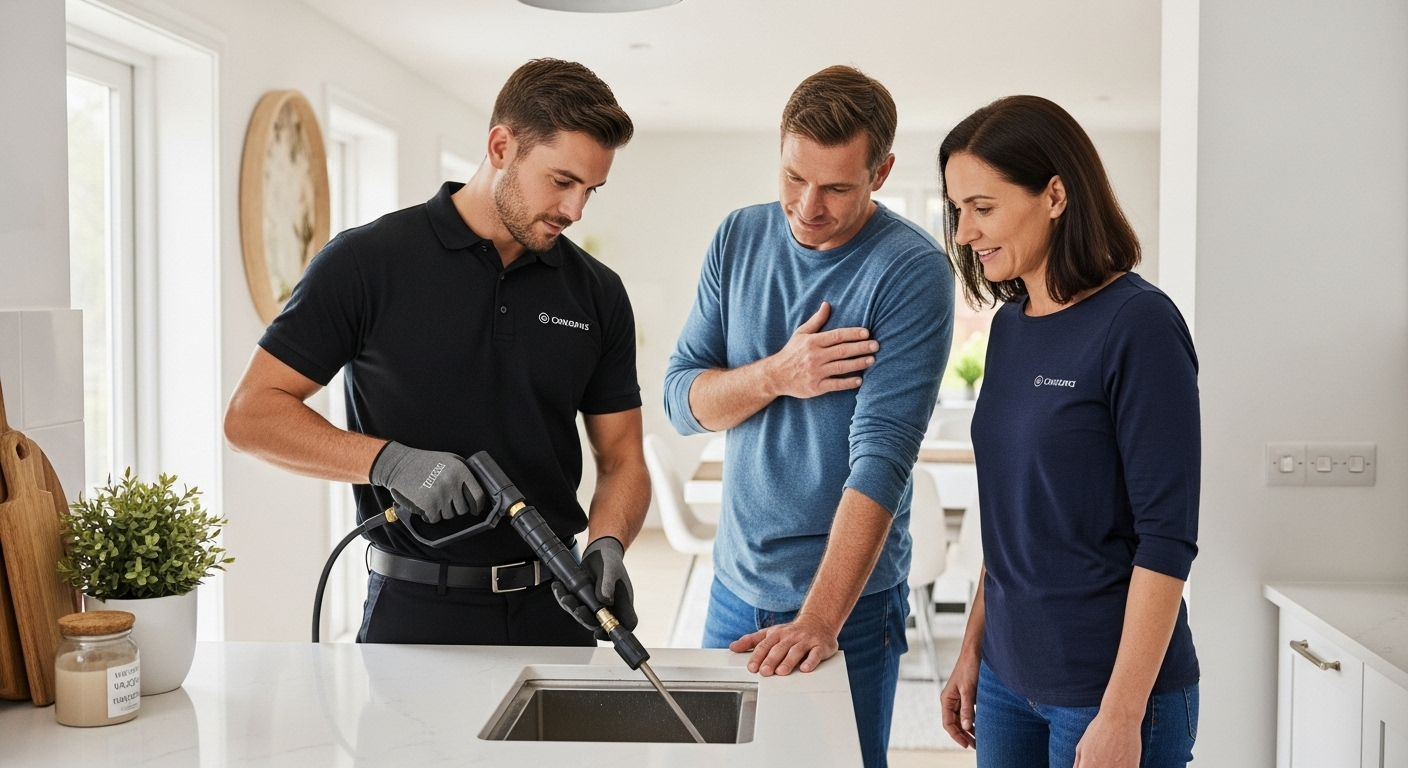
Protect Your Home from Costly Winter Damage with Expert Plumbing Help
Worried about burst pipes or outdoor faucet leaks this winter? If you have followed the steps to winterize your outdoor faucets but are unsure your efforts will stand up to Toronto’s harshest months, you are not alone. A single missed step or hidden problem can lead to water damage that disrupts your peace of mind and hits your wallet hard. The article outlined every critical move—shutting off supply, draining faucets, insulating with covers, and sealing cracks—because even one overlooked detail can cause big problems.
Do not gamble with your home’s safety this winter. As Toronto’s most trusted plumbing specialists for over 30 years, DrainWorks Plumbing offers professional plumbing inspections, leak detection, and outdoor faucet repairs you can count on. If anything looks off while you complete your winterization checklist or you suspect deeper plumbing issues, our award-winning team will make sure your exterior pipes and faucets are fully protected. Discover more about our residential services, pricing, and rapid response by visiting our main page. Stay a step ahead of winter by booking your plumbing and drain service with DrainWorks Plumbing today—protect your home before the temperature drops further.
Frequently Asked Questions
How do I find the shutoff valve for my outdoor faucet?
To locate the shutoff valve for your outdoor faucet, check inside your basement, crawl space, or utility room close to where the water line extends to the exterior of your home. It’s typically near the water meter or on exterior walls.
What do I do if my shutoff valve is stuck?
If your shutoff valve seems stuck, avoid forcing it. Instead, apply a light penetrating oil to ease the movement, and wait a few minutes before attempting to turn it again. This can help free any corrosion or buildup without causing damage.
Do I need to drain water from frost-free outdoor faucets?
Yes, even frost-free outdoor faucets should have water drained from them. Ensure hoses are disconnected, open the faucet fully to let out any remaining water, and check for any drainage cap that might need removal to facilitate complete drainage.
How can I ensure my outdoor faucet insulation is effective?
To ensure effective insulation for your outdoor faucet, select a foam cover that fits snugly over the faucet. After installation, consider using weatherproof tape to secure the edges. Periodically check the cover for wear or displacement throughout the winter months.
Recommended
-
[
Avoid Outdoor Faucet Leaks - Turn On Your Hose Bib
]( https://drainworks.com/avoid-outdoor-faucet-leaks-turn-on-your-hose-bib)
-
[
5 Tips To Prepare Your Home’s Plumbing For Winter
]( https://drainworks.com/plumbing-blog/5-tips-to-prepare-your-homes-plumbing-for-winter)
-
[
Summer’s End Plumbing Checklist: Keep Your Plumbing in Top Shape!
]( https://drainworks.com/plumbing-blog/summers-end-plumbing-checklist-keep-your-plumbing-in-top-shape)
-
[
HOW TO DEAL WITH FROZEN PIPES | DrainWorks Plumbing Toronto
]( https://drainworks.com/plumbing-blog/how-to-deal-with-frozen-pipes-in-toronto)