How to Clear a Blocked Drain: A Step-by-Step Guide
Blocked drains can throw your whole day off course and nobody wants to deal with water pooling in the sink or that awful smell creeping through the house. Most folks only notice when disaster strikes but kitchen sink drains are usually clogged up by grease and food, making them one of the top plumbing complaints in Canada . The twist is that knowing what kind of blockage you have is often the difference between a quick fix and a costly call to the plumber.
Table of Contents
Quick Summary
| Key Point | Explanation |
|---|---|
| 1. Identify blockage type | Understanding the nature of the blockage helps in selecting the most effective clearing method and prevents plumbing damage. |
| 2. Prepare proper tools | Gather essential tools like plungers, drain snakes, and protective gear to ensure a safe and efficient unclogging process. |
| 3. Start with basic techniques | Use plunging, baking soda, and vinegar to tackle minor clogs before moving to more advanced methods. |
| 4. Use a plumber’s snake | Employ a plumber’s snake for deeper blockages, applying gentle pressure while navigating bends and obstructions. |
| 5. Test drainage functionality | After clearing, run hot water and check multiple fixtures to ensure complete blockage removal and smooth drainage. |
Step 1: Identify the Type of Blockage
Determining the specific type of drain blockage is crucial to selecting the right clearing method and preventing potential damage to your plumbing system. Not all blockages are created equal, and understanding what’s causing the backup will help you tackle the problem effectively.
Start by observing the symptoms of your blocked drain. Look for signs like slow water drainage, unusual gurgling sounds, unpleasant odours, or water backing up in sinks, toilets, or showers. These indicators can provide valuable clues about the nature of the blockage. Kitchen sink drains often suffer from grease and food particle accumulation , while bathroom drains typically get clogged with hair, soap residue, and personal care product buildup.
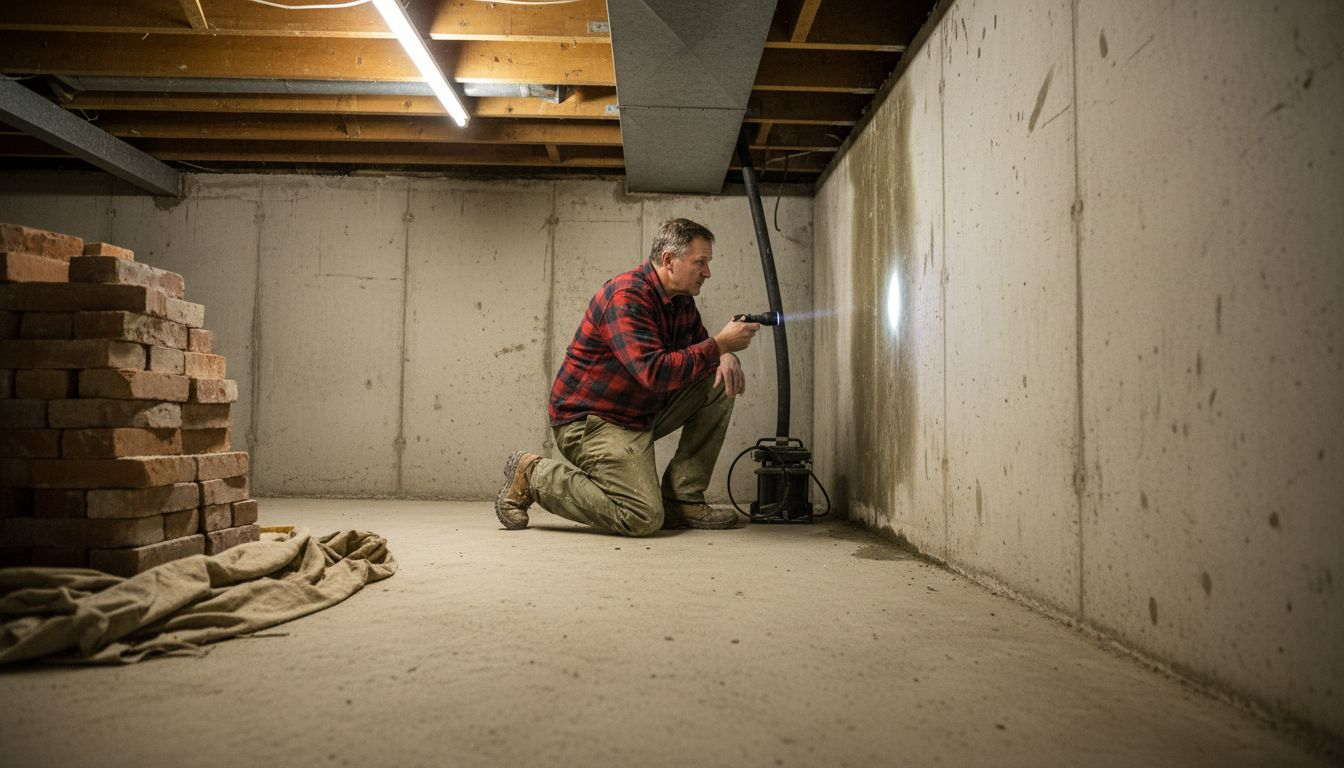
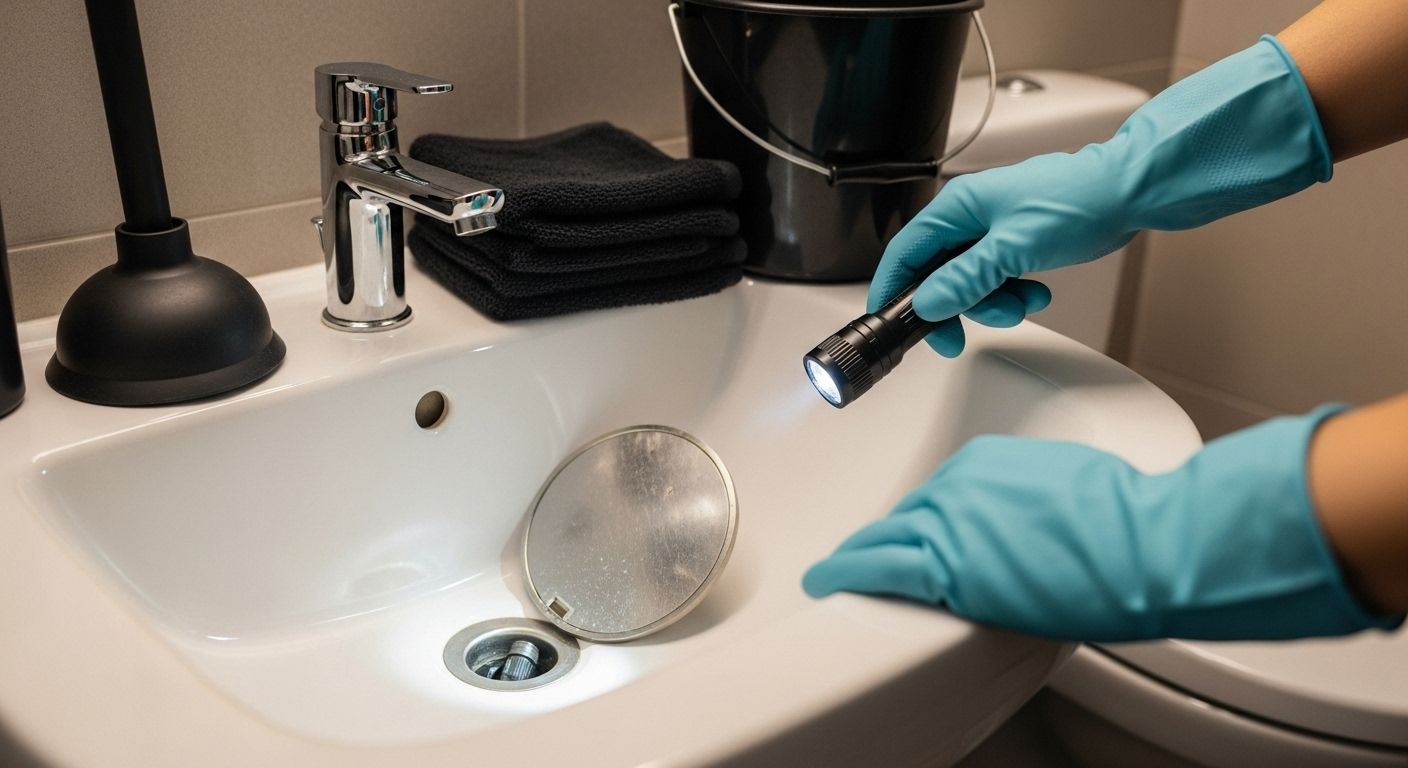
To investigate further, you’ll want to perform a basic visual inspection. If possible, remove the drain cover or strainer and use a flashlight to peek inside. Sometimes you might notice visible debris, hair clumps, or other obvious obstructions. For more complex blockages deeper in the pipe, you might need additional tools or professional assistance.
Consider the location of the blocked drain as another critical diagnostic factor. Blockages in different areas of your home can signal varying underlying issues. A complete drain diagnostic guide can help you understand these nuanced differences.
Quick identification techniques can include:
- Checking if the blockage is localized to one fixture or affects multiple drainage points
- Noting whether the backup occurs immediately or develops gradually
- Observing water flow speed and any accompanying sounds or odours
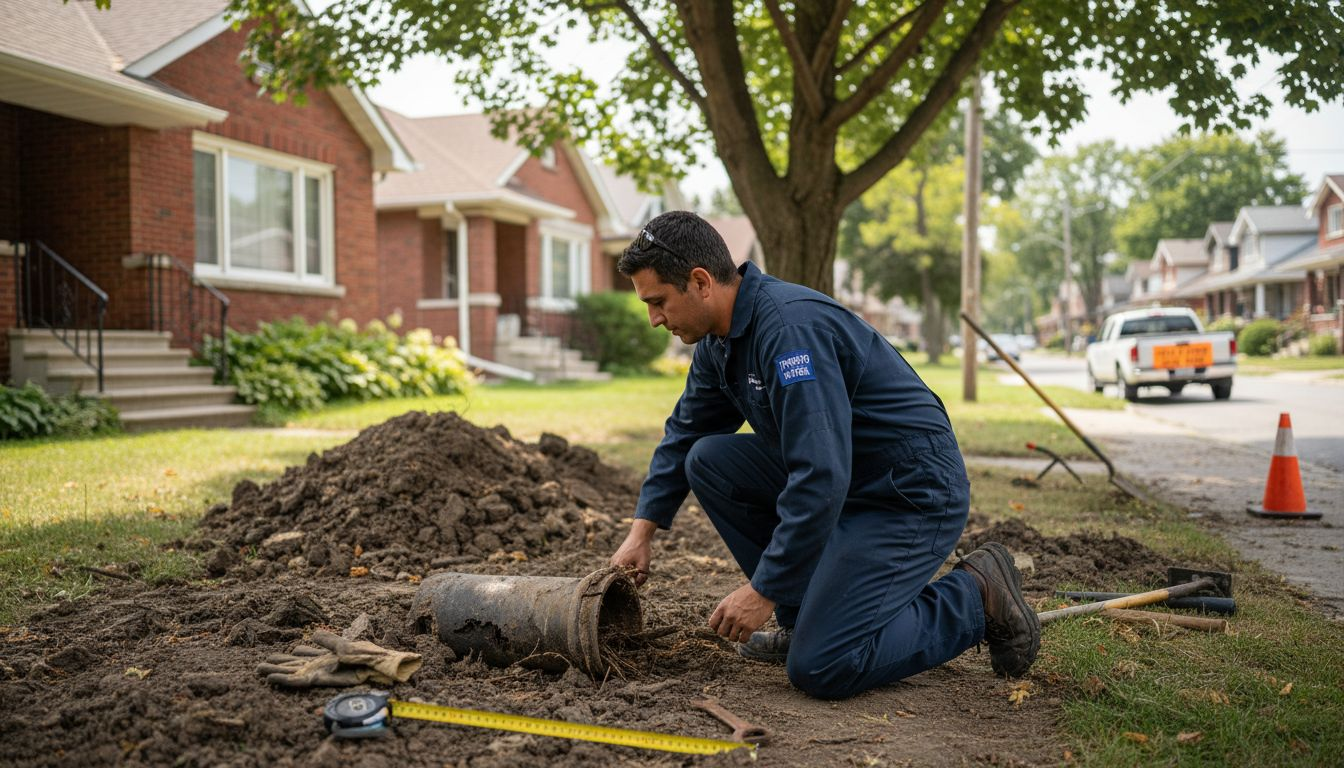
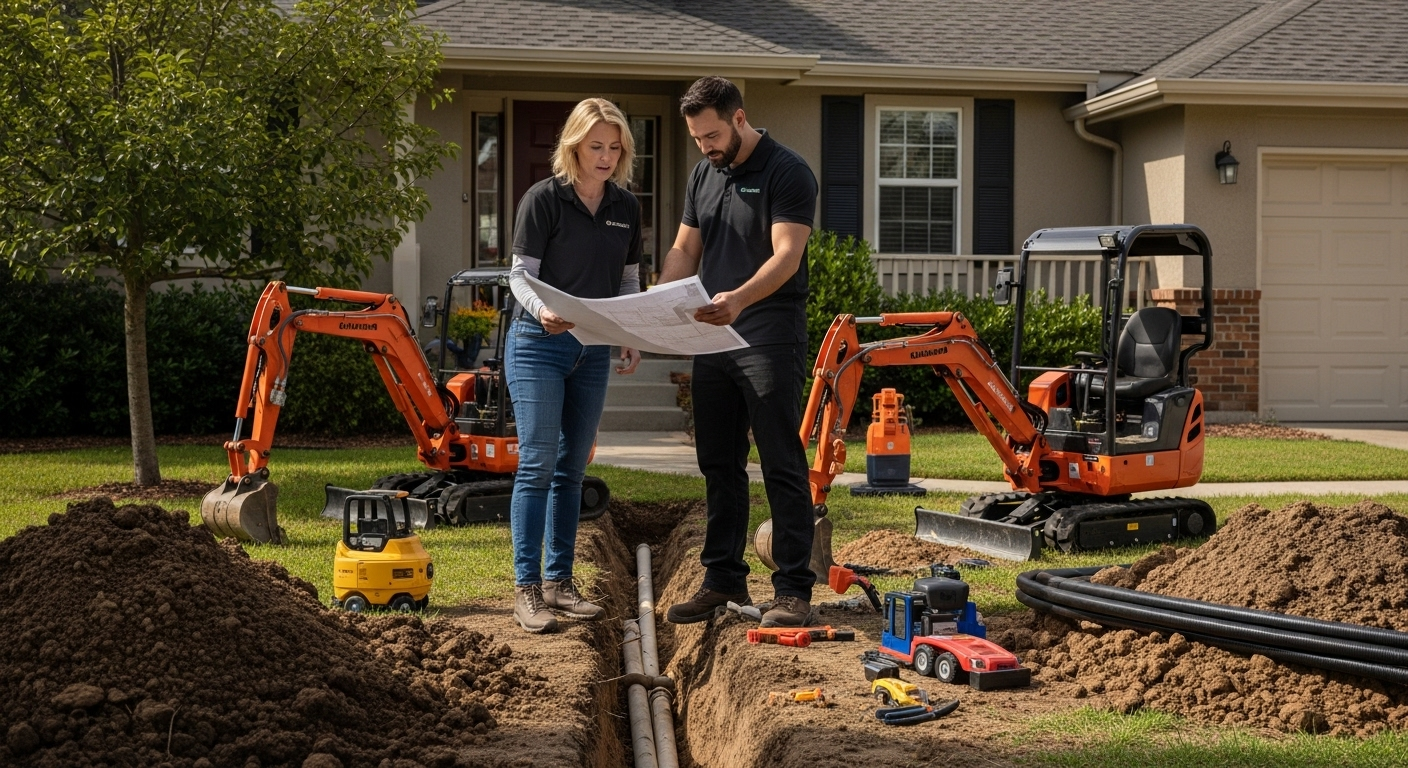
Remember that some blockages might indicate more serious plumbing problems like tree root intrusion, pipe damage, or municipal sewer line issues. If your initial investigation suggests a complex problem beyond a simple clog, it’s wise to consult a professional plumber who can perform a comprehensive drain assessment.
Successful identification means you’ve gathered enough information to confidently move to the next step of clearing your blocked drain, armed with specific knowledge about the type and potential cause of the obstruction.
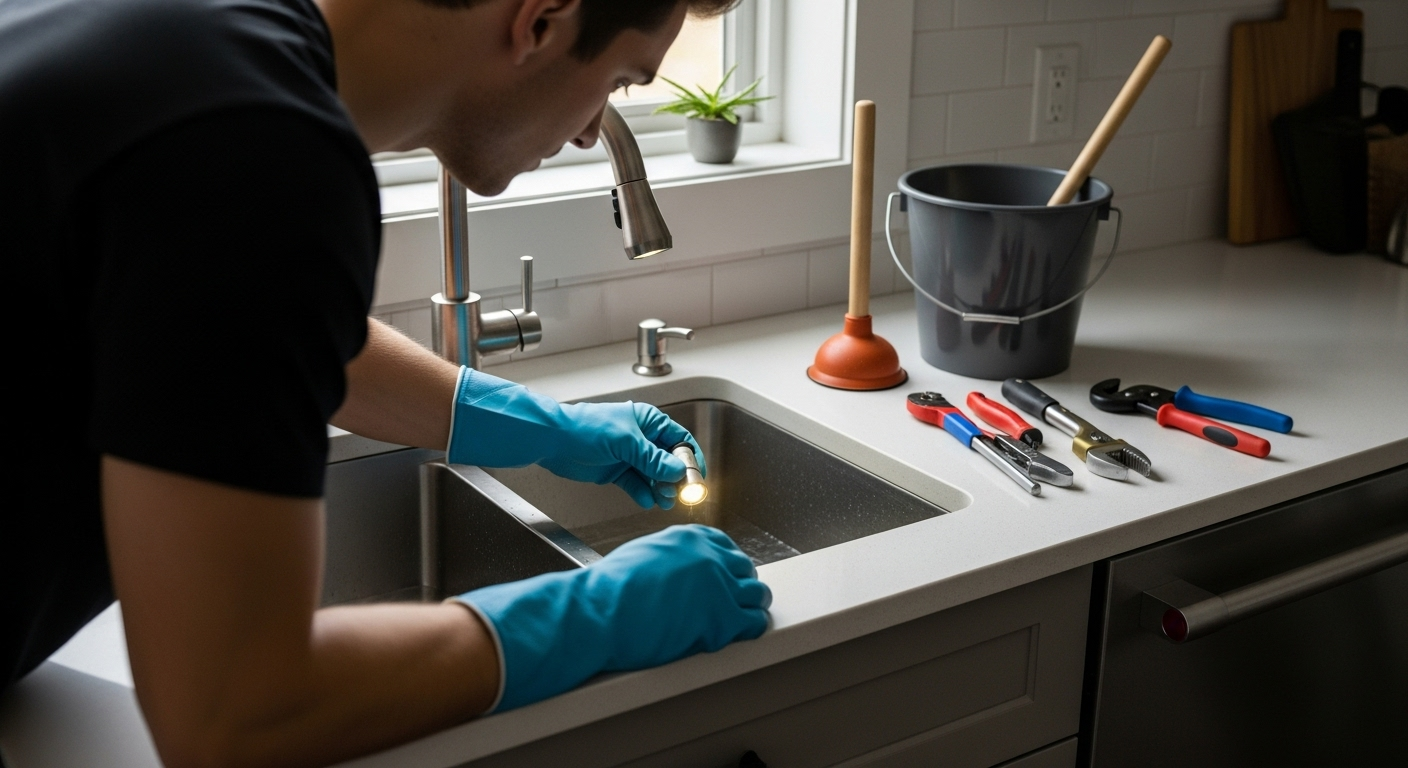
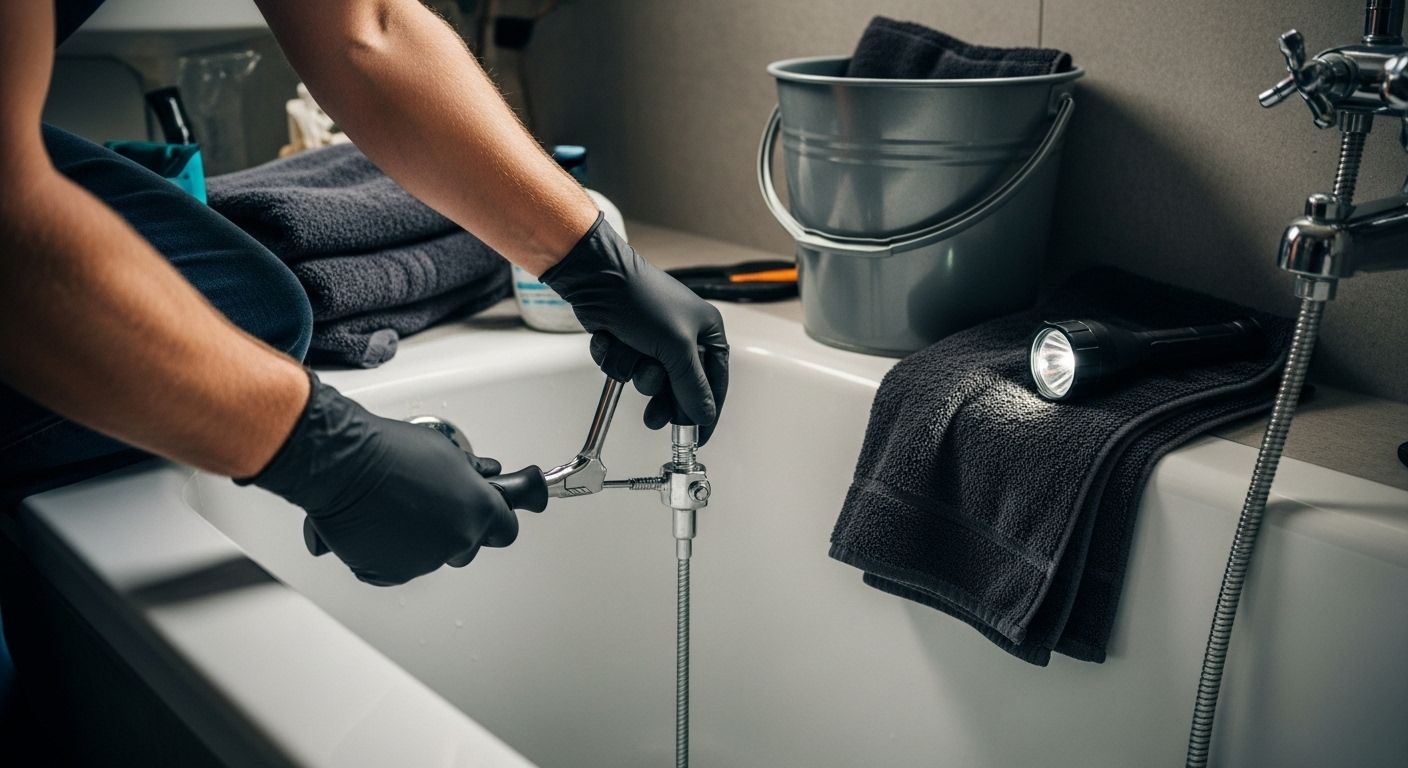
Step 2: Gather Necessary Tools and Materials
Before diving into clearing your blocked drain, assembling the right tools and materials is essential for a successful and safe repair. Proper preparation can save you time, frustration, and potential damage to your plumbing system. Professional plumbers always recommend having your equipment ready before starting any drain clearing project .
Your basic toolkit should include protective gear like rubber gloves and safety glasses. These items protect you from potential splashes, bacteria, and chemical exposure during the drain clearing process. A sturdy pair of waterproof gloves will prevent direct contact with potentially harmful substances and provide better grip when handling tools.
For mechanical drain clearing, you’ll want to collect a few key tools. A plunger is your first line of defense for minor blockages, particularly in toilets and sinks. Choose a flanged plunger for toilets and a cup plunger for flat surfaces like sinks. A drain snake or auger becomes crucial for more stubborn clogs that a plunger cannot dislodge. These flexible tools can reach deeper into pipes and break up or extract blockages that are not immediately accessible.
Chemical drain cleaners can be an option, but use them sparingly and carefully. Select enzymatic or biodegradable cleaners that are less harsh on your pipes . Always read and follow the manufacturer’s instructions precisely. For those preferring natural solutions, a mixture of baking soda and vinegar can be an effective and environmentally friendly alternative.
Additional helpful materials include:
- Bucket for collecting water or debris
- Old towels or rags for cleanup
- Flashlight for inspecting drain openings
- Protective clothing you don’t mind getting dirty
If you’re planning to use a plumbing camera or more advanced tools, consider exploring our professional drain diagnostic services for comprehensive blockage assessment. While DIY methods work for minor issues, complex blockages might require professional intervention.
Verify your toolkit is complete by laying out all materials and checking that you have everything within easy reach. This preparation ensures you can work efficiently and safely, minimizing potential interruptions or complications during the drain clearing process.
Here is a concise table summarizing the essential tools and materials required to clear a blocked drain, along with their purposes and any notes on selection.
| Tool/Material | Purpose | Notes/Suggestions |
|---|---|---|
| Rubber gloves | Protect hands from debris and chemicals | Waterproof, sturdy, and well-fitting |
| Safety glasses | Shield eyes from splashes and debris | Essential for chemical or mechanical clearing |
| Plunger | Dislodge minor sink and toilet blockages | Use cup plunger for sinks; flanged for toilets |
| Drain snake/auger | Break up/extract deeper pipe blockages | Choose hand-crank for home use |
| Baking soda & vinegar | Natural solution for mild organic clogs | Environmentally friendly, non-toxic |
| Bucket | Collect water or debris from clearing | Useful for containing mess |
| Towels or rags | Clean up spills and residues | Use old, absorbent cloths |
| Flashlight | Visual inspection of drain openings | For peering into pipes and identifying blockage |
| Protective clothing | Prevent soiling personal garments | Wear clothes you don’t mind dirtying |
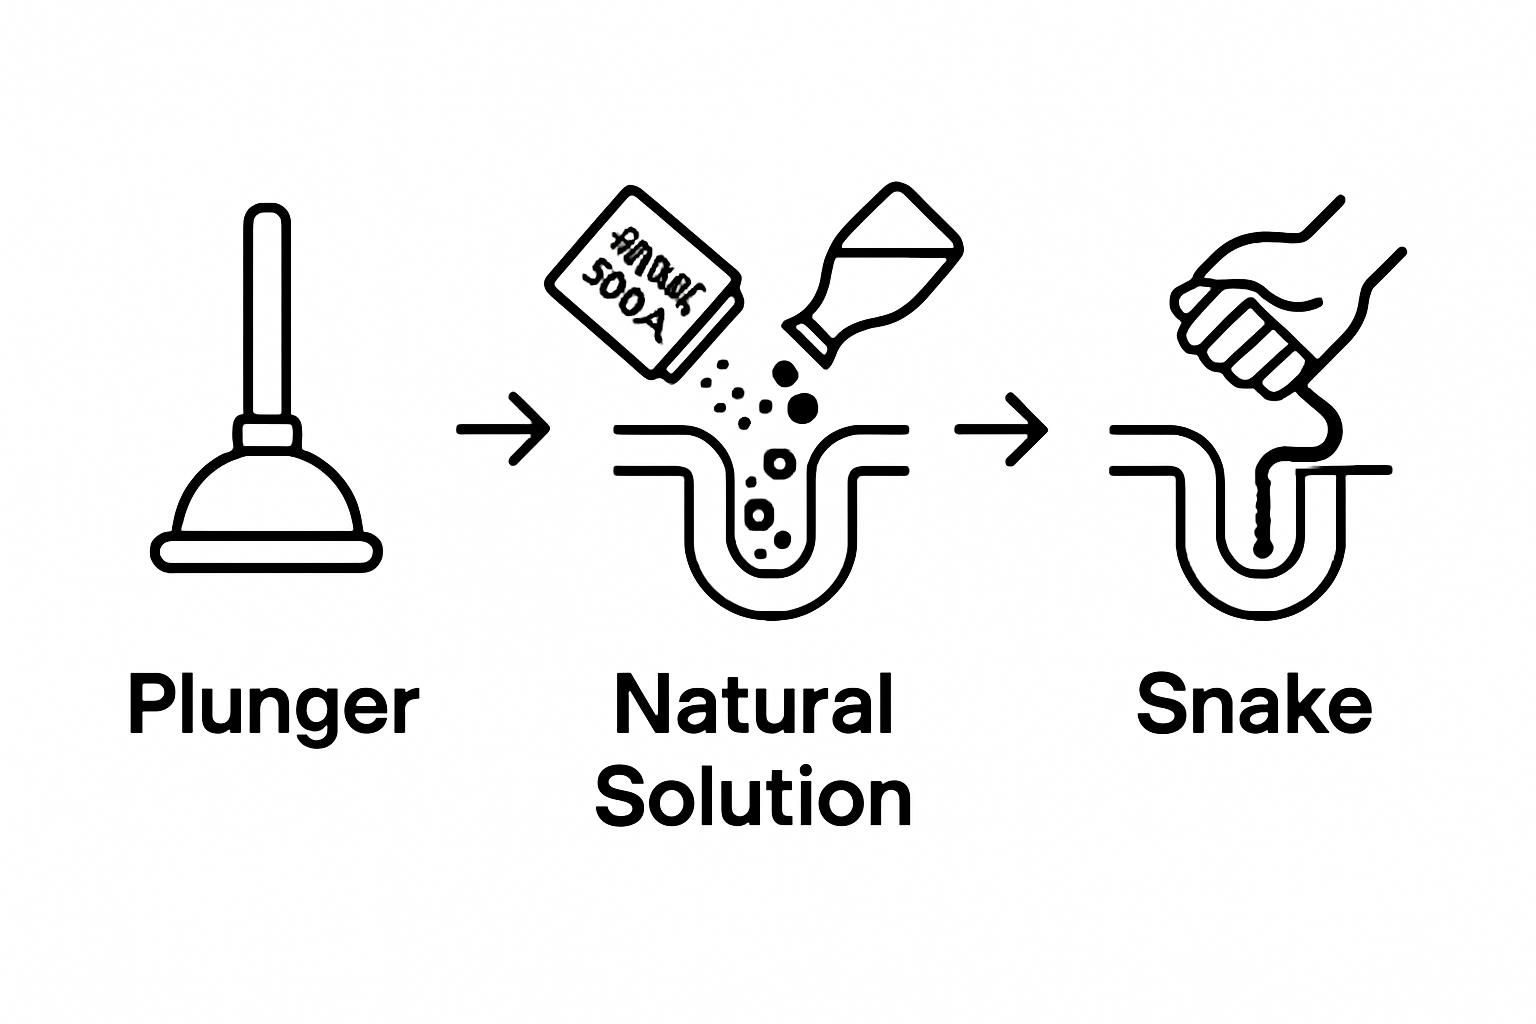
Step 3: Attempt Basic Clearing Techniques
With your tools prepared and the blockage identified, it’s time to tackle the drain obstruction using fundamental clearing techniques. These initial methods can often resolve minor clogs without requiring complex interventions or professional assistance. The key is to start with the simplest solutions and progressively move to more advanced techniques .
Begin with the classic plunger method, which remains one of the most effective first-line approaches for clearing blocked drains. For sinks and toilets, create a tight seal around the drain opening and apply firm, consistent plunging motions. The goal is to generate pressure that can dislodge minor blockages. Alternate between vigorous upward and downward strokes, maintaining a rhythmic motion for about 20-30 seconds. Ensure you’re using the correct plunger type for the specific fixture - a cup plunger for flat surfaces like sinks, and a flanged plunger for toilets.
If plunging doesn’t yield results, transition to a natural drain cleaning solution. A mixture of baking soda and vinegar can work wonders on mild blockages. Pour one cup of baking soda directly into the drain, followed by one cup of white vinegar. The chemical reaction creates a foaming action that can help break down organic matter. Cover the drain and let the mixture sit for 15-20 minutes, then flush with hot water. This method is particularly effective for kitchen sink blockages caused by grease and food residue.
For slightly more stubborn clogs, a drain snake or auger becomes your next tool. Insert the snake into the drain opening, turning the handle to guide it through the pipe. Be gentle but persistent , applying steady pressure as you navigate potential bends or obstructions. The goal is to either break up the blockage or hook and retrieve the offending material. Check out our comprehensive guide on drain clearing techniques for more detailed insights into using these tools effectively.
Verification steps to confirm success include:
- Water draining smoothly and quickly
- No gurgling sounds from the drain
- Absence of unpleasant odours
- Clear water flow without backing up
Remember that while these techniques work for minor blockages, persistent or severe drain issues might indicate more complex plumbing problems. If you’ve exhausted these basic methods without success, it’s time to consider professional intervention to prevent potential pipe damage or more extensive complications.
Step 4: Use a Plumber’s Snake for Deeper Blockages
When basic clearing techniques fail, a plumber’s snake becomes your most reliable tool for tackling more challenging drain blockages. This flexible, mechanical device allows you to reach deeper into pipes and break up or extract obstructions that simpler methods cannot manage. Understanding how to use a plumber’s snake correctly can save you from costly professional interventions .
Begin by selecting the appropriate snake for your specific drain. Manual hand-crank snakes work well for most household blockages, while motorized versions provide extra power for more stubborn clogs. Insert the snake’s leading end into the drain opening, holding the tool firmly and maintaining steady control. As you feed the cable into the pipe, rotate the handle clockwise to help the snake navigate through bends and potential obstacles.
Pay close attention to the snake’s movement and resistance. When you encounter the blockage, you’ll feel increased tension or a distinct change in the cable’s movement. Apply gentle but consistent pressure , rotating the handle to break up the obstruction or hook onto debris. Some snakes have interchangeable heads designed for specific types of clogs, such as those with hooks for grabbing hair or auger-style tips for breaking through solid masses. Explore our detailed guide on advanced drain clearing techniques for more insights into selecting the right tool.
Maintaining proper technique is crucial. Move the snake slowly and deliberately, avoiding forceful pushing that could potentially damage your pipes. If you feel significant resistance or hear unusual sounds, pause and reassess. Sometimes, changing the angle or using a different snake head can help overcome challenging blockages.
Key verification steps to confirm success include:
- Smooth, unobstructed water flow
- No unusual gurgling or bubbling sounds
- Complete drainage without backing up
- Absence of lingering odours
Remember that while a plumber’s snake is a powerful tool, it’s not a universal solution. Persistent or recurring blockages might indicate more serious plumbing issues like tree root intrusion, pipe damage, or structural problems. If you’ve exhausted your DIY efforts and the blockage remains, it’s time to consult a professional plumber who can provide a comprehensive diagnostic and resolution.
Step 5: Test Drainage Functionality After Clearing
After working diligently to clear your blocked drain, the final and most critical step is thoroughly testing the drainage system to confirm your efforts were successful. Proper testing ensures that your blockage has been completely resolved and prevents potential future complications . This verification process involves a systematic approach to checking water flow and identifying any remaining issues.
Begin by running hot water through the drain at full pressure for several minutes. The goal is to simulate normal usage conditions and observe how quickly and smoothly water moves through the pipe. Pay close attention to the water’s flow rate, listening for any unusual gurgling sounds or watching for signs of slow drainage. A fully cleared drain should allow water to pass through rapidly without any backup or hesitation.
Next, test multiple fixtures connected to the same drainage line. If you’ve cleared a kitchen sink drain, run water in nearby connected fixtures like the dishwasher or garbage disposal. This comprehensive testing helps ensure the blockage hasn’t merely been temporarily displaced but genuinely removed. Learn more about comprehensive drain diagnostics to understand potential interconnected plumbing challenges.
For a thorough assessment, consider creating a more substantial water flow by filling and quickly draining a large container. This method can reveal any lingering partial blockages that might not be apparent with a standard trickle of water. Watch closely for any signs of water backing up or draining unusually slowly , which could indicate that your initial clearing technique didn’t completely resolve the issue.
Critical verification indicators include:
- Water draining completely within 3-5 seconds
- No standing water in the sink or drain
- Absence of gurgling or bubbling sounds
- Clean, unobstructed water flow
If you notice any persistent issues after these tests, it might be time to consider professional intervention. Some blockages are more complex than they initially appear, potentially requiring specialized equipment or expert diagnosis.
The following checklist table provides quick verification steps to ensure your drain has been effectively cleared and is functioning properly after the cleaning process.
| Verification Criteria | What to Look For |
|---|---|
| Water drains within 3-5 seconds | Rapid, full drainage with no backup |
| No standing water in sink or drain | Fixture remains completely clear |
| Absence of gurgling or bubbling | No unusual sounds after testing |
| No unpleasant odours | Drains smell neutral or fresh |
| Smooth water flow in all connected fixtures | No issues in adjacent sinks, showers, or appliances |
| No water backing up | No return or rise of dirty water |
Still Struggling With a Stubborn Blocked Drain? Trust the Toronto Experts
You followed all the step-by-step instructions, but that drain is still slow or totally backed up. Grease, hair clogs, odd odours or recurring blockages can create stressful disruptions in any home. Maybe you tried plunging, DIY cleaners, or even a drain snake, but nothing seems to solve it for good. When simple methods are not enough or the job feels overwhelming, you need reliable help from trusted professionals.
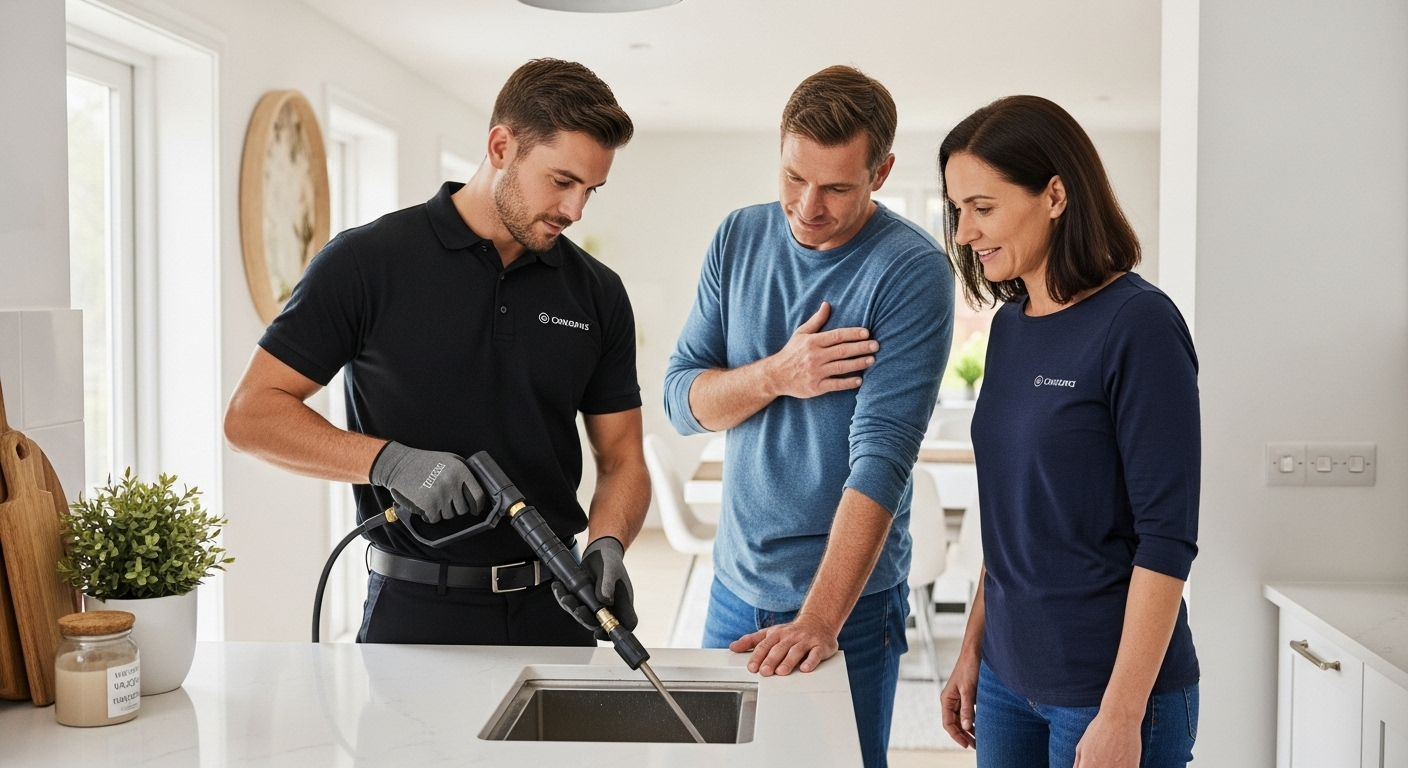
Turn frustration into peace of mind with DrainWorks Plumbing. With over 30 years of experience in Toronto, our award-winning, non-commissioned technicians use advanced tools like sewer cameras and hydro jetting for a thorough fix. Whether it’s a stubborn kitchen sink or a deeper main drain blockage, we provide honest up-front pricing and same-day emergency service between 8am and 7pm. Every drain cleared by experts means less worry for your home and family. Stop repeated frustrations; if your blocked drain will not clear, contact us today at DrainWorks Plumbing and book a professional drain clearing service that actually lasts.
Frequently Asked Questions
How can I identify the type of blockage in my drain?
To identify a drain blockage, look for symptoms such as slow drainage, gurgling sounds, and unpleasant odours. Conduct a visual inspection of the drain and consider the blockage’s location to determine its nature. Common causes include grease in kitchen sinks and hair in bathroom drains.
What tools do I need to clear a blocked drain?
Essential tools include a plunger, a drain snake or auger, rubber gloves, safety glasses, and possibly chemical drain cleaners or natural solutions like baking soda and vinegar. Always wear protective gear to ensure safety during the process.
What should I do if basic clearing techniques don’t work?
If basic techniques like plunging and using a baking soda and vinegar solution don’t resolve the issue, it’s advisable to use a plumber’s snake. If that fails, consult a professional plumber, as deeper or recurring blockages may indicate more serious plumbing issues.
How do I test if my drain is clear after attempting to fix it?
Run hot water through the drain at full pressure for several minutes. Check for rapid drainage without backup or gurgling sounds. You can also test other fixtures connected to the same line to ensure there are no lingering blockages.
Recommended