How to Prevent Leaks: Essential Steps for Homeowners

Every homeowner worries about leaks, but most don’t realize how fast a small problem can turn into expensive damage. In fact, most homeowners aren’t aware that small leaks can quickly escalate into major structural issues if left unchecked. You might think the obvious signs are what really matter, but it’s usually the subtle little clues hiding in plain sight that can save your house from disaster.
Table of Contents
Quick Summary
| Key Point | Explanation |
|---|---|
| 1. Thoroughly assess your home’s vulnerabilities | Conduct a systematic inspection to identify potential water damage sources, focusing on moist areas like basements and bathrooms. |
| 2. Identify and document potential leak sources | Create a detailed map of areas at risk, noting any signs of leaks or wear, especially around plumbing fixtures. |
| 3. Seal gaps and cracks effectively | Use appropriate sealing materials on both interior and exterior openings to prevent moisture intrusion into your home. |
| 4. Maintain gutters and downspouts regularly | Clean and inspect your drainage systems at least twice a year to avoid blockages that can lead to foundation issues. |
| 5. Monitor indoor humidity levels closely | Use a hygrometer to ensure humidity stays between 30% and 50%, preventing excess moisture that can foster leaks and mold growth. |
Step 1: Assign Your Current Situation
Preventing leaks starts with a thorough understanding of your home’s vulnerabilities. Your assessment begins with a systematic inspection that reveals potential problem areas before they transform into costly water damage scenarios. Most homeowners aren’t aware that small leaks can quickly escalate into major structural issues if left unchecked .
Start by walking through your home with a critical eye, focusing on areas most susceptible to water intrusion. Examine your basement, crawl spaces, and areas around plumbing fixtures. Look for telltale signs of existing moisture problems: discoloration on walls, warped flooring, musty odours, or subtle water stains. Pay special attention to locations where pipes enter walls, around window frames, and near external walls where ground moisture can seep through.
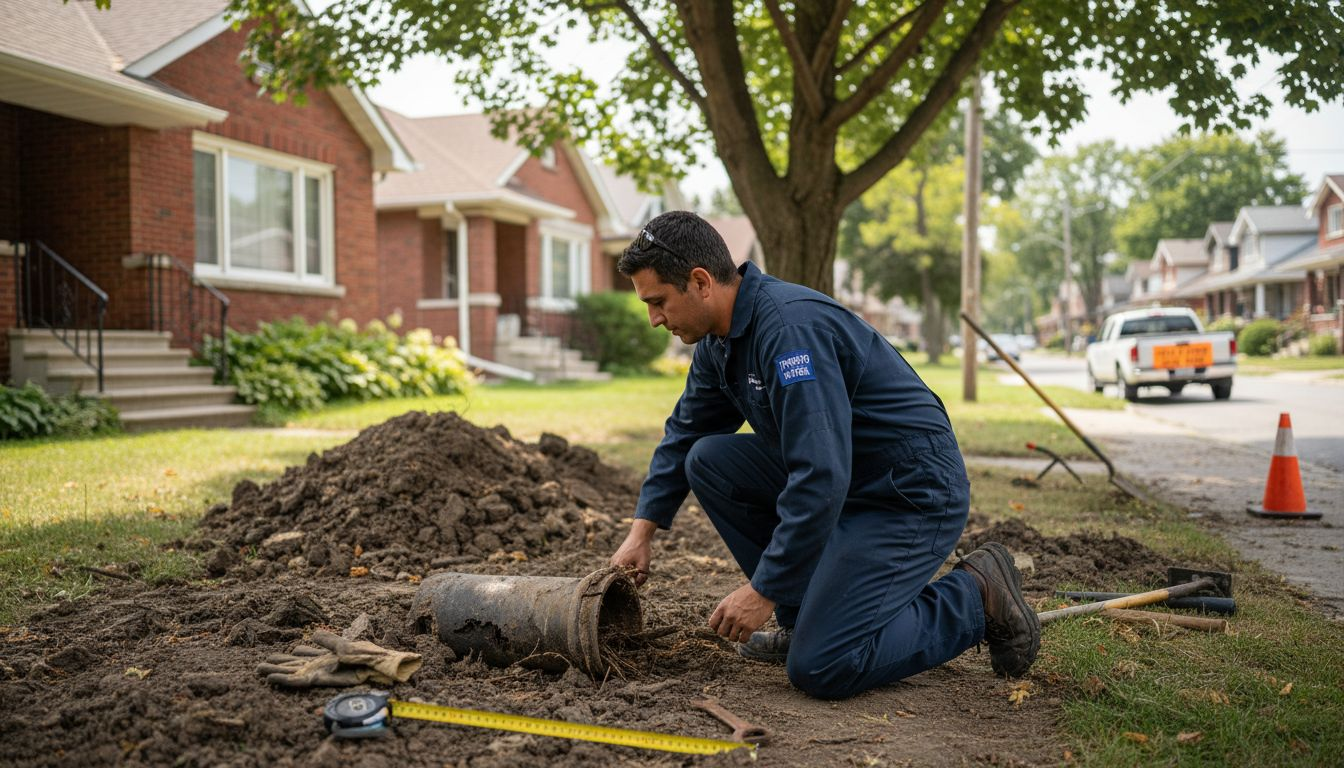
Your inspection should include a comprehensive review of both interior and exterior spaces. Outside, check your home’s foundation for cracks or signs of settling that might create pathways for water. Inspect roof edges, gutters, and downspouts to ensure water can flow away from your home’s foundation effectively. A single compromised area can become an entry point for significant water damage .
Document your findings meticulously. Take photographs of any suspicious areas, measure crack sizes, and note the location of potential leak sources. This documentation serves two critical purposes: tracking potential problem areas and providing a baseline for future comparisions. If you’re unsure about the severity of what you’ve discovered, consider scheduling a professional assessment from a licensed plumbing expert who can provide specialized insights.
Remember, thorough assessment is your first line of defence against potential water damage. By investing time in a detailed inspection now, you can save thousands in potential repair costs later. The goal is not just identifying current issues but anticipating potential future problems before they emerge.
Step 2: Identify Potential Leak Sources
Transitioning from your initial home assessment, the next critical phase involves systematically identifying potential leak sources that could threaten your property’s integrity. Water damage often begins with subtle indicators that homeowners frequently overlook , making this step crucial for preventative maintenance.
Your investigation should concentrate on areas with high moisture exposure and complex plumbing connections. Kitchen and bathroom spaces represent prime locations for potential leaks. Examine under sinks, around toilet bases, and behind appliances like dishwashers and washing machines. Look for signs of water accumulation, discoloration, or warping on surrounding surfaces. Inspect pipe connections carefully, watching for any moisture droplets, rust formations, or mineral buildup that might signal developing problems.
Move your investigation to less visible areas like crawl spaces, basement corners, and utility rooms. Check water heater connections, washing machine hoses, and drainage pipes for signs of stress or wear. Older homes particularly require meticulous examination, as aging infrastructure becomes more susceptible to developing leak points . Pay special attention to pipe joints, valves, and areas where different materials connect, as these represent common vulnerability zones.
External leak sources demand equal scrutiny. Investigate your roof’s condition, examining shingles for damage, checking flashing around chimneys and vents, and ensuring gutters remain clear and properly channeling water away from your foundation. learn more about preventing ceiling water damage to understand how small roof issues can cascade into significant home repairs.
Careful documentation becomes your strategic advantage. Create a comprehensive map of potential leak sources, noting their location, current condition, and any observed irregularities. This living document will serve as a critical reference point for future maintenance and help you track developing issues before they escalate into costly repairs.
Step 3: Seal Gaps and Cracks
After identifying potential leak sources, sealing gaps and cracks becomes your primary defence against water intrusion. Tiny openings can become significant water entry points, transforming minor vulnerabilities into major structural risks . This step requires precision, patience, and the right materials to effectively prevent moisture penetration.
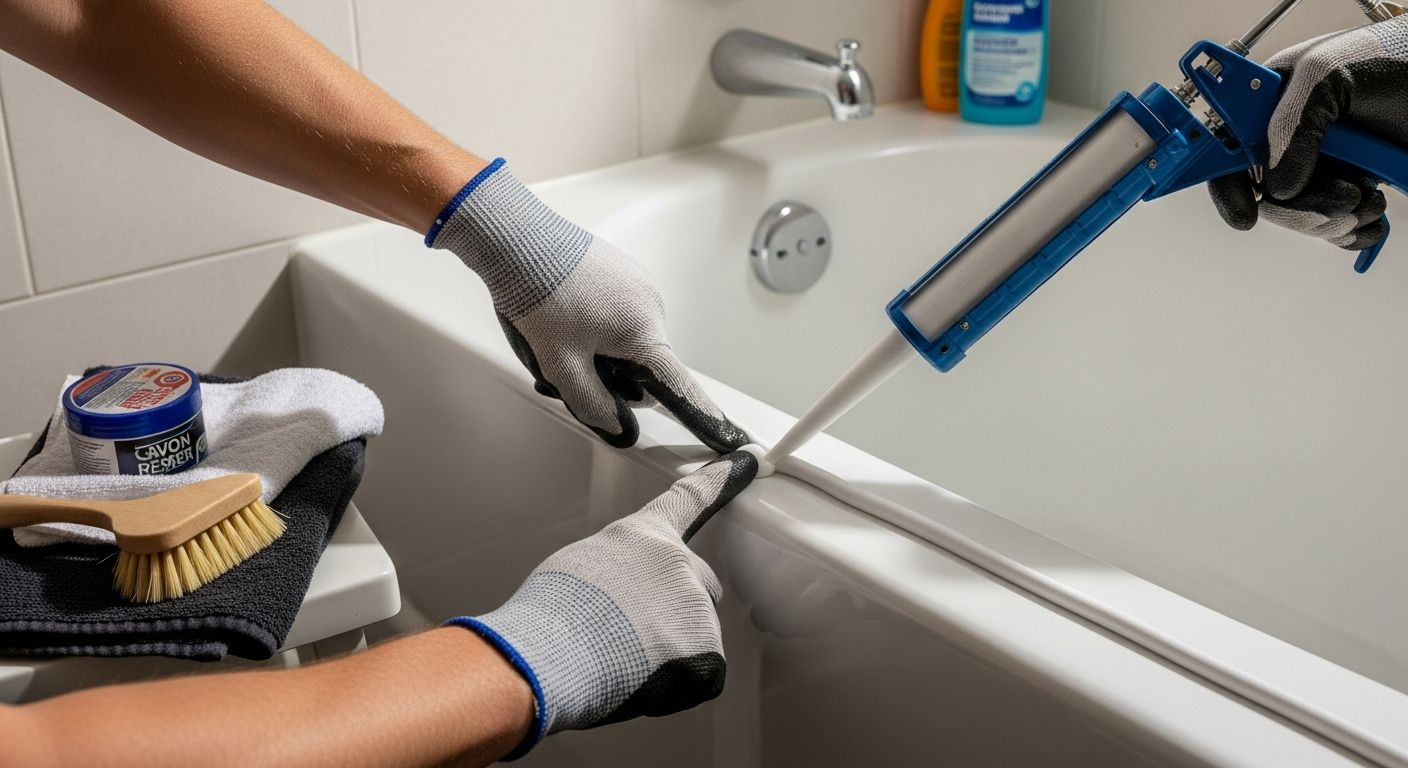
Begin with interior spaces, focusing on areas where pipes, electrical conduits, and other utilities pass through walls and floors. Silicone-based caulk works exceptionally well for small gaps around pipes and electrical outlets. For larger openings, expanding foam provides a more robust solution. Apply these materials carefully, ensuring complete coverage without leaving air pockets that could retain moisture. Wear protective gloves and work in well-ventilated areas when using these sealing compounds .
External surfaces demand equally meticulous attention. Examine your home’s foundation, paying close attention to areas where concrete meets siding or where utility lines enter the structure. Masonry-specific sealants work best for concrete and stone surfaces, creating a water-repellent barrier that prevents moisture absorption. Look for hairline cracks in the foundation, as these can become significant entry points during heavy rainfall or spring thaw.
Your roof represents another critical sealing zone. Check flashing around chimneys, vents, and skylights, replacing or resealing areas showing signs of wear. Roofing sealants designed for exterior use can prevent water from seeping into your home’s most vulnerable structural points . For homeowners less comfortable with heights, explore professional ceiling leak prevention services to ensure comprehensive protection.
Verify your work by conducting a simple water test after sealing. On a dry day, use a garden hose to simulate rainfall, carefully observing sealed areas for any signs of water penetration. Small leaks might require additional application or professional intervention.
Below is a summary table of common materials and their uses for sealing gaps and cracks, helping you choose the right option for each area of your home.
| Material | Best Used For | Area of Application | Notes |
|---|---|---|---|
| Silicone-based caulk | Small gaps around pipes, outlets | Interior (walls, fixtures) | Flexible, water-resistant |
| Expanding foam | Larger wall or floor openings | Interior/exterior | Expands to fill big gaps, insulative |
| Masonry-specific sealant | Cracks in concrete or stone | Foundation, exterior walls | Water-repellent, ideal for masonry |
| Roofing sealant | Flashing around chimneys, vents, skylights | Roof | Designed for outdoor weather exposure |
| Weatherproof tape | Temporary fixes on pipes or joints | Interior/exterior | Quick, interim solution |
Step 4: Maintain Gutters and Downspouts
Gutters and downspouts form a critical defence system protecting your home from water damage, channeling rainfall and melting snow away from your foundation. Neglected drainage systems can transform from protective barriers into potential sources of significant structural problems . Your maintenance approach requires consistent attention and strategic intervention.
Begin with a thorough cleaning twice annually, typically in late spring and early autumn. Remove accumulated debris like fallen leaf clusters, pine needles, and small branches that obstruct water flow. Use a sturdy ladder, wear non slip shoes, and consider using protective gloves. A garden trowel works well for scooping out compacted materials, while a garden hose can help flush remaining smaller particles. Pay special attention to corners and downspout connections where blockages most frequently develop .
Inspect your gutters for signs of wear, rust, or structural damage. Look for sagging sections, loose fasteners, or areas where water might pool instead of flowing smoothly. Small gaps or misalignments can redirect water toward your home’s foundation, creating potential leak pathways. Consider installing guter guards or screens to minimize debris accumulation and reduce future maintenance requirements. learn more about preventing basement water issues to understand how proper drainage impacts your home’s overall moisture protection.
Ensure downspouts extend at least three to four feet away from your foundation, directing water safely into your yard or storm drainage system. For homes on slopes, strategic positioning becomes even more critical. Consider adding splash blocks or flexible extensions to guide water further from your home’s base. Test your system during a moderate rainfall, observing how water moves and identifying any areas requiring additional adjustment or repair.
Step 5: Monitor Indoor Humidity Levels
Controlling indoor humidity represents a critical defence against potential water damage and mould growth. Excess moisture can silently undermine your home’s structural integrity, creating environments where leaks and water problems thrive . Understanding and managing humidity levels becomes a proactive strategy for preventing water-related home maintenance issues.
Invest in a reliable digital hygrometer to track indoor moisture accurately. These affordable devices provide real-time humidity readings, allowing you to monitor environmental conditions across different rooms. Aim to maintain indoor humidity between 30% and 50%, adjusting your approach based on seasonal changes. During winter, indoor spaces tend to become drier, while summer months can introduce excessive moisture. Pay special attention to areas prone to dampness like basements, bathrooms, and kitchens where humidity fluctuations occur most dramatically .
Active humidity management requires strategic ventilation and lifestyle adjustments. Run exhaust fans during and after hot showers, ensuring moisture doesn’t accumulate on walls and ceilings. In kitchens, activate range hoods while cooking to remove steam and cooking vapours. Consider using dehumidifiers in consistently damp spaces, particularly basement areas where moisture can become trapped. explore strategies for preventing basement moisture issues to understand comprehensive moisture control techniques.
Regular monitoring allows you to detect potential problems before they escalate. Watch for condensation on windows, musty odours, or visible moisture spots on walls and ceilings. These indicators suggest your current humidity management strategy needs refinement. Implement small changes like using bathroom exhaust fans, keeping indoor plants to a minimum, and ensuring clothes dryers vent properly to the exterior. By treating humidity as an active home maintenance task, you create a proactive defence against potential water damage and mould growth.
Step 6: Conduct Regular Inspections
Regular home inspections form the backbone of proactive leak prevention, transforming potential water damage risks into manageable maintenance tasks. Consistent monitoring allows you to catch subtle issues before they escalate into costly repairs , creating a strategic defence against home water intrusion.
Schedule comprehensive inspections twice annually, ideally during spring and autumn when seasonal transitions create natural stress points for your home’s infrastructure. Start with a systematic approach, moving methodically through interior and exterior spaces. Examine all visible plumbing connections, checking for signs of corrosion, moisture accumulation, or subtle discoloration around pipe joints. Pay special attention to areas beneath sinks, around toilets, and near water-using appliances. Look for telltale indicators like mineral deposits, slight rust formations, or unexplained dampness that might signal developing problems .
External inspections demand equal diligence. Walk your property’s perimeter, examining foundation walls for hairline cracks, checking exterior wall surfaces for signs of water penetration, and verifying that ground slopes away from your home’s base. Inspect roof edges, looking for damaged shingles, compromised flashing, or areas where water might potentially pool. check out our comprehensive seasonal plumbing maintenance tips to refine your inspection approach and catch potential issues early.
Document your findings meticulously, creating a maintenance record that tracks changes over time. Take clear photographs of any areas of concern, measuring and noting specific details about cracks, moisture spots, or potential leak sources. This documentation serves as both a diagnostic tool and a historical reference, helping you track your home’s condition and prioritize future maintenance efforts.
Here is a quick inspection checklist to help organise and document your regular inspections, making it easier to track potential leak sources and building condition over time.
| Inspection Point | What to Look For | Frequency | Action Required |
|---|---|---|---|
| Plumbing connections | Corrosion, moisture, deposits | Biannually | Tighten/fix/joint replacement |
| Under sinks & around toilets | Dampness, stains, warped cabinetry | Biannually | Dry area, repair leak |
| Foundation | Hairline cracks, pooling water | Biannually | Seal cracks, address grading |
| Roof edges & flashing | Damage, misaligned tiles/flashing | Biannually | Repair or reseal as needed |
| Gutters/downspouts | Blockages, sagging, leaks | Biannually | Clean, secure, repair |
| Basements/crawlspaces | Musty odour, standing water | Biannually | Dehumidify, repair sources |
| Utility rooms/appliances | Leaks near heaters, washers | Biannually | Replace hoses/fix leaks |
Safeguard Your Home from Leaks with Toronto’s Trusted Plumbing Experts
You have just read about the many steps to prevent leaks—from home assessments to sealing cracks and managing humidity. If you are worried about hidden moisture, cracked foundations, or plumbing weaknesses, you are not alone. Many homeowners put off addressing these warning signs, only to face expensive repairs or unexpected emergencies later. DrainWorks Plumbing understands the real risks and frustrations—leaks are not just about water stains or dripping taps. They threaten your peace of mind and your family’s safety. Our team tackles what DIY inspections might miss. We cover everything from ceiling leaks and drain issues to waterproofing and complete plumbing repairs. As featured in Toronto Life Magazine and a multi-time HomeStars award winner, we deliver trusted service shaped by 30 years of experience.

Have you noticed any signs of water damage or want to verify your home is truly protected? Take action now—do not wait for the next heavy rain or pipe failure. Book an expert assessment or learn more at DrainWorks Plumbing. Not sure where to start? Explore our practical guides to ceiling leak repairs or managing basement drainage problems. Make the proactive choice for your Toronto home. Receive upfront pricing, no surprises, and the peace of mind that only a reliable local company can guarantee. Your next step is easy—visit DrainWorks Plumbing and speak with our expert team today.
Frequently Asked Questions
How can I identify potential leak sources in my home?
Start by inspecting areas with high moisture exposure, such as kitchens and bathrooms. Check under sinks, around toilets, and behind appliances for signs of water accumulation or unusual discoloration. Also, examine crawl spaces, basements, and utility rooms for hidden leaks.
What materials should I use to seal gaps and cracks?
Silicone-based caulk is effective for small gaps, while expanding foam is suitable for larger openings. Masonry-specific sealants work well for cracks in concrete or stone surfaces. Ensuring you choose the right type for the surface being sealed is crucial for optimal results.
How often should I clean my gutters and downspouts?
It’s recommended to clean your gutters and downspouts at least twice a year, typically in late spring and early autumn. This helps prevent blockages that could lead to water pooling and potential leaks around your home’s foundation.
What indoor humidity levels should I aim for to prevent water damage?
Maintain indoor humidity levels between 30% and 50%. Using a digital hygrometer can help monitor these levels effectively. Implementing ventilation strategies, such as using exhaust fans, can also assist in controlling moisture in your home.
Recommended