How to Repair Hose Bib: A Step-by-Step Guide for Homeowners
Outdoor hose bibs are the silent workhorses of every Canadian yard, keeping gardens lush and car washes easy all summer long. Most people only notice them when something goes wrong with the tap. Yet rust or heavy discolouration on your hose bib usually means there is a structural problem waiting to turn into an expensive leak . Some of the most costly water damage starts with a tiny drip you barely notice, so knowing how to spot trouble early can make all the difference.
Table of Contents
- Step 1: Assess Your Current Hose Bib Situation
- Step 2: Gather Essential Tools and Materials
- Step 3: Shut Off The Water Supply To The Hose Bib
- Step 4: Remove The Hose Bib For Inspection And Repair
- Step 5: Replace Damaged Components And Reassemble
- Step 6: Test For Leaks And Ensure Proper Functionality
Quick Summary
| Key Point | Explanation |
|---|---|
| 1. Assess your hose bib condition | Examine for cracks, rust, and leaks to identify potential issues early on. |
| 2. Gather necessary tools and materials | Prepare tools like pliers, a wrench, and replacement parts before starting the repair. |
| 3. Shut off the water supply | Always turn off the main water valve to avoid flooding during repairs. |
| 4. Remove the hose bib carefully | Use gentle pressure to avoid damages; inspect all components for wear. |
| 5. Test for leaks after reassembly | Check for water seepage and ensure consistent flow to confirm a successful repair. |
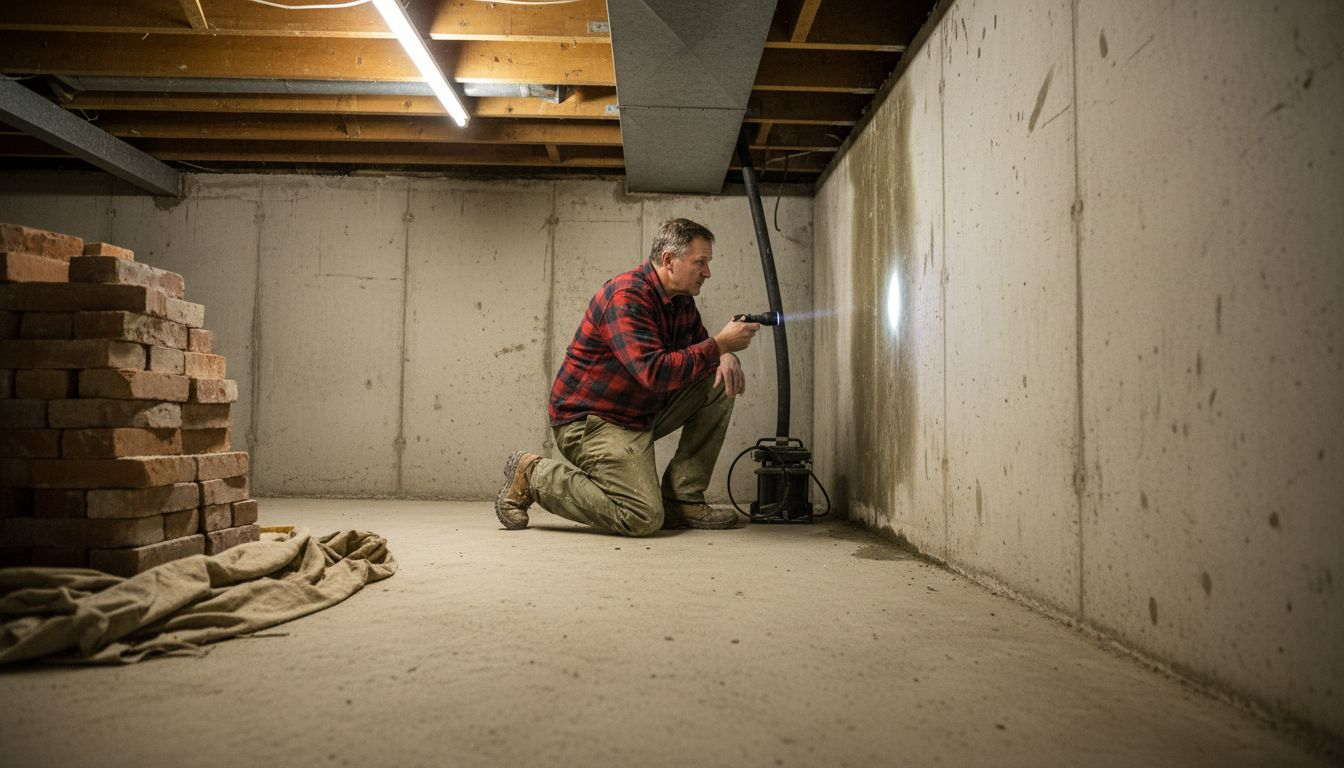
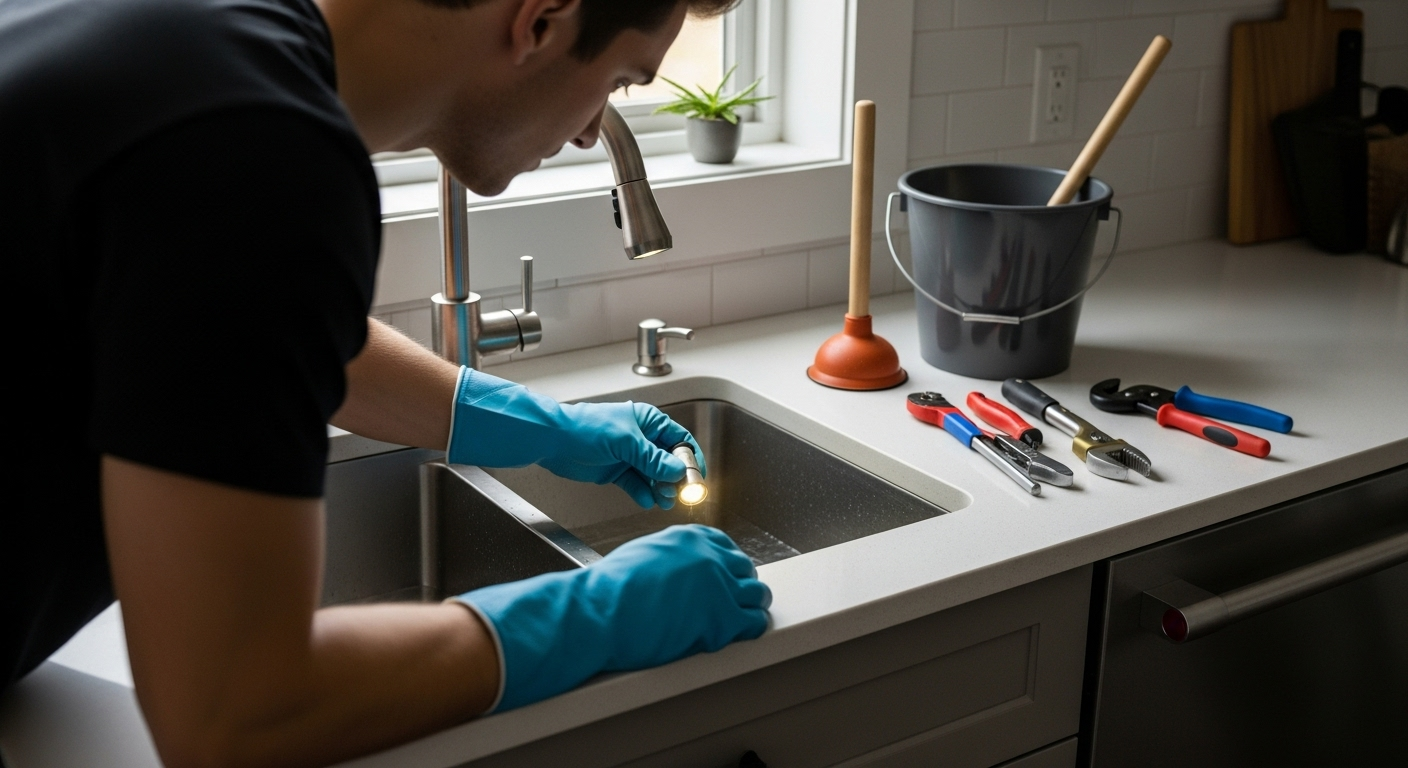
Step 1: Assess Your Current Hose Bib Situation
Repairing a hose bib starts with a thorough understanding of its current condition. Your outdoor water connection plays a critical role in home maintenance, and recognizing potential issues early can save you significant time and money. A comprehensive assessment involves carefully examining the external faucet for signs of wear, damage, or malfunction that might compromise its performance.
Begin by visually inspecting the entire hose bib assembly. Look closely at the faucet handle, spout, and connection points for visible signs of damage such as cracks, rust, or corrosion. Pay special attention to the area where the faucet meets the exterior wall, as this junction is particularly vulnerable to weather-related stress and potential leakage. Rust or significant discoloration often indicates underlying structural problems that require immediate attention.
Carefully test the functionality of your hose bib by turning the handle and observing its movement. A properly functioning hose bib should rotate smoothly without excessive resistance or strange grinding noises. When you turn on the water, watch for consistent water flow and check for any unexpected leaking around the handle or spout. Inconsistent water pressure or sporadic dripping can signal internal mechanical issues that might require repair or replacement.
Your assessment should also include examining the surrounding wall and insulation. Look for water stains, soft spots, or signs of moisture damage that could suggest long-term leakage. Outdoor faucets are exposed to extreme temperature variations, which can cause gradual deterioration. Learn more about preventing outdoor faucet damage to understand potential risks and maintenance strategies.
Documenting your findings is crucial. Take clear photographs of any damage or areas of concern, which will help you track changes over time and provide valuable reference points if professional assistance becomes necessary.
This table provides an overview of each primary step in the hose bib repair process, with estimated difficulty and the main goal for each step.
| Step | Difficulty | Key Outcome |
|---|---|---|
| Assess hose bib situation | Easy | Identify visible and hidden damage |
| Gather tools and materials | Easy | Ensure everything needed is ready |
| Shut off water supply | Easy | Prevent flooding, ensure a safe repair environment |
| Remove hose bib | Moderate | Access internal components for inspection |
| Replace components and reassemble | Moderate | Restore hose bib function and prevent future leaks |
| Test for leaks and proper function | Easy | Confirm repair success and catch any remaining issues |
Step 2: Gather Essential Tools and Materials
Preparing for a successful hose bib repair requires assembling the right tools and materials before you begin. A well-organized approach will save you time and frustration, ensuring you can complete the repair efficiently and effectively. Your toolkit should be comprehensive yet straightforward, allowing you to tackle potential complications with confidence.
Primary tools you will need include: adjustable pliers, a pipe wrench, screwdrivers with both flathead and Phillips head, a utility knife, and a wire brush for cleaning. Additionally, protective equipment such as work gloves and safety glasses are crucial for personal safety during the repair process. You might also want to have a small bucket or towel nearby to catch any water that may unexpectedly drain from the pipes.
Materials are equally important for a thorough repair. Gather replacement parts like washers, O-rings, and potential fittings before starting. Plumber’s tape (also known as Teflon tape) will be essential for creating watertight seals on threaded connections. A tube of silicone sealant can help address any minor gaps or potential leak points around the faucet’s exterior connection. For more complex repairs, having extra pipe sections or specialized compression fittings might be necessary.
Check out our guide on preventing outdoor faucet leaks to understand what specific materials might be most relevant for your particular situation. Each hose bib can have unique characteristics that influence the exact tools and replacement parts required.
Before beginning the repair, take a moment to organize your workspace. Lay out your tools and materials in a clean, accessible area where you can easily reach them. This preparation not only makes the repair process smoother but also helps you work more systematically and avoid unnecessary interruptions.
The table below summarizes the essential tools and materials needed for a successful hose bib repair, along with their main purpose and any special notes.
| Tool/Material | Purpose | Notes |
|---|---|---|
| Adjustable pliers | Loosen or tighten fittings | Helpful for gripping various sizes |
| Pipe wrench | Securely grip and turn pipes | Use gentle pressure to avoid damage |
| Flathead screwdriver | Remove/replace flat screws | Used for older hose bib models |
| Phillips screwdriver | Remove/replace cross-head screws | Common for newer fixtures |
| Utility knife | Cut or trim materials | Useful for removing old sealant |
| Wire brush | Clean threads and components | Removes rust/mineral deposits |
| Work gloves | Hand protection | Prevents cuts and abrasion |
| Safety glasses | Eye protection | Essential for safety when working with metal or debris |
| Plumber’s tape | Seal threaded connections | Also known as Teflon tape |
| Silicone sealant | Seal around exterior connections | Weatherproofs and prevents leaks |
| Replacement washers/O-rings | Fix leaks at key join points | Match size/type to existing parts |
| Bucket or towel | Catch residual water | Prevents mess during disassembly |
Step 3: Shut Off the Water Supply to the Hose Bib
Shutting off the water supply is a critical safety step that prevents unexpected water flow and potential flooding during your hose bib repair. This process requires careful attention and a systematic approach to ensure you completely halt water movement to the specific area you will be working on. Proper water supply management is essential for a safe and successful repair.
Locate your home’s main water shutoff valve, which is typically found in areas like the basement, crawl space, garage, or near the perimeter of your home. The valve might be situated close to where the main water line enters your property. Look for a round wheel-like handle or a lever-style valve that controls the entire water supply to your home. When turning the valve, move it slowly and deliberately clockwise to completely stop the water flow. Some valves require multiple turns to fully close, so take your time and ensure a complete shutdown.
After closing the main valve, you’ll want to verify that the water is indeed off. Open the hose bib and any indoor faucets to release any remaining water pressure in the system. No water should flow when you turn these fixtures on. This step helps confirm that you have successfully interrupted the water supply and reduces the risk of unexpected water discharge during your repair work. Read our detailed guide on managing outdoor water connections for additional insights into water system management.
If you encounter any difficulty locating or operating the main shutoff valve, do not hesitate to contact a professional plumber. Some older homes might have unique or hard-to-access water control systems that require specialized knowledge. Your safety and the integrity of your home’s plumbing system should always be the primary concern when undertaking any repair work.
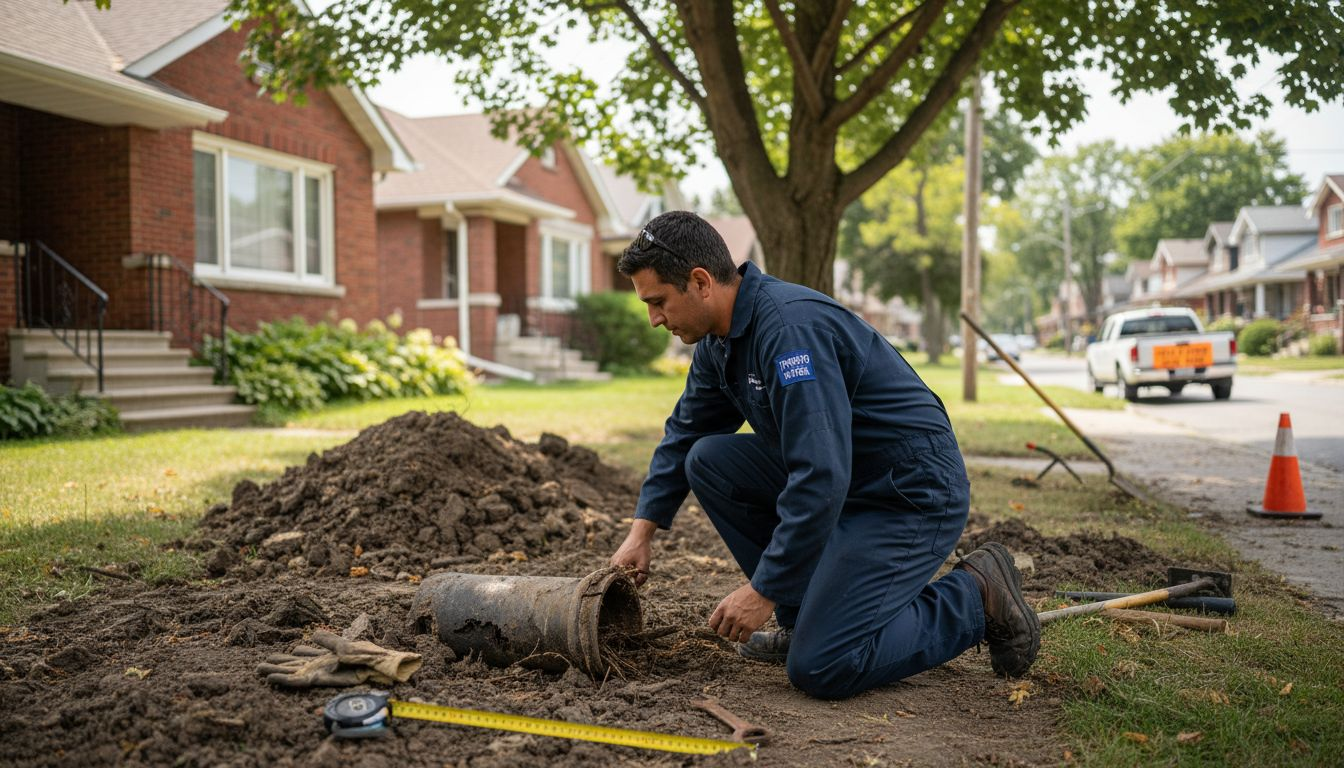
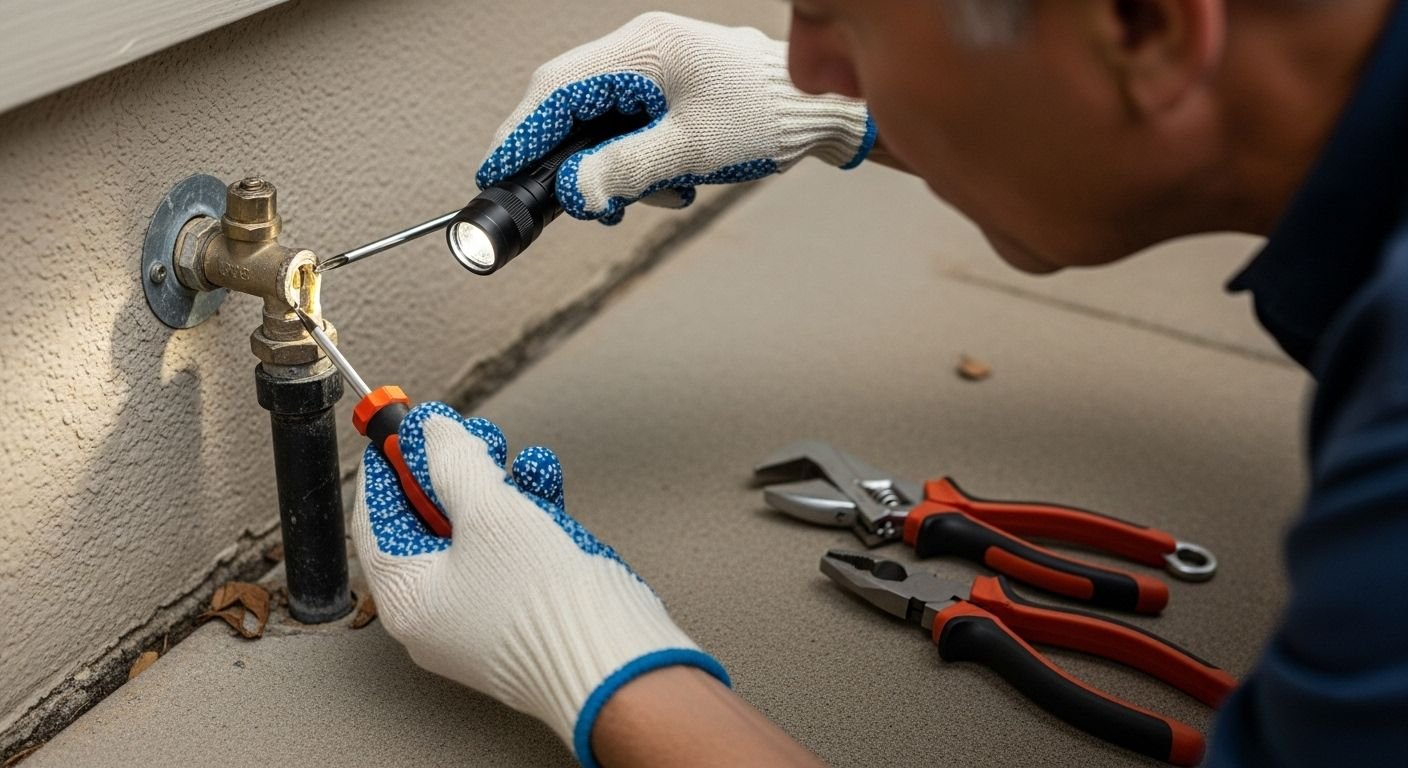
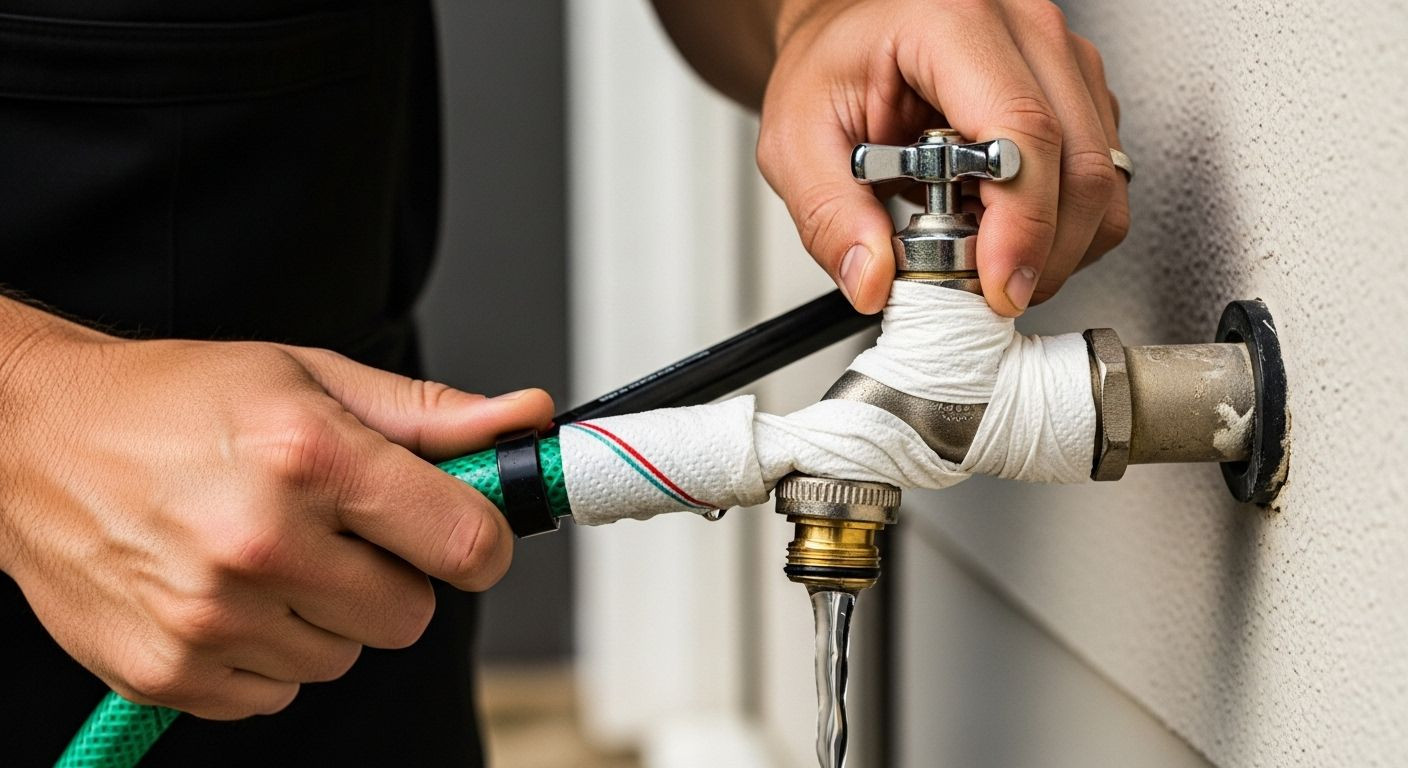
Step 4: Remove the Hose Bib for Inspection and Repair
Removing a hose bib requires precision and careful technique to prevent damage to your exterior wall and plumbing system. Proper removal is crucial for identifying underlying issues and preparing for potential replacement. Begin by carefully examining the connection point between the hose bib and the exterior wall, noting how tightly the fixture is secured and any signs of corrosion or wear that might complicate the removal process.
Utilize your adjustable wrench to loosen the connection, starting with gentle, consistent pressure. If the fixture appears stuck, apply a light penetrating oil to help break down any rust or mineral buildup that might be preventing smooth removal. Work slowly and methodically, rotating the wrench in small increments to avoid sudden force that could crack the pipe or damage the surrounding wall. Pay close attention to the threads and connection points , as these areas are most vulnerable during the removal process.
Learn more about preventing outdoor faucet complications to understand potential challenges you might encounter. As you remove the hose bib, inspect the interior components carefully. Look for signs of wear such as corroded washers, damaged O-rings, or mineral deposits that might have accumulated over time. Take photographs of the existing setup to help with reassembly or to show a professional if you determine the repair is beyond your skill level.
Once removed, place the hose bib and associated components on a clean, flat surface. Examine the pipe connection and wall opening for any additional damage or deterioration that might not have been visible during initial inspection. This careful examination will help you determine whether a simple repair will suffice or if a complete replacement is necessary. Remember that thorough investigation at this stage can prevent more extensive and costly repairs in the future.
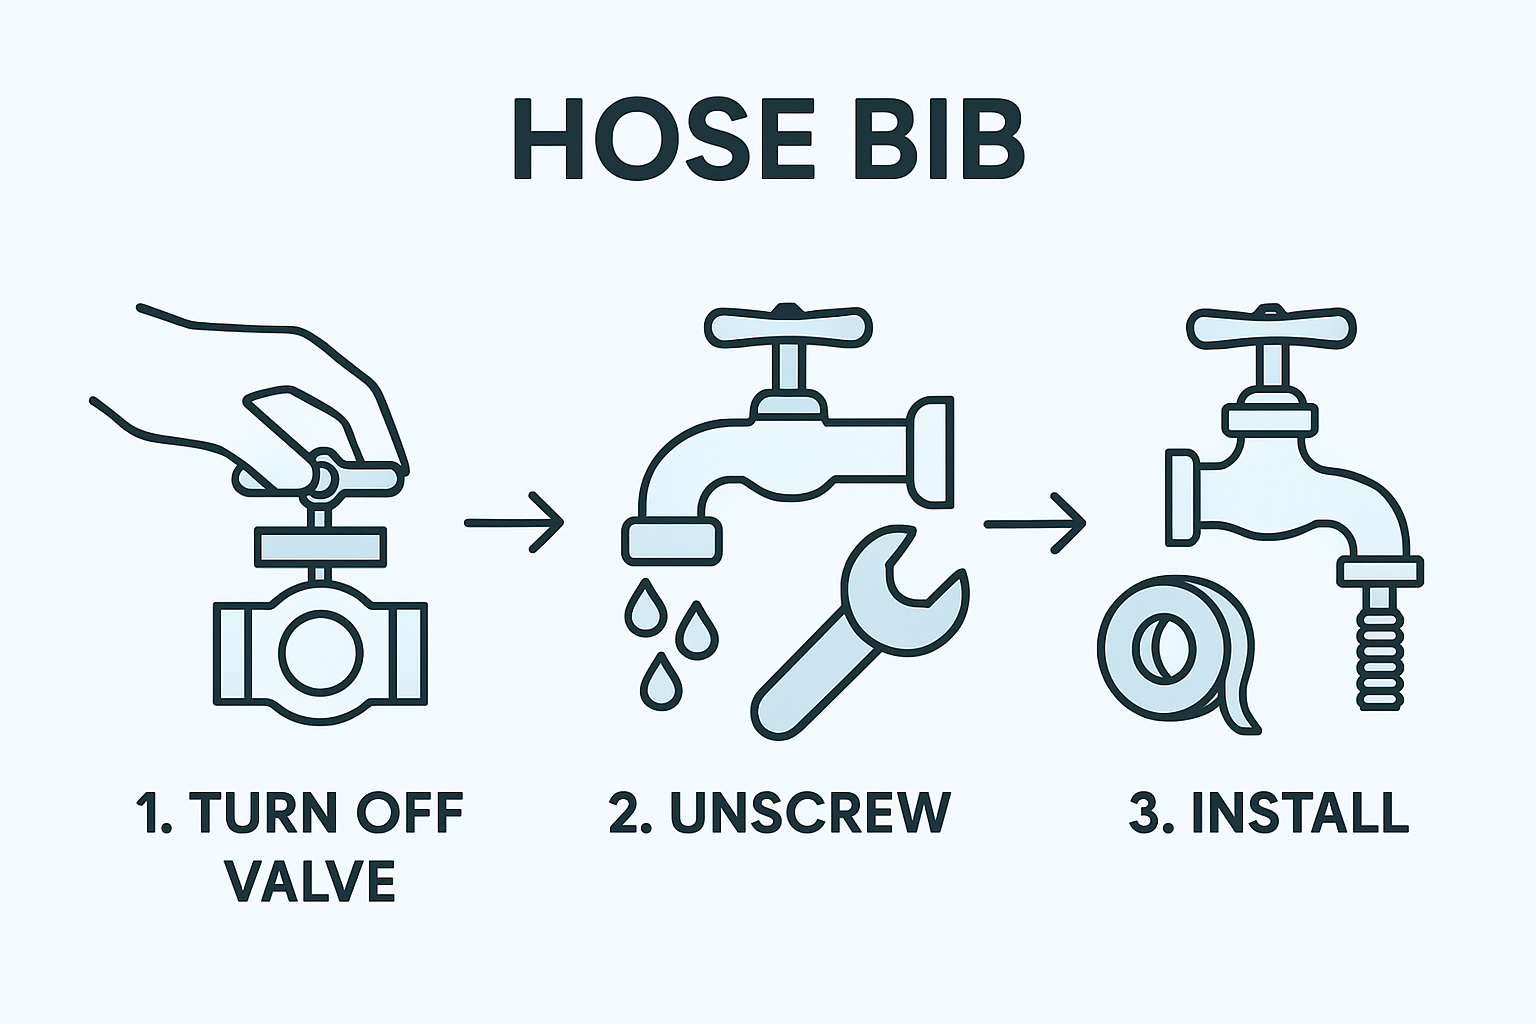
Step 5: Replace Damaged Components and Reassemble
Reassembling your hose bib requires meticulous attention to detail and precision. Careful replacement of worn components is crucial for ensuring a watertight and functional outdoor faucet. Begin by thoroughly cleaning all removed parts, using a wire brush to remove any mineral deposits or corrosion that might compromise the new installation. Inspect each component carefully, comparing them to your replacement parts to ensure a perfect match.
Apply plumber’s tape to the threaded connections, wrapping it clockwise around the threads to create a secure, leak-resistant seal. The tape should be applied smoothly and evenly, with approximately three to four wraps for optimal protection. When installing new washers and O-rings, ensure they are seated correctly and free from any visible damage. Lubricate rubber components with a small amount of silicone-based lubricant to prevent future cracking and ensure smooth movement.
Explore our guide to preventing outdoor faucet issues for additional insights into maintaining your outdoor water connections. As you reassemble the hose bib, take care to align all components precisely. Use your adjustable wrench to tighten connections, but be cautious not to over-tighten, which can damage the new components or create unnecessary stress on the plumbing system.
Once reassembly is complete, carefully position the hose bib back into its original location. Ensure the fixture is level and securely fastened to the exterior wall. Apply a small amount of exterior-grade silicone sealant around the connection point to provide additional protection against water intrusion and potential future leaks. This final step helps create a weather-resistant seal that will protect your home’s exterior and maintain the integrity of your newly repaired hose bib.
Step 6: Test for Leaks and Ensure Proper Functionality
Testing your newly repaired hose bib is a critical final step that validates all your hard work and ensures the fixture will perform reliably. Comprehensive testing helps prevent potential water damage and confirms the success of your repair. Begin by slowly turning on the main water supply, allowing water to flow gradually into the system to prevent sudden pressure that might compromise your newly installed components.
Initiate your leak test by observing the hose bib connection points carefully. Watch for any signs of water seepage around the threads, handle, or spout. Pay special attention to the areas where you applied new sealant or replaced components. Run your hand along the exterior wall to detect any moisture that might indicate a hidden leak. If possible, place a clean, dry paper towel around the connection points to help identify even the smallest signs of water leakage.
Discover expert tips for maintaining outdoor water fixtures to help you prevent future issues. Next, test the hose bib’s functionality by connecting a garden hose and turning it on fully. Observe the water pressure and flow, checking for consistent stream and any unusual spurting or uneven distribution. Listen for any unusual sounds that might indicate internal problems, such as whistling, hammering, or irregular water flow.
Finally, inspect the surrounding wall and ground area for any signs of water accumulation or unexpected moisture. A successful repair means a dry wall, consistent water pressure, and no visible leaks.
 If you notice any issues during testing, do not hesitate to turn off the water supply and reassess your repair or consider consulting a professional plumber to ensure your hose bib is functioning perfectly.
Get Expert Help When DIY Hose Bib Repairs Become Overwhelming
Struggling with a stubborn hose bib that just will not stop leaking or wondering if your repair efforts really fixed the problem for good? The article above walks you through every step from initial inspection to leak testing, but the reality is that outdoor water connections can bring hidden challenges. Issues like corroded fittings, persistent drips, or mounting water damage threaten your home’s exterior and lead to costly repairs if not addressed properly. When basic steps for removing, reassembling, or sealing your hose bib leave you with ongoing concerns, you need a trusted plumbing partner nearby who understands Toronto homes and climate challenges.

Choose DrainWorks Plumbing for solutions that go beyond DIY. Our licensed and insured team has over 30 years of experience helping homeowners solve leaks, manage stubborn hose bibs, and prevent outdoor water damage. We offer up-front pricing and award-winning service you can count on. Ready to protect your home before small issues turn into expensive plumbing emergencies? Visit DrainWorks Plumbing now or explore our advice about avoiding outdoor faucet leaks and keeping your plumbing in top shape. Book a same-day appointment and let the best plumbers in Toronto give you peace of mind today.
Frequently Asked Questions
How do I know if my hose bib needs repair?
Inspect your hose bib for signs of wear, such as cracks, rust, or leaks. Test the handle’s movement and check for consistent water flow. Look for water stains on walls or around the hose bib, which may indicate hidden leaks.
What tools do I need to repair a hose bib?
You’ll need adjustable pliers, a pipe wrench, flathead and Phillips screwdrivers, a utility knife, a wire brush, plumber’s tape, silicone sealant, and replacement parts like washers or O-rings. Safety gear such as gloves and goggles is also recommended.
How can I prevent future leaks in my hose bib?
Regularly inspect your hose bib for signs of wear, ensure proper winterization to avoid freezing, and use silicone sealant around connections to protect against moisture intrusion. Keeping the area clean and free from debris will also help maintain its condition.
What should I do if I encounter difficulty removing the hose bib?
If the hose bib is stuck, apply a penetrating oil to help loosen it. Use gentle pressure with your adjustable wrench to avoid damaging the pipe. If you continue to experience difficulty, consider consulting a professional plumber for assistance.
Recommended