
Avoid Water Hammer in Toronto: Cut Pipe Noise by 50%
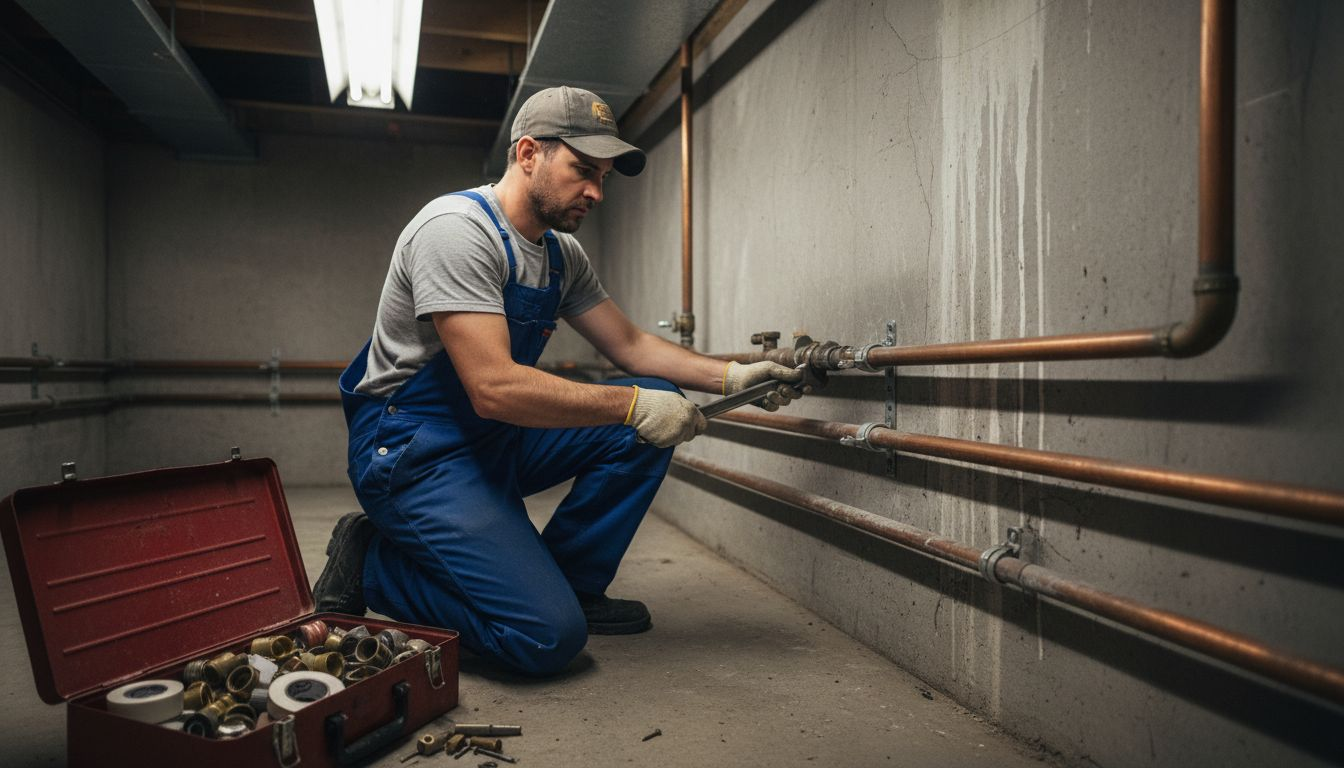
That sudden banging sound when you shut off a faucet is water hammer, a hydraulic shock that creates pressure surges up to 200 times normal in your pipes. Left unchecked, it damages pipes, loosens joints, and shortens appliance lifespan. Fortunately, homeowners can prevent water hammer with four practical steps: securing loose pipes, maintaining air chambers, installing arrestors, and regulating water pressure.
Table of Contents
- Understanding Water Hammer and Its Risks
- Prerequisites: What You Need Before Starting
- Step 1: Secure Loose Pipes
- Step 2: Maintain Air Chambers
- Step 3: Install Water Hammer Arrestors or Accumulators
- Step 4: Regulate Water Pressure
- Troubleshooting and Common Mistakes to Avoid
- Expected Outcomes and Maintenance
- Protect Your Home with Expert Plumbing Services in Toronto
Key Takeaways
| Point | Details |
|---|---|
| Pressure surges reach extreme levels | Water hammer causes pressure spikes up to 200 times normal, risking pipe damage and leaks. |
| Securing pipes cuts noise significantly | Tightening straps and adding clamps can reduce water hammer noise by over 50%. |
| Arrestors provide lasting protection | Gas-filled arrestors cushion shocks near fast-closing valves like dishwashers and washing machines. |
| Pressure regulation prevents surges | Keeping water pressure below 50 psi minimizes water hammer risk and protects plumbing systems. |
| Regular maintenance ensures lasting results | Annual inspections and air chamber checks prevent recurrence and extend pipe lifespan. |
Understanding Water Hammer and Its Risks
Water hammer is a hydraulic shock that produces loud banging noises when water flow stops abruptly. It happens when a valve closes quickly, forcing moving water to slam against the valve or pipe walls. The resulting pressure wave travels through your plumbing system, creating the distinctive hammering sound that worries homeowners.
Several conditions trigger water hammer in residential systems:
- Sudden valve closures from quick-closing faucets or appliance solenoid valves
- High water pressure exceeding safe levels in your home
- Loose or poorly secured pipes that vibrate and amplify noise
- Waterlogged air chambers that have lost their shock-absorbing capacity
- Fast-acting washing machines, dishwashers, and toilet fill valves
The pressure surges can reach up to 200 times normal pressure, placing enormous stress on pipes and joints. Over time, this repeated stress causes pipe fatigue, cracks in joints, and premature wear on appliances. You might notice small leaks appearing at connections, or hear the banging grow louder as damage accumulates. These are signs your plumbing system needs immediate attention to prevent costly repairs.
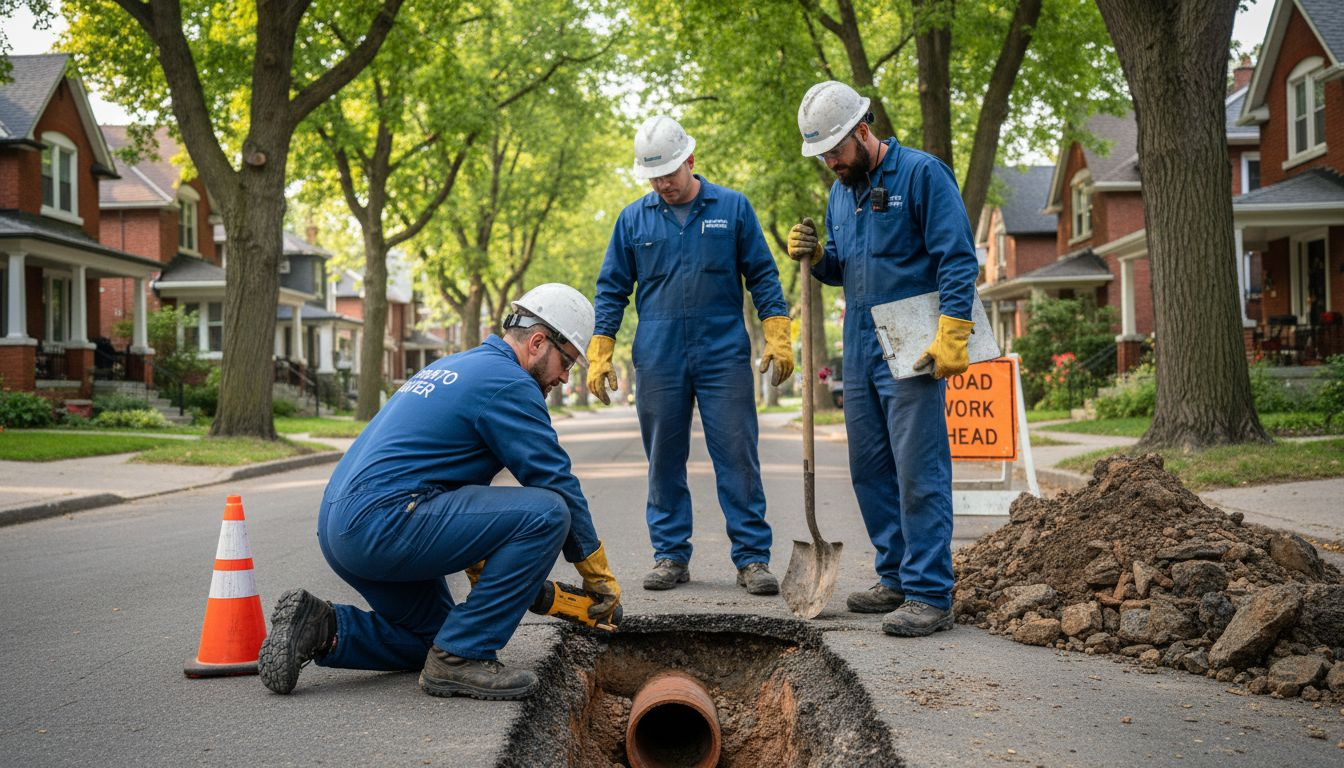
Water hammer ranks among the most common plumbing emergencies Toronto homeowners face, particularly in older homes with aging pipe supports. The problem intensifies during winter when frozen pipes restrict flow and increase pressure downstream. When water hammer combines with other issues, emergency plumbing services become necessary to prevent flooding or pipe bursts. Understanding these risks helps you recognize when to act and when to call local plumbing services for professional assessment.
Prerequisites: What You Need Before Starting
Before tackling water hammer, gather the right tools and knowledge. You need basic plumbing equipment including adjustable wrenches, pipe clamps or straps, foam pipe insulation, and Teflon tape. A water pressure gauge is essential for testing your home's pressure accurately. You can find these gauges at hardware stores for under twenty dollars.
Stock up on water hammer arrestors appropriate for your plumbing system. Check whether your pipes are copper, PEX, or galvanized steel, as this determines which arrestor fittings you need. A pressure-reducing valve may be necessary if tests reveal pressure exceeding 50 psi. Having a flashlight and adjustable ladder helps access pipes in basements, crawl spaces, and behind appliances.
Know your home's plumbing layout before starting work:
- Locate the main water shutoff valve and learn how to turn it off quickly
- Identify where pipes run through walls, ceilings, and floors
- Find existing pipe supports and note any loose or missing clamps
- Mark locations of appliances with fast-closing valves
- Document areas where you hear the loudest water hammer noises
| Tool/Item | Purpose | Estimated Cost |
|---|---|---|
| Water pressure gauge | Test home water pressure | $15-$25 CAD |
| Pipe clamps/straps | Secure loose pipes | $2-$5 each |
| Foam insulation | Reduce vibration noise | $5-$15 per length |
| Water hammer arrestor | Absorb pressure surges | $20-$50 each |
| Pressure-reducing valve | Regulate water pressure | $40-$100 |
Proper preparation prevents mistakes and saves time. Knowing where to shut off water protects you if a connection leaks during installation. Understanding your system helps you prevent leaks before they start. If you encounter copper pipes needing repair, having the right supplies on hand avoids project delays. These winter plumbing tips also apply when working in cold basement spaces or crawl areas.
Step 1: Secure Loose Pipes
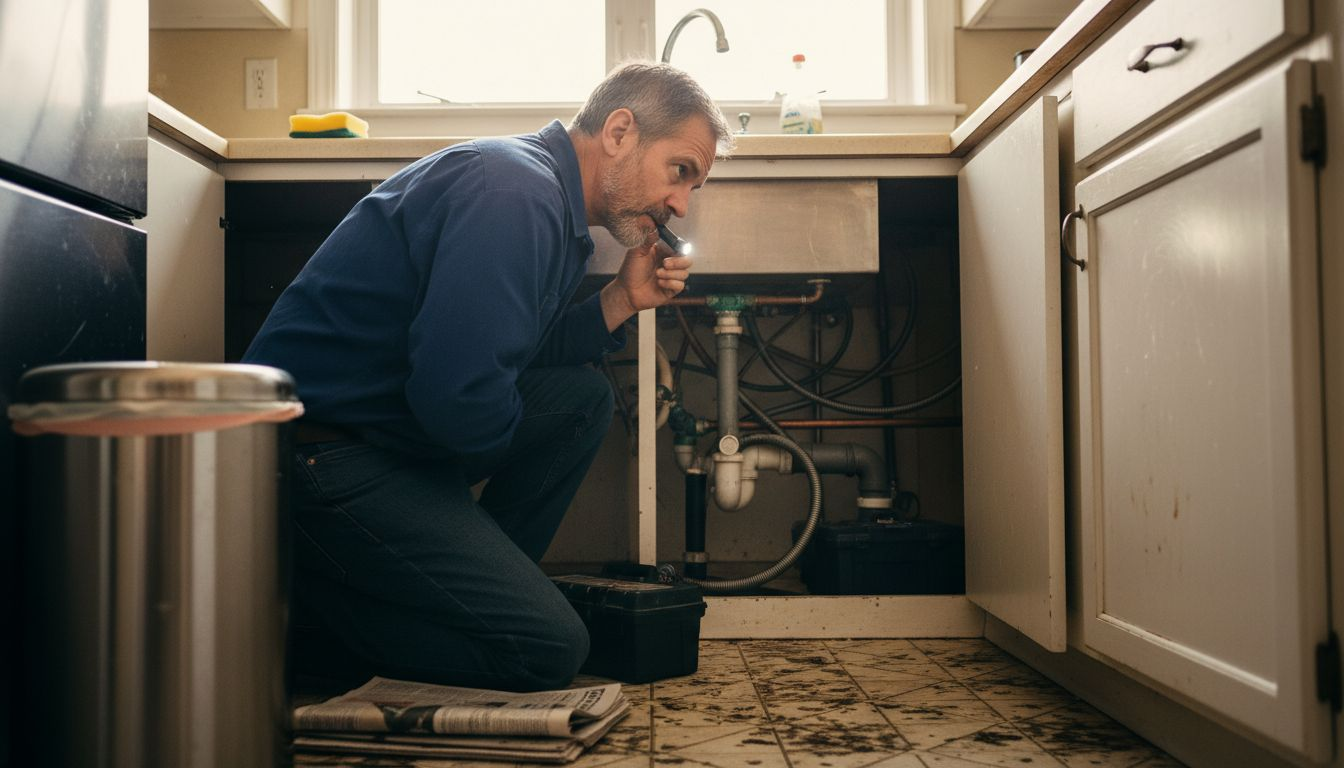
Loose pipes amplify water hammer because they vibrate freely when pressure waves pass through. Start by inspecting visible pipes in your basement, under sinks, and near appliances. Look for pipes that sway when touched or appear to hang loosely from their supports. Missing or damaged pipe clamps are common culprits.
Tighten existing pipe straps using a screwdriver or wrench. If straps are missing, install new ones every three to four feet along horizontal runs and every six feet on vertical pipes. Use plastic or cushioned metal clamps to avoid direct metal-on-metal contact that can create new noise. For copper pipes, ensure clamps fit snugly without crushing the pipe.
Add foam pipe insulation around pipes to absorb vibrations:
- Measure pipe diameter to buy correct insulation size
- Slit foam lengthwise and wrap around exposed pipes
- Secure foam with zip ties or tape at intervals
- Pay extra attention to pipes near noisy appliances
- Insulate both hot and cold water lines for best results
Pro Tip: Securing loose pipes can reduce water hammer noise by over 50% in many homes, making this the most cost-effective first step. The combination of tight supports and foam cushioning tackles both movement and sound transmission.
Focus on areas where pipes change direction or connect to appliances. These spots experience the strongest pressure surges and benefit most from reinforcement. Check behind washing machines and dishwashers where solenoid valves create sudden stops. If pipes run through floor joists, verify they have proper support at penetration points.
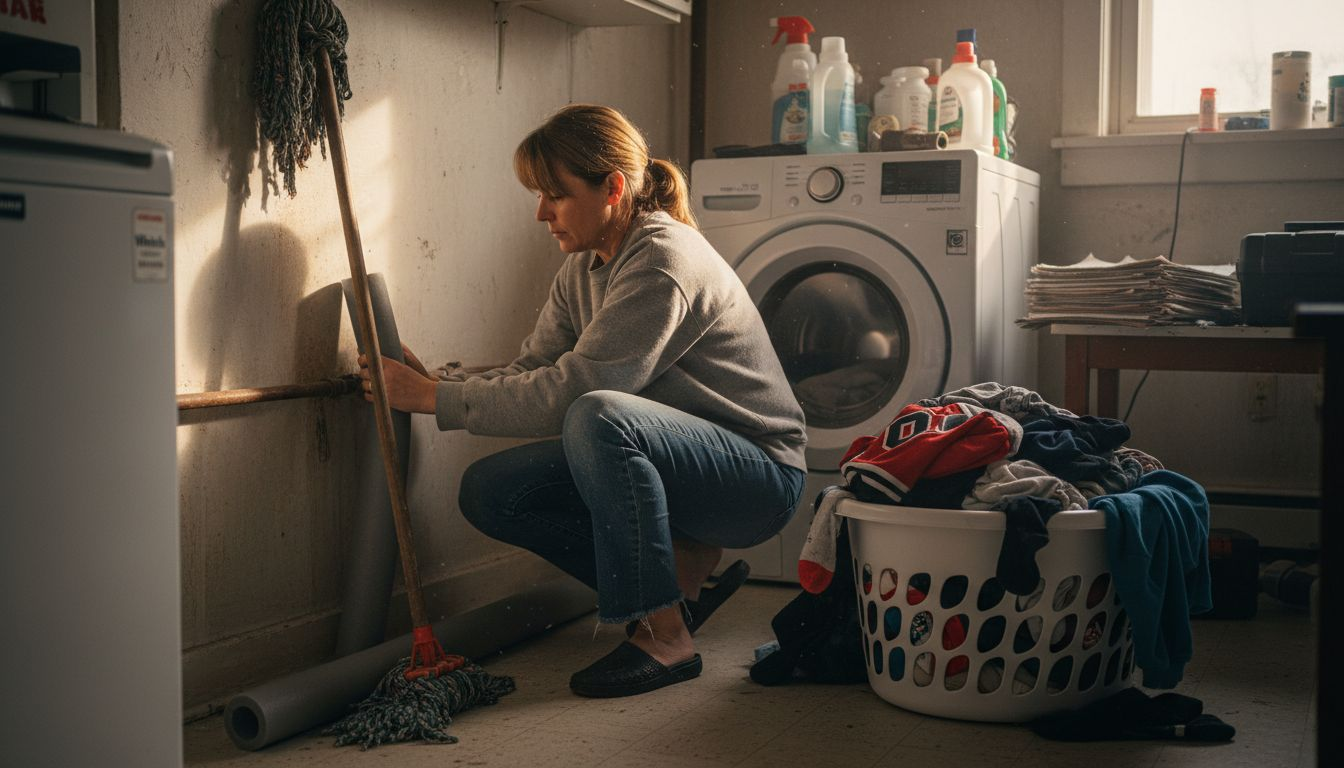
This pipe securing technique prevents damage beyond just noise reduction. Properly supported pipes resist stress better during pressure events and temperature changes. The same principles apply to copper pipe repairs where solid mounting prevents future joint failures. Taking time to secure all accessible pipes now helps you prevent leaks that might develop from repeated hammering. This foundational step makes every other prevention measure more effective.
Step 2: Maintain Air Chambers
Air chambers are vertical pipe sections installed near faucets and valves in older plumbing systems. They trap air that compresses when water hammer occurs, cushioning the shock. Over time, these chambers fill with water and lose effectiveness. Restoring them takes minutes but dramatically improves performance.
Waterlogged air chambers cannot absorb pressure surges, allowing full hammer force to hit your pipes. You can identify this problem when water hammer suddenly worsens despite no other system changes. The trapped air gradually dissolves into water or escapes through small leaks, leaving the chamber filled with liquid.
Restore air chambers with this simple process:
- Turn off your home's main water supply at the shutoff valve
- Open the highest and lowest faucets in your home to drain pipes completely
- Let water drain for 10-15 minutes until flow stops entirely
- Close all faucets starting with the lowest, then moving to highest
- Turn main water supply back on slowly to refill the system
- Open faucets briefly to release trapped air and restore normal flow
This draining procedure forces air back into the chambers, restoring their shock-absorbing function. The air compresses when pressure surges occur, preventing the hammer effect. Most homes need this maintenance annually, though systems with frequent water hammer may require more frequent attention.
Air chambers typically sit in walls behind fixtures, making them hard to access directly. Look for short vertical pipes capped at the top near sinks, toilets, and washing machine hookups. If you can access these areas during renovations, check that caps remain tight and chambers are properly oriented. These maintenance techniques complement other prevention steps and cost nothing beyond your time.
Step 3: Install Water Hammer Arrestors or Accumulators
Modern water hammer arrestors provide superior protection compared to traditional air chambers. These devices use gas-filled chambers with diaphragms or pistons to absorb shocks, preventing pipe damage and noise. Unlike air chambers, arrestors maintain their effectiveness indefinitely without maintenance.
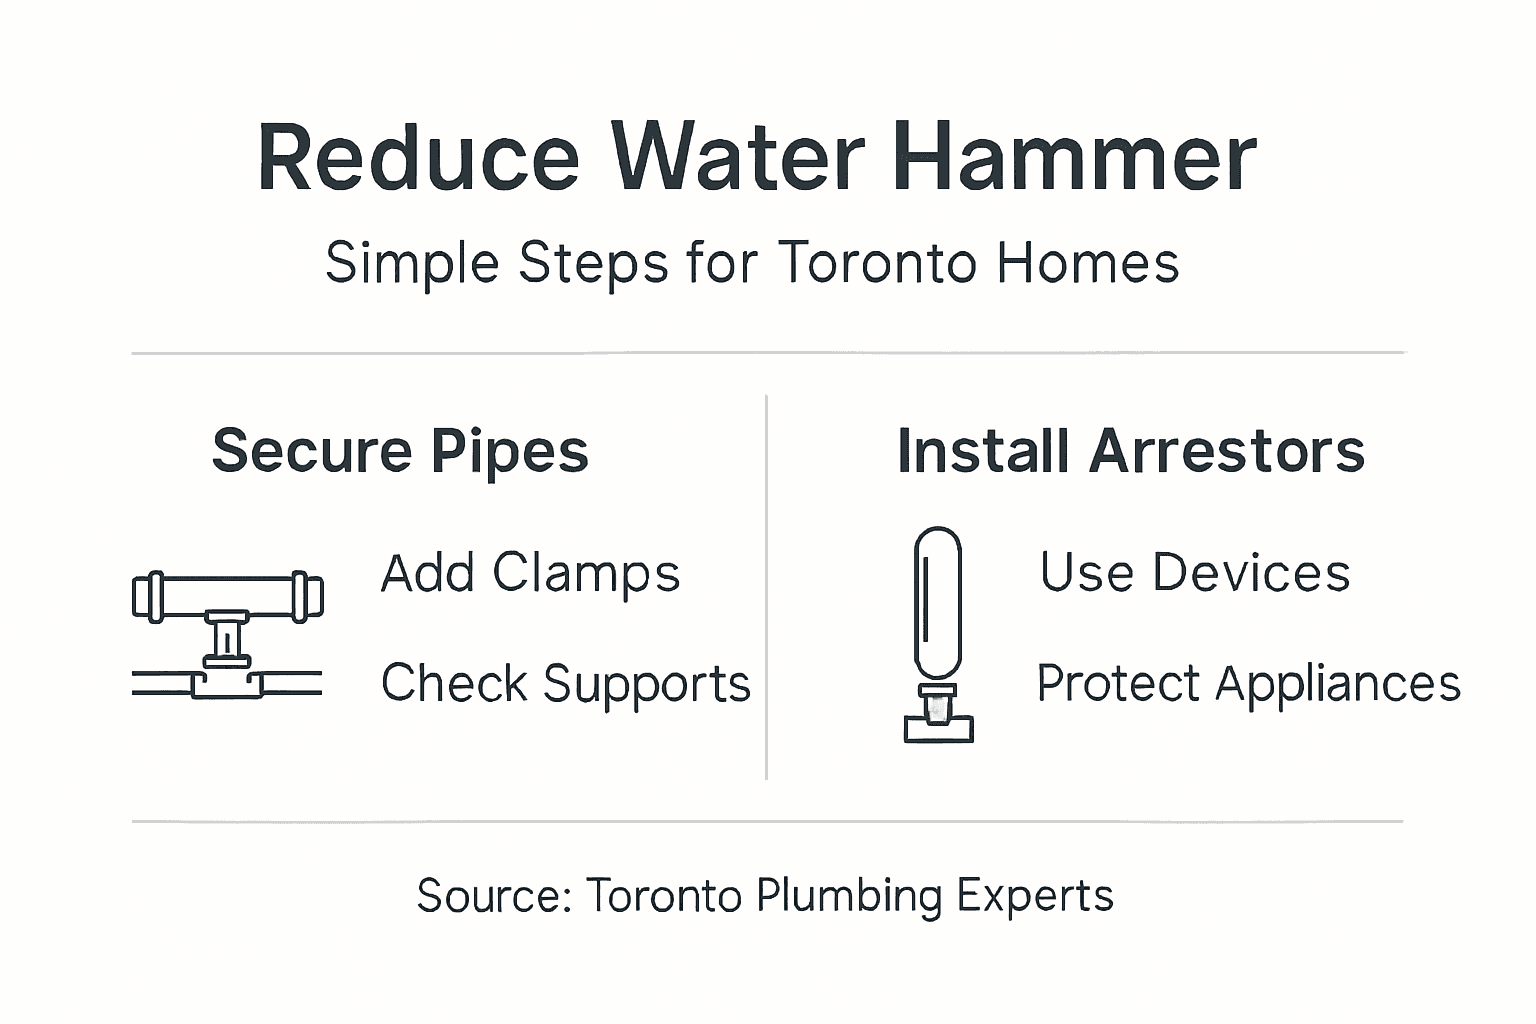
Arrestors work by compressing gas inside a sealed chamber when pressure surges occur. The flexible diaphragm or piston separates water from gas, allowing the gas to compress and absorb shock energy. This cushioning effect stops pressure waves before they propagate through your plumbing system.
Install arrestors at these strategic locations:
- Directly behind washing machines where solenoid valves close rapidly
- Near dishwashers that have fast-acting inlet valves
- At toilet supply lines with quick-closing fill valves
- Behind any appliance that creates noticeable water hammer
- On main supply lines for whole-house protection
| Feature | Air Chambers | Water Hammer Arrestors |
|---|---|---|
| Maintenance | Annual draining required | Maintenance-free |
| Effectiveness | Degrades over time | Consistent performance |
| Lifespan | 5-10 years typical | 20+ years common |
| Installation | Built into walls | Threaded onto supply lines |
| Cost | Included in original plumbing | $20-$50 per unit |
Pro Tip: Install one arrestor per problem appliance rather than trying to protect your entire house with a single unit. Local protection works better because it stops pressure surges at their source before they travel through pipes.
Installation requires basic plumbing skills. Shut off water to the fixture, drain the line, and thread the arrestor onto the supply pipe or hose connection. Use Teflon tape on threads to ensure watertight seals. Most arrestors have standard 1/2-inch or 3/4-inch threaded connections that fit common supply lines. If you encounter unusual fittings or lack confidence in your skills, these arrestor installations may warrant professional help.
Arrestors complement pipe securing and pressure regulation. Together, these measures provide comprehensive protection against water hammer damage. The mechanical cushioning adds a final buffer that catches any remaining shock that other preventive steps miss.
Step 4: Regulate Water Pressure
High water pressure intensifies water hammer by increasing the force behind moving water. Reducing system water pressure incrementally helps determine the threshold where water hammer noise ceases. Test your home's pressure to see if adjustment is needed.
Attach a water pressure gauge to an outdoor hose bib or washing machine hookup. Turn on the water and read the gauge. Pressure above 60 psi increases water hammer risk significantly. Ideal pressure to minimize water hammer and protect fixtures falls between 40 and 50 psi. Pressure exceeding 80 psi can damage appliances and shorten their lifespan independent of water hammer effects.
Adjust pressure with these steps:
- Locate your pressure-reducing valve on the main water line entering your home
- If no valve exists, install one after the main shutoff and before any branch lines
- Adjust the valve by turning the adjustment screw clockwise to decrease pressure
- Make small adjustments of 5 psi, then test water hammer noise
- Continue lowering pressure until noise disappears or reaches 40 psi minimum
- Test all fixtures to ensure adequate flow at the new pressure setting
Some homes receive exceptionally high pressure from municipal systems, especially in low-lying areas or near pumping stations. Installing a pressure regulator becomes essential in these situations. The regulator maintains consistent pressure regardless of fluctuations in the supply line. This steady pressure not only reduces water hammer but also extends appliance life and reduces water waste.
Lower pressure reduces the velocity of water moving through pipes, which directly decreases the force of pressure surges. The relationship is exponential: cutting pressure from 80 to 50 psi reduces surge force by more than half. This makes pressure regulation one of the most effective water hammer prevention strategies available.
Monitor pressure quarterly using your gauge. City supply pressure can change seasonally or when infrastructure modifications occur. If you notice water hammer returning after months of quiet operation, test pressure first before investigating other causes. For complex pressure issues or municipal valve work, professional water pressure services ensure proper diagnosis and code-compliant solutions.
Troubleshooting and Common Mistakes to Avoid
Even with careful work, some homeowners encounter persistent water hammer after implementing prevention steps. Not securing loose pipes causes ongoing noise despite installing arrestors or adjusting pressure. The vibration itself becomes the primary problem when pipes lack proper support. Return to basics and verify every accessible pipe has solid mounting.
Overlooking high water pressure lets damage continue invisibly. You might successfully quiet one problem area while pressure surges still stress pipes elsewhere. Always test pressure with a gauge rather than assuming it falls within safe ranges. Guessing wrong means your prevention efforts address symptoms without fixing the root cause.
Common mistakes that undermine water hammer prevention include:
- Installing arrestors far from the noise source where they cannot absorb local pressure surges
- Skipping air chamber maintenance in systems that still rely on them
- Using inadequate pipe clamps that allow movement under pressure
- Setting water pressure too low, creating weak flow that annoys household members
- Ignoring water hammer in rarely-used fixtures that still suffer damage
Pro Tip: Water hammer often has multiple contributing factors. Fixing only one issue may reduce noise without eliminating the problem. Address pipe support, air chambers, arrestors, and pressure together for complete resolution.
Relying solely on arrestors without checking pressure or securing pipes is insufficient. These devices work best as part of a comprehensive approach. Similarly, lowering pressure helps but cannot compensate for completely missing pipe supports. Each prevention step reinforces the others.
DIY installation errors include crossthreading arrestor fittings, overtightening connections that crack pipes, or placing arrestors where they cannot drain properly. If an arrestor mounts sideways or upside down, it may not function correctly. Follow manufacturer instructions for orientation and positioning. When you encounter complicated plumbing emergencies during your work, know when to stop and seek professional help.
Expected Outcomes and Maintenance
Successful water hammer prevention delivers immediate and long-term benefits. Noise reduction by over 50% often occurs within hours after securing pipes and installing arrestors. Many homeowners report complete elimination of banging sounds once they address all contributing factors. The quiet operation signals that pressure surges no longer threaten your plumbing system.
Long-term benefits extend beyond peace and quiet:
- Pipes last decades longer without repeated stress fractures
- Appliance solenoid valves and internal components experience less wear
- Joints and connections remain tight without loosening from vibration
- Water heaters face reduced stress on inlet connections and internal dip tubes
- Lower risk of sudden pipe failures and associated water damage
Expect optimal results within the first month as your system stabilizes under the new conditions. Some minor adjustments may be necessary as you fine-tune pressure settings or add extra pipe supports in areas you initially missed. This refinement process is normal and helps you understand your specific plumbing characteristics.
Maintain your water hammer prevention system with regular inspections. Check pipe supports annually to verify clamps remain tight and foam insulation stays in place. Test water pressure quarterly using your gauge to catch any increases before they cause problems. Drain air chambers yearly if your system still uses them, even if water hammer seems absent.
Schedule professional inspections every few years to catch issues you might overlook. Plumbers identify potential problems like corroded pipes, weakening supports, or failing pressure regulators before they cause water hammer to return. This preventive maintenance approach protects your investment and gives you confidence in your plumbing system's reliability.
Protect Your Home with Expert Plumbing Services in Toronto
While DIY water hammer prevention handles many situations, complex cases benefit from professional expertise. DrainWorks Plumbing brings over 30 years of experience diagnosing and resolving water hammer issues throughout the Greater Toronto Area. Our licensed technicians quickly identify contributing factors you might miss and implement solutions that last.

Comprehensive plumbing repairs in Toronto address water hammer alongside related issues like aging pipes or faulty valves. We install arrestors at optimal locations, adjust pressure regulators precisely, and secure pipes according to code requirements. Our leaky pipe repair services fix damage water hammer may have already caused, preventing minor leaks from becoming major problems. Regular plumbing inspections and maintenance catch water hammer indicators early, saving you from expensive emergency repairs. We offer same-day emergency service between 8am and 7pm when water hammer creates urgent situations. Clear upfront pricing with no hidden fees means you know costs before we start. Our full-time, non-commissioned technicians focus on quality solutions rather than upselling unnecessary services. Trust the 9X HomeStars Award winners and Baeumler Approved experts to protect your home's plumbing system.
FAQ
What causes water hammer in residential plumbing?
Sudden valve closures or rapid changes in water flow create pressure surges that produce water hammer. Fast-acting appliances like washing machines and dishwashers are common triggers, along with quick-closing faucets and high water pressure that amplifies the effect.
Can I install water hammer arrestors myself?
Yes, if you have basic plumbing skills and can work with threaded pipe connections. The job requires shutting off water, draining lines, and threading arrestors onto supply pipes near problem appliances. Professional installation ensures code compliance and optimal placement if you lack experience or encounter unusual fittings.
How often should I maintain air chambers?
Drain and refill air chambers annually to prevent waterlogging that reduces their effectiveness. Homes with frequent water hammer may need this maintenance twice yearly. Modern arrestors require no maintenance, making them superior long-term solutions compared to traditional air chambers.
What is the ideal water pressure to prevent water hammer?
Maintaining pressure below 50 psi significantly reduces water hammer likelihood and protects your entire plumbing system. Pressure between 40 and 50 psi balances adequate flow for daily use with minimal surge risk. Test quarterly with a pressure gauge and adjust your regulator if pressure creeps higher.
Recommended