
How to Use a Plunger: Clear Clogs Effectively at Home
Clogs in your Toronto home can show up without warning, leaving you scrambling for a quick fix. Choosing the correct plunger for the job saves you hassle and keeps messes under control. Getting prepared means gathering gloves, towels, and the right tool before plunging so you stay safe and confident. This guide brings you practical steps for tackling stubborn drains efficiently, ensuring you do not need to rely on professional plumbers every time a blockage strikes.
Table of Contents
- Step 1: Prepare the Area And Gather Supplies
- Step 2: Position The Plunger For Maximum Seal
- Step 3: Apply Consistent Pressure To Dislodge The Clog
- Step 4: Check For Clear Flow And Clean Up
Quick Summary
| Key Point | Explanation |
|---|---|
| 1. Choose the right plunger | Use a flange plunger for toilets and a cup plunger for sinks and bathtubs to maximize effectiveness. |
| 2. Prepare the area carefully | Remove excess water and lay down towels to avoid messes and protect your space before plunging. |
| 3. Create a tight seal | Ensure the plunger covers the drain completely to build pressure essential for dislodging clogs. |
| 4. Apply steady, consistent thrusts | Use full upper body weight to push down and pull up, maintaining a firm seal to effectively clear the blockage. |
| 5. Clean up thoroughly after use | Disinfect the plunger and surrounding area, reducing the risk of bacteria and ensuring tools stay ready for future use. |
Step 1: Prepare the Area and Gather Supplies
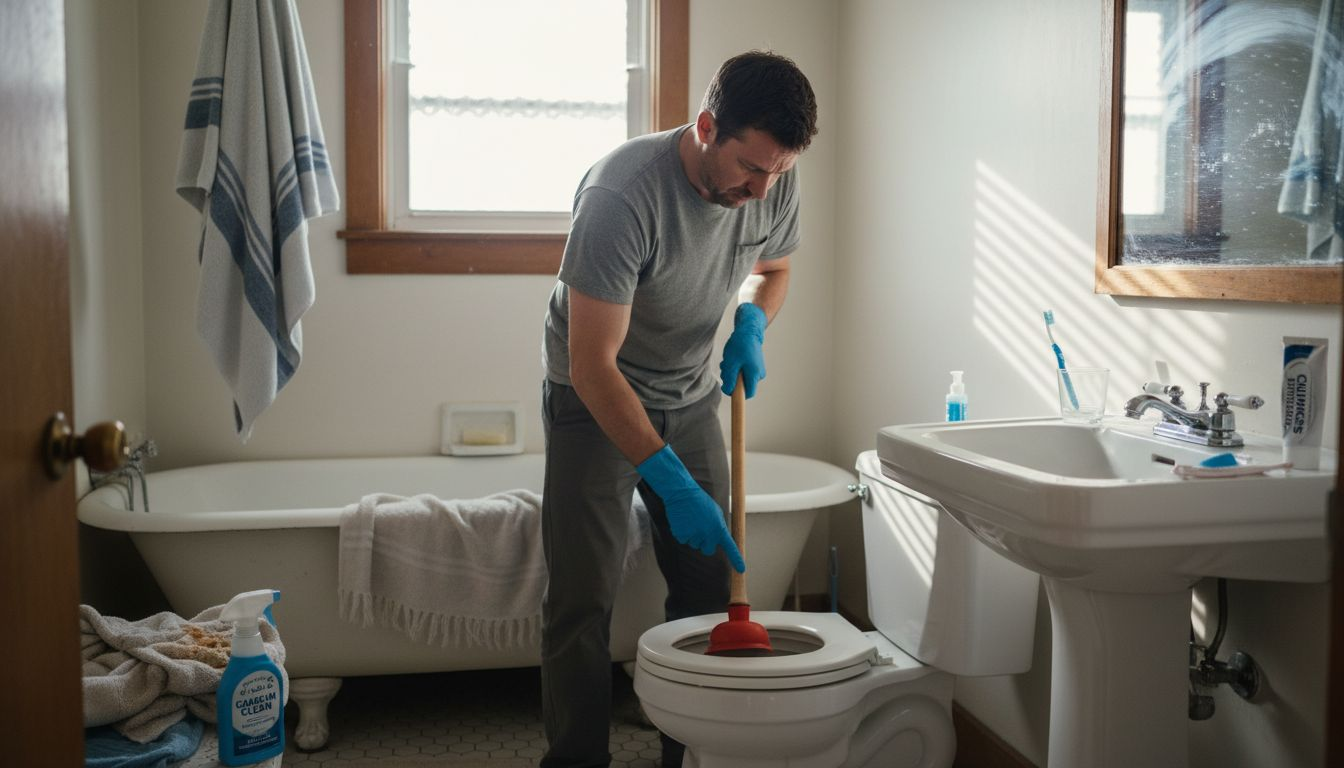
Before you start plunging, you need to set up your space and grab the right tools. Taking five minutes to prepare prevents mess, protects your home, and makes the job go smoothly.
First, determine which plunger you actually need. A flange plunger has a rubber cup with an extra ring that folds down inside, making it perfect for toilets. A cup plunger (also called a standard plunger) has a flat-bottomed rubber cup and works best for sinks and bathtubs. Using the wrong plunger wastes your effort, so match the tool to the drain.
Next, assess the water level in your fixture. If there's standing water that looks like it will splash everywhere, remove some of it with a bucket or cup or shop vac. You don't need the area completely dry, just manageable.
Gather your supplies before you start:
Here's a quick comparison of plunger types and their best uses:
| Plunger Type | Ideal Location | Unique Feature | Potential Pitfall |
|---|---|---|---|
| Flange Plunger | Toilet bowl | Fold-down ring creates tight seal | Ineffective for flat drains |
| Cup Plunger | Sink, bathtub | Flat-bottom grips rim area well | Poor fit for toilet shapes |
- Rubber gloves to protect your hands from bacteria and splashes
- Your correct plunger for the drain type
- Towels or old rags to catch drips and place on the floor
- A bucket for removing excess water if needed
- Optional: A sink plug or second plunger to seal overflow holes in bathtubs
Wear the gloves now. They might seem like overkill, but drain water carries bacteria, and you'll feel more confident when you're protected.
Position yourself close to the fixture with your plunger handy. You want good balance and control, not stretched awkwardly across a bathroom. Crouch or kneel comfortably so you can apply steady pressure without straining your back.
Check if your tub or sink has an overflow hole (usually a small opening near the top rim). If your bathtub does and you plan to plunge it, plug that hole with a wet cloth or use a second plunger to seal it. This creates the pressure seal you need to dislodge the clog.
Gather everything before you start plunging. You don't want to hunt for gloves or towels once water starts splashing.
Pro tip: Lay down towels under and around the fixture beforehand so spills don't damage your floor or create a slipping hazard during the work.
Step 2: Position the Plunger for Maximum Seal
Now that you're set up, the next step is getting your plunger into the right position. A proper seal is what creates the pressure needed to break up the clog, so this matters more than you might think.
The goal is simple: cover the drain opening completely with your plunger cup. There should be no gaps between the rubber and the drain rim. If water can escape around the edges, you won't build the vacuum pressure required to dislodge the blockage.
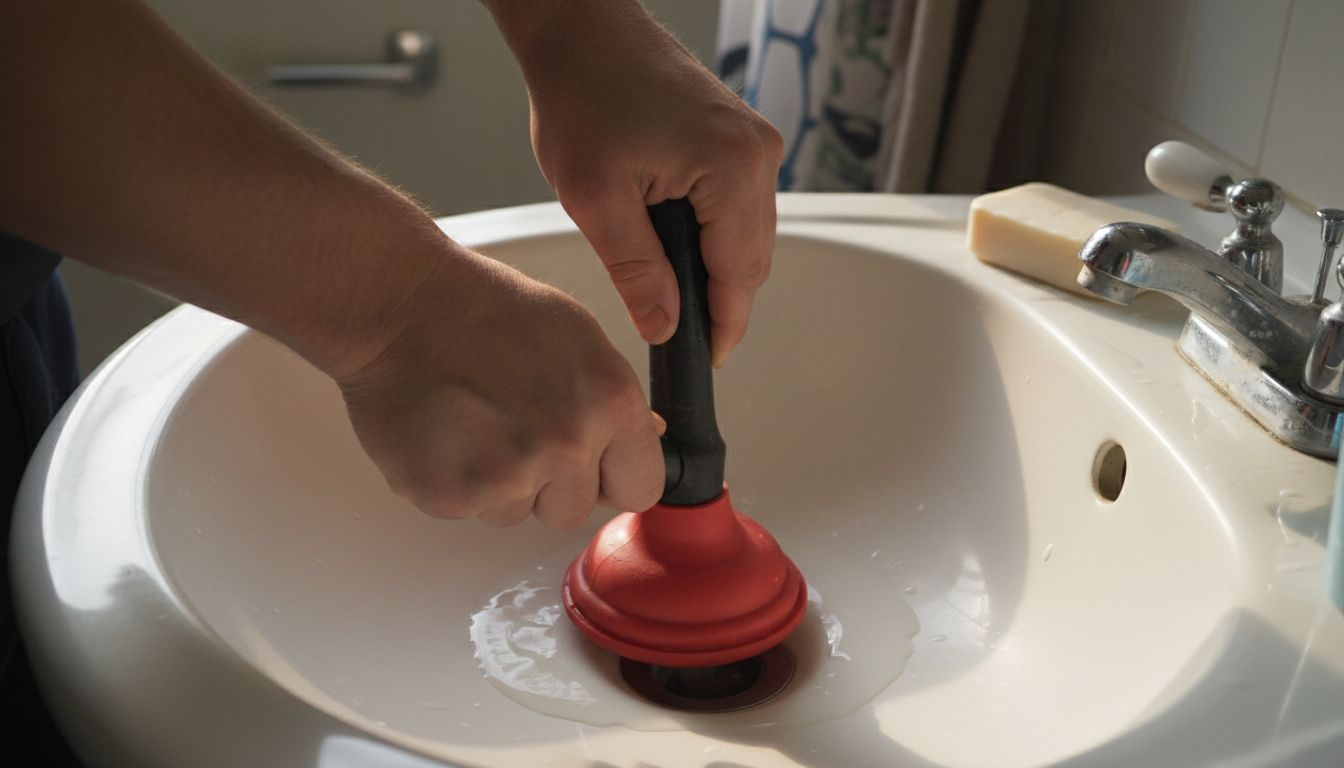
For toilet plunging, unfold the flange (that rubber ring inside the cup) and insert it directly into the drain hole. The flange should sit snugly inside the opening, creating a seal from the inside out. This design is what makes flange plungers effective for toilets, where the drain shape is different from sinks.
For sink or bathtub drains , press the cup plunger straight down over the opening. Make sure the rubber cup sits flat and covers the entire drain. Push it down gently at first to remove any air trapped underneath, then lift it back slightly to re-engage.
Here's what a good seal looks like:
- The rubber cup edges are in full contact with the drain rim
- No water is leaking around the sides when you apply light pressure
- The plunger feels stable and won't shift when you push down
- The cup creates an airtight fit without gaps
If you're plunging a sink with an overflow hole, remember that cloth or second plunger you positioned earlier. It blocks water from escaping upward and keeps all your plunging force directed at the clog.
Take your time positioning. A loose seal wastes energy and frustration. Once you feel that tight fit, you're ready for the actual plunging.
A tight seal is everything. Without it, you're just moving water around, not clearing the clog.
Pro tip: If the cup doesn't seal properly, add a bit of water to the sink or tub to help the rubber grip the rim better, then reposition and try again.
Step 3: Apply Consistent Pressure to Dislodge the Clog
This is where the actual work happens. You're about to create the pressure changes inside the pipe that force the clog to break apart and move.
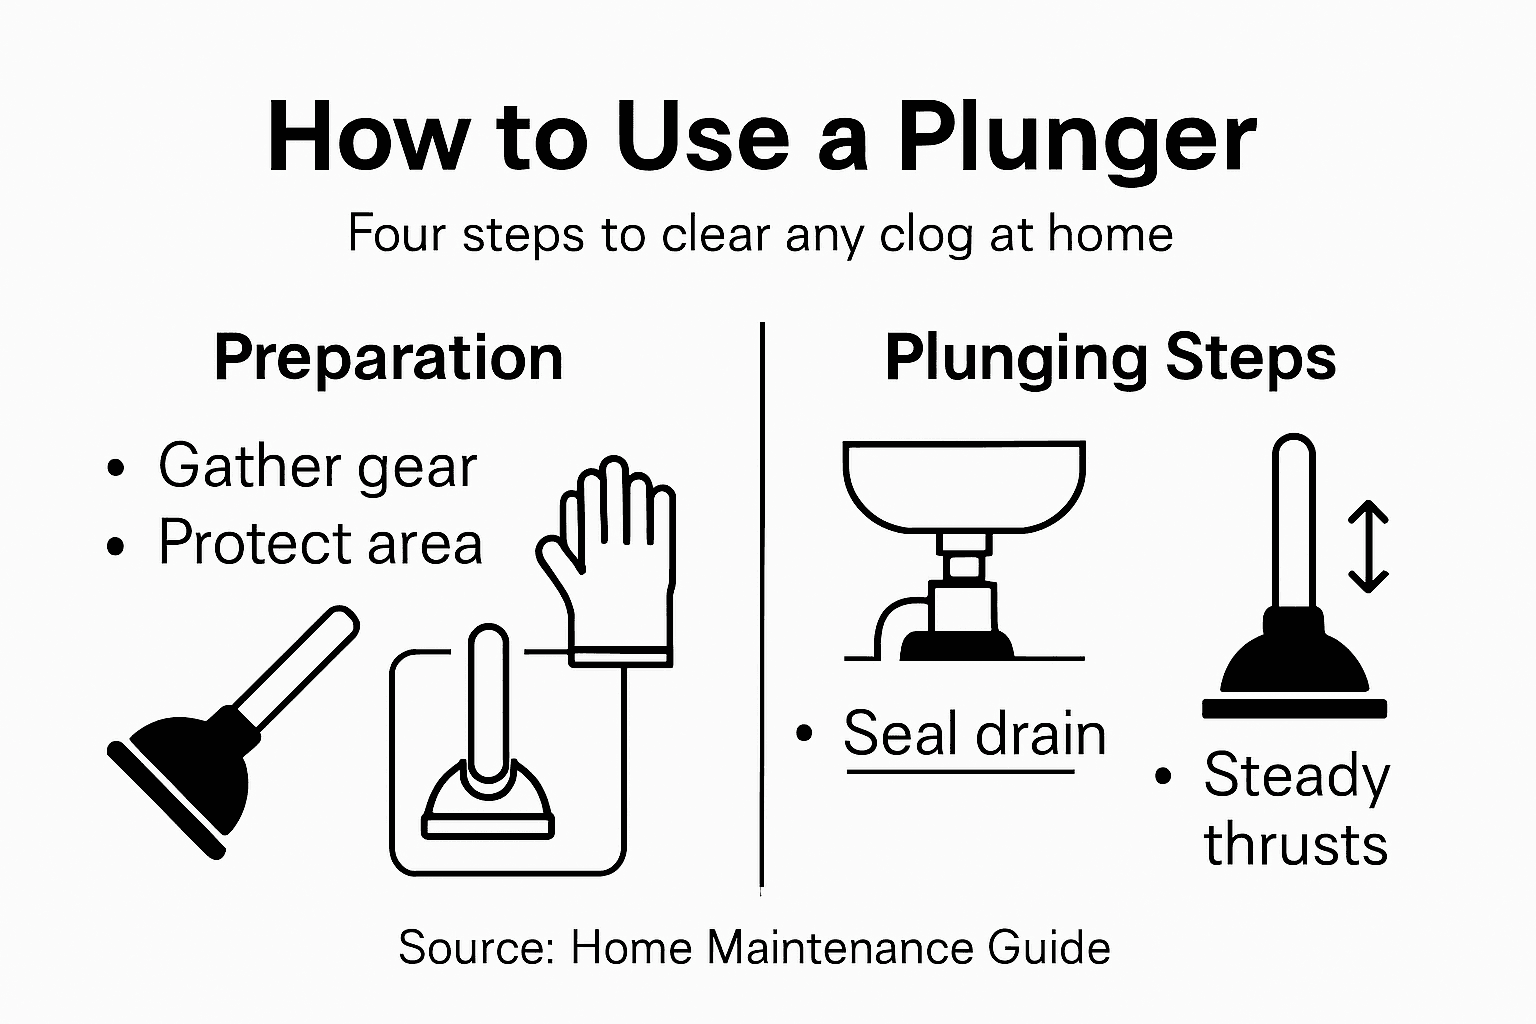
Start with firm, steady thrusts using your full arm and upper body weight. Push down hard, then pull up sharply, maintaining the seal the entire time. The up-and-down motion creates suction and pressure that works against the blockage from both directions.
Keep the plunger submerged in water while you work. This prevents splashing and keeps the seal intact throughout your plunging session. If water level drops too much, add more before continuing.
Here's the rhythm that works best:
- Push down firmly for about one second
- Pull up sharply for about one second
- Repeat this cycle for 20 to 30 seconds without stopping
- Check the drain to see if water is draining faster
Don't break the seal between thrusts. Keeping the cup in contact with the drain is what builds the necessary pressure. Even small gaps reduce your effectiveness and waste your effort.
You might hear or feel the clog shift. That's a good sign. When water starts draining noticeably faster or suddenly rushes through, you've likely broken the clog free. Stop immediately and let the drain clear on its own.
If nothing happens after 30 seconds of vigorous plunging, pause and try again. Most clogs clear within two or three cycles of solid plunging. Continuing beyond that suggests the clog is more stubborn and may benefit from professional drain clearing.
Consistent, vigorous pressure is what dislodges clogs. Half-hearted plunging just moves water around without fixing anything.
Pro tip: Take a short break between plunging cycles to let any loosened debris settle, then try again with fresh intensity. Rest is part of the process, not a sign of failure.
Step 4: Check for Clear Flow and Clean Up
Now it's time to test whether your plunging actually worked. This step tells you if the clog is gone or if you need to try again.
Lift the plunger away carefully and check the water level in the fixture. Does it drain slowly, quickly, or stay put? For a toilet, the water should drop to normal level and not back up when you flush.
Test the drain properly:
- For toilets, flush once and watch the water level
- For sinks or tubs, run clean water and observe how it drains
- If water drains quickly and completely, the clog is likely gone
- If it still drains slowly or backs up, repeat the plunging process
Once you confirm the clog has cleared, run water for at least 30 seconds to flush any remaining debris through the pipes. A quick test isn't enough. You want to make sure the blockage is completely gone and won't return immediately.
If plunging didn't work after two or three solid attempts, the clog may be deeper or more stubborn than expected. At that point, consider calling a professional. Stubborn clogs sometimes require tools or techniques beyond what a plunger can do, and repeated failed attempts waste your time and energy.
Now clean up thoroughly. Disinfect your plunger with a bathroom cleaner or diluted bleach solution and rinse it well. Wash any towels or rags you used, and wipe down the floor around the fixture to remove splashes and prevent bacterial buildup.
Here's a summary of common plunging mistakes and their consequences:
| Mistake | Impact on Drain Clearing | Risk to Home Hygiene |
|---|---|---|
| Using wrong plunger type | Reduces clog removal odds | Increases splashing risk |
| Failing to create a proper seal | Wastes effort on the clog | Possible water spillage |
| Not plugging overflow holes | Loses air pressure needed | Spreads contaminated water |
| Insufficient cleaning afterwards | Leaves bacteria behind | Promotes mildew near drains |
Store your plunger in a dry location where it won't collect dust or mildew. A dedicated corner in a closet or under the sink works well. A clean, dry plunger stays ready for the next emergency.
Proper cleanup after plunging prevents bacteria from spreading and keeps your tools sanitary for next time.
Pro tip: If a clog refuses to clear after plunging, don't keep trying indefinitely. Persistent blockages often signal a deeper issue that benefits from professional assessment and snaking or other advanced drainage solutions.
Get Reliable Help When Your Plunging Efforts Fall Short
Clearing a stubborn clog yourself can be tiring and frustrating even when you follow all the right steps like creating a proper seal and applying consistent pressure. If you find that plunging is not enough to fully clear your drains or you want to avoid the mess and worry about bacteria and splashes, professional plumbing services offer peace of mind and effective solutions. At DrainWorks Plumbing, our licensed and insured technicians bring over 30 years of experience handling everything from drain backups and clog clearing to advanced hydro jetting and sewer camera inspections.

Don't let a blocked drain disrupt your home and routine. Discover trusted residential plumbing repair and drain clearing services designed to get your water flowing smoothly again. Act now to schedule same day emergency service within Toronto or to get a clear, upfront quote without surprises. Visit DrainWorks Plumbing and take the first step toward a cleaner, clog-free home.
Frequently Asked Questions
What type of plunger do I need to clear a toilet clog?
A flange plunger is best for clearing toilet clogs. Ensure the flange is unfolded so it fits snugly inside the toilet drain for an effective seal.
How do I prepare the area before using a plunger?
Start by gathering supplies like gloves, towels, and the correct plunger. Remove excess water if there's standing water to prevent splashing while you work.
How do I position the plunger for maximum effect?
To create a proper seal, place the rubber cup directly over the drain opening with no gaps. Ensure the cup covers the entire drain rim so that you can build pressure effectively during plunging.
How long should I plunge to clear a clog?
Apply consistent pressure for 20 to 30 seconds, employing firm, steady thrusts. If the water begins to drain faster, you may have dislodged the clog.
What should I do if plunging doesn't work?
If the clog persists after two to three solid attempts, consider calling a professional. Some clogs may be deeper or require advanced tools and techniques beyond what a plunger can handle.
How can I clean up after using a plunger?
Disinfect your plunger with a bathroom cleaner or diluted bleach, then rinse it well. Make sure to clean the area around the fixture to remove any splashes and avoid bacterial buildup.
Recommended