
How to Detect Slab Leaks and Prevent Major Damage
A mysterious spike in your water bill or sudden damp patches on your floors can be a frustrating puzzle for homeowners in the Greater Toronto Area. Hidden water leaks under concrete slabs are a common culprit and if left unchecked, they can threaten your home’s structural safety as well as your wallet. Learning to spot the telltale signs of a slab leak and preparing for inspection gives you the power to act before small issues turn into major repair bills.
Table of Contents
- Step 1: Prepare Your Home For Slab Leak Inspection
- Step 2: Identify Common Signs Of Slab Leaks Indoors
- Step 3: Inspect Plumbing And Affected Areas For Hidden Leaks
- Step 4: Test For Water Loss And Moisture Around The Slab
Quick Summary
| Key Point | Explanation |
|---|---|
| 1. Prepare your home for inspection | Clear access points and document symptoms to aid technicians during slab leak assessments. |
| 2. Recognize signs of slab leaks | Monitor water bills, look for damp spots, and listen for running water to identify potential issues early. |
| 3. Inspect plumbing thoroughly | Check fixtures, pipe connections, and moisture signs to detect hidden leaks before they cause major damage. |
| 4. Conduct moisture tests around foundation | Use diagnostic techniques like checking meter readings and soil moisture to identify water loss near the slab. |
| 5. Get professional assessment | Utilize advanced tools and expertise for accurate leak location to prevent costly repairs and future issues. |
Step 1: Prepare your home for slab leak inspection
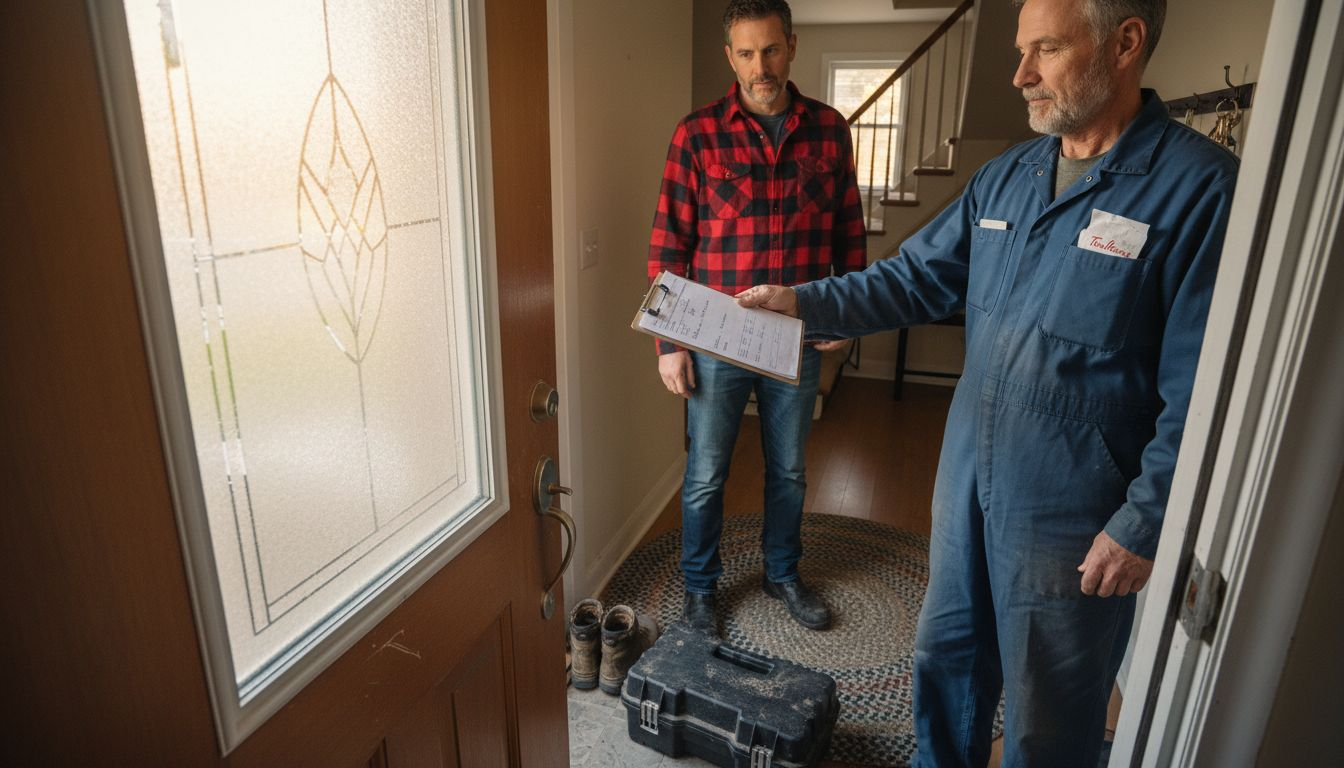
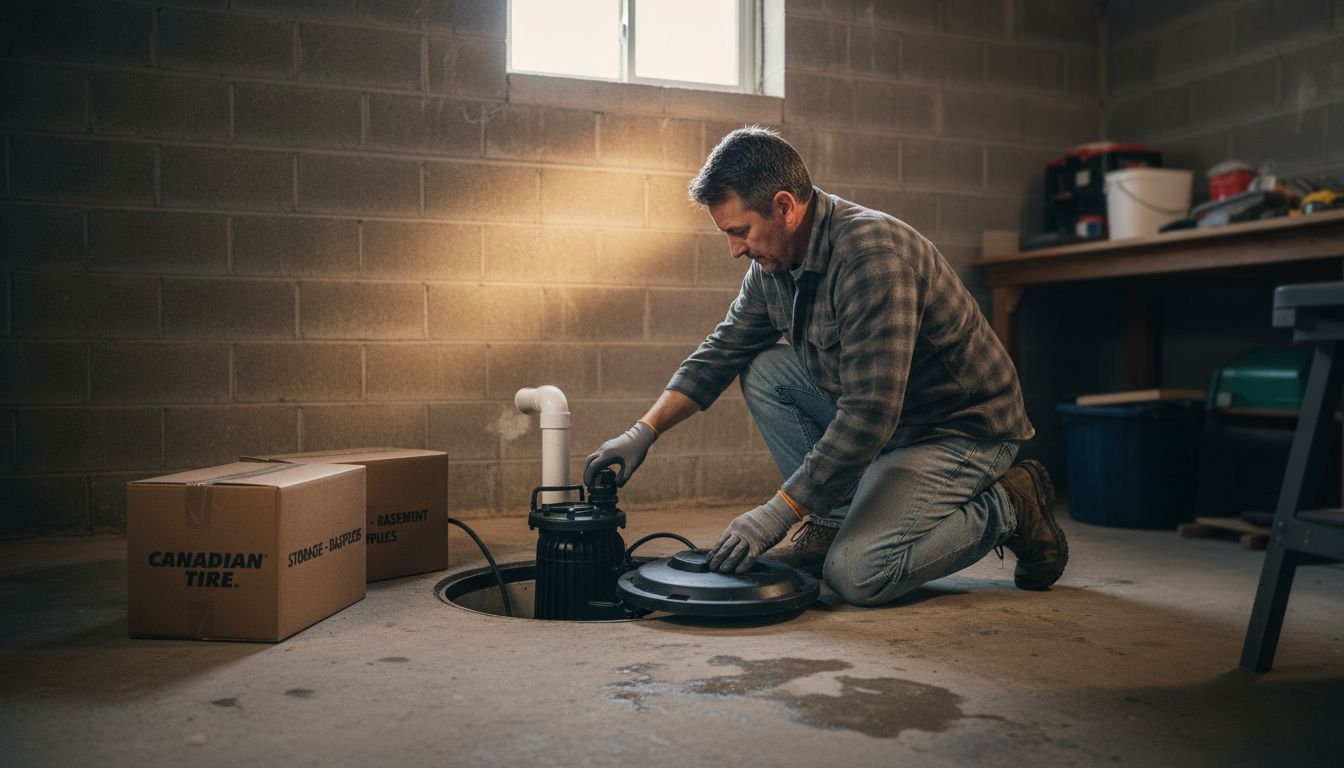
Preparing your home for a professional slab leak inspection is crucial to ensuring a thorough and accurate assessment of potential water damage. By taking a few strategic steps beforehand, you can help technicians identify potential issues more effectively.
Start by gathering some key information and making some preliminary preparations:
- Clear access points to your home’s foundation and potential problem areas
- Collect recent water bill statements showing unusual usage patterns
- Make a list of any observed symptoms like damp spots or unexplained moisture
- Ensure electrical outlets and areas near potential leak zones are accessible
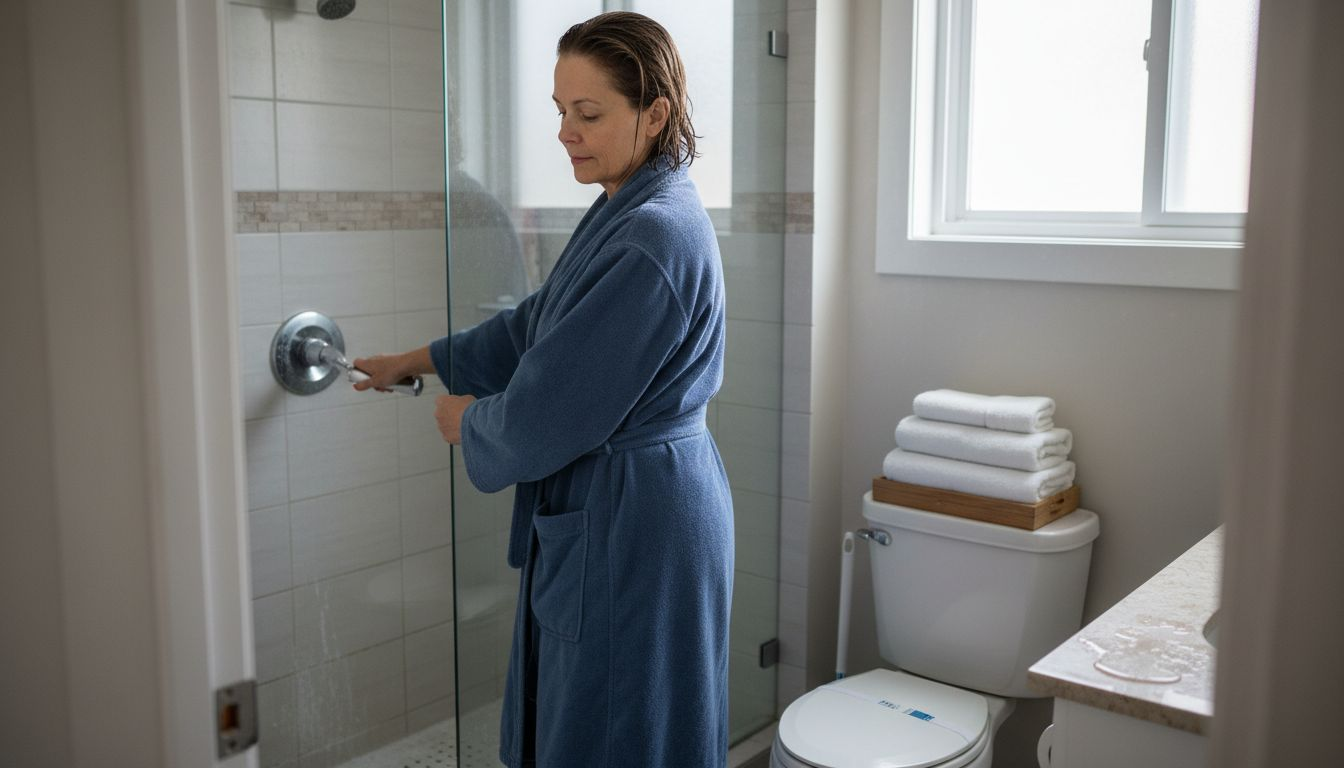
Before the inspection, you’ll want to do a quick preliminary walk-through of your home. Look for telltale signs of potential slab leaks :
- Check for warm spots on your floor
- Listen for sounds of running water when no fixtures are in use
- Examine baseboards for unexpected moisture or discolouration
- Inspect areas around toilets, sinks, and water-connected appliances
Professional leak detection requires a systematic and detailed approach to uncovering hidden water damage.
Documenting these observations will help your plumbing technician understand the potential scope of the issue. The more information you can provide, the more targeted and efficient the inspection will be.
Pro tip: Take clear, dated photographs of any suspicious areas to provide visual evidence for your technician during the initial assessment.
Step 2: Identify common signs of slab leaks indoors
Detecting slab leaks early can save you thousands in potential home repair costs. Learning to recognise the subtle warning signs will help you catch water damage before it becomes a major structural issue.
There are several key indicators that suggest a potential slab leak in your home:
- Unexpected increases in your water bill
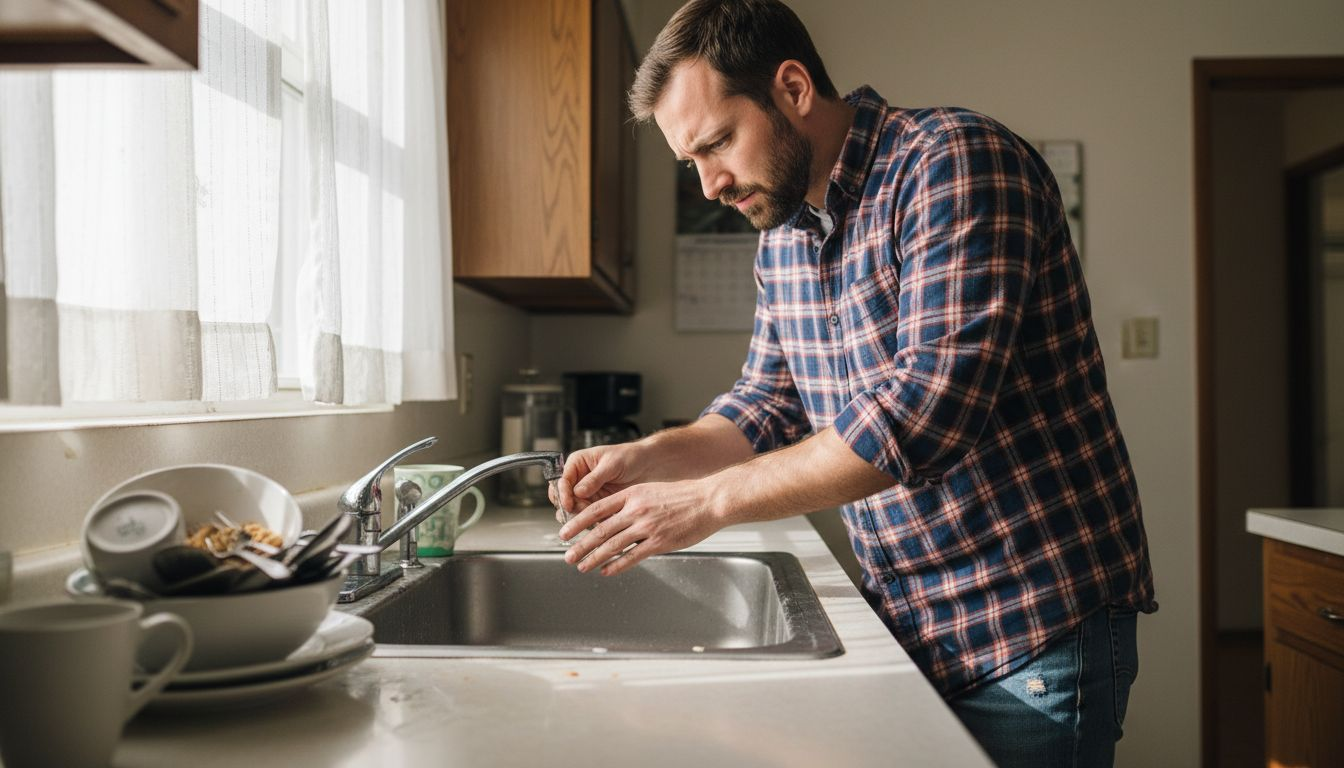
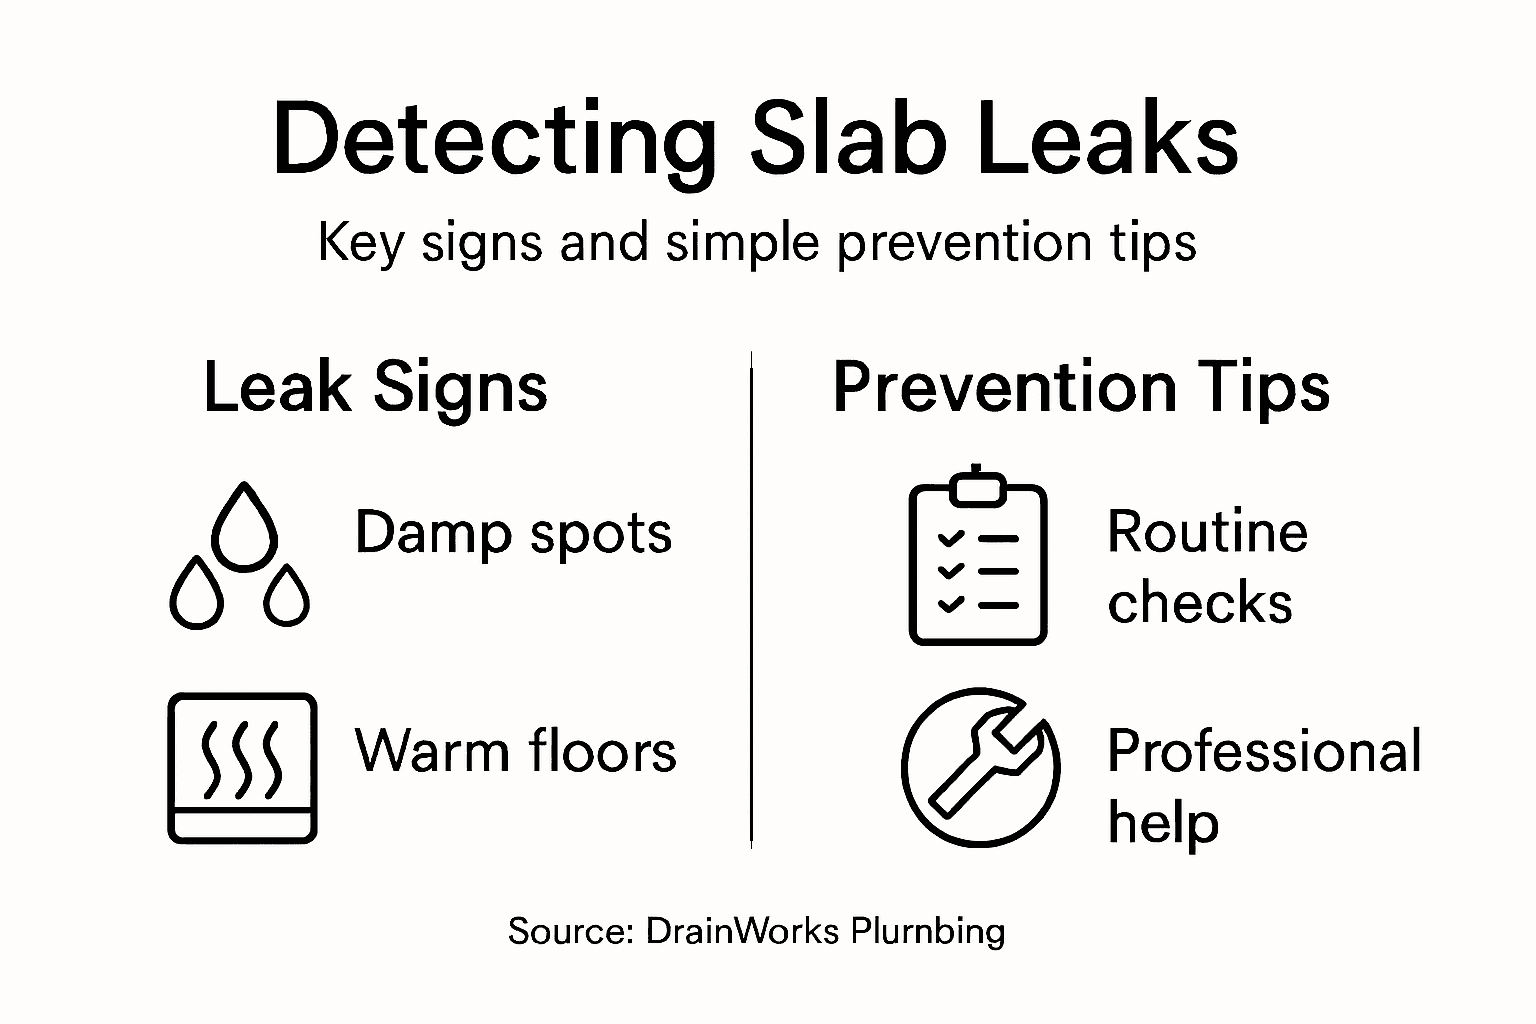
- Warm or damp spots on your floor
- Mysterious sounds of running water
- Visible mold or mildew around baseboards
- Unexplained musty odours
- Watch for temperature changes on your floor surface
- Listen carefully for continuous water sounds
- Check for unusual moisture around plumbing fixtures
- Monitor your water metre for irregular consumption
Water damage from slab leaks can compromise your home’s foundation if left unaddressed.
Pay special attention to areas near bathrooms, kitchens, and laundry rooms where plumbing connections are most concentrated. Foundation cracks or slight floor elevation changes can also signal underlying water issues that require immediate professional investigation.

Here’s a summary of key indoor slab leak warning signs and their typical impact on your home:
| Indicator | Potential Impact | Suggested Next Step |
|---|---|---|
| Sudden spike in water bill | Indicates hidden water loss | Inspect pipes and fixtures |
| Damp surface on flooring | May cause mildew and mould | Check for nearby leaks |
| Musty odour indoors | Suggests moisture build-up | Use moisture detection tools |
| Mould near baseboards | Risk to air quality and health | Schedule professional assessment |
| Continuous water sounds | Signals unresolved leak | Monitor water metre usage |
Pro tip: Use a thermal imaging camera or infrared thermometer to detect temperature variations in your flooring that might indicate hidden water leaks.
Step 3: Inspect plumbing and affected areas for hidden leaks
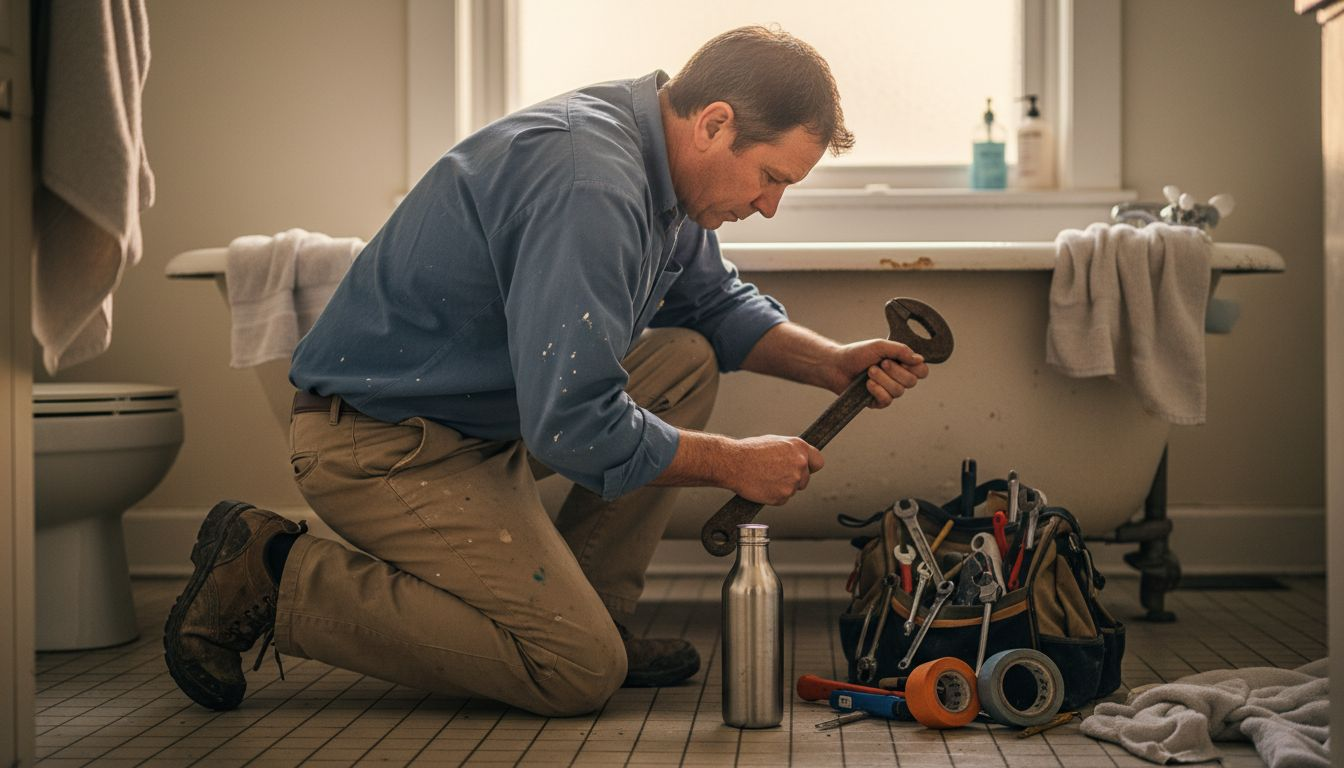
Detecting hidden plumbing leaks requires a systematic and thorough approach to examining your home’s most vulnerable areas. Knowing exactly where and how to look can help you catch potential water damage before it becomes a costly repair.
Start your comprehensive inspection by focusing on key areas prone to water leakage:
- Examine bathroom and kitchen fixtures carefully
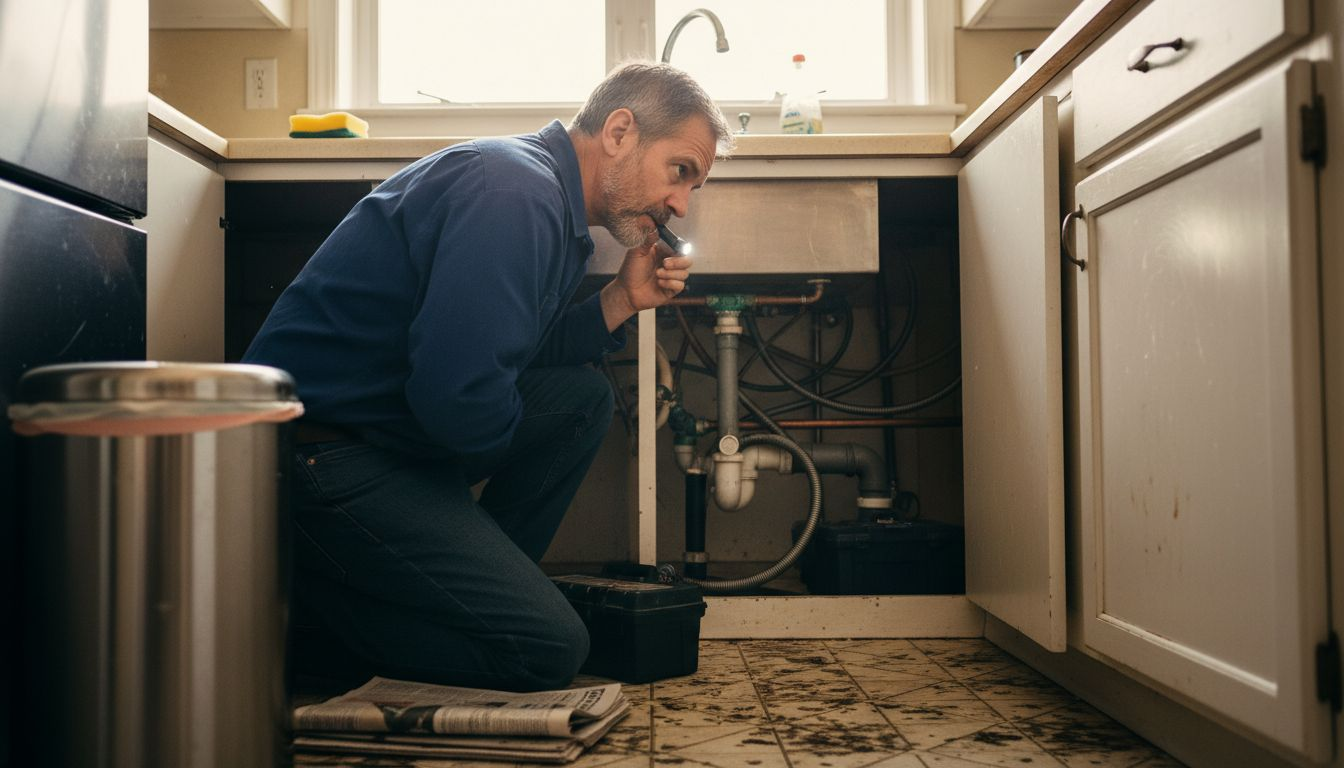
- Check underneath sinks for moisture signs
- Inspect pipe connections and joints
- Look for water stains on walls and ceilings
- Evaluate water pressure in different fixtures
Follow these detailed steps to conduct a comprehensive plumbing inspection:
- Turn off all water sources in your home
- Check your water metre for unexpected movement
- Inspect exposed pipes for corrosion or damage
- Look for subtle signs of water intrusion
Professional plumbers recommend regular inspections to prevent catastrophic water damage.
Pay special attention to areas with hidden leak potential, such as behind appliances, in crawl spaces, and around water heaters. Soft or discoloured flooring, peeling paint, and unexplained musty odours can all indicate underlying water issues that require immediate investigation.
Pro tip: Use a moisture metre to detect hidden water accumulation in walls and floors before visible damage occurs.
Step 4: Test for water loss and moisture around the slab
Detecting water loss and moisture accumulation around your home’s foundation requires careful and strategic testing. Understanding how to identify potential water issues can save you from expensive structural damage and unexpected repair costs.
To effectively test for water loss and moisture, you’ll need to employ several diagnostic techniques:
- Monitor your water metre for unexpected consumption
- Check for unexplained dampness around foundation edges
- Perform pressure testing on water lines
- Look for soil erosion near slab perimeters
- Assess ground moisture levels around your property
Here are detailed steps for comprehensive moisture testing:
- Conduct a 30-minute water metre reading test
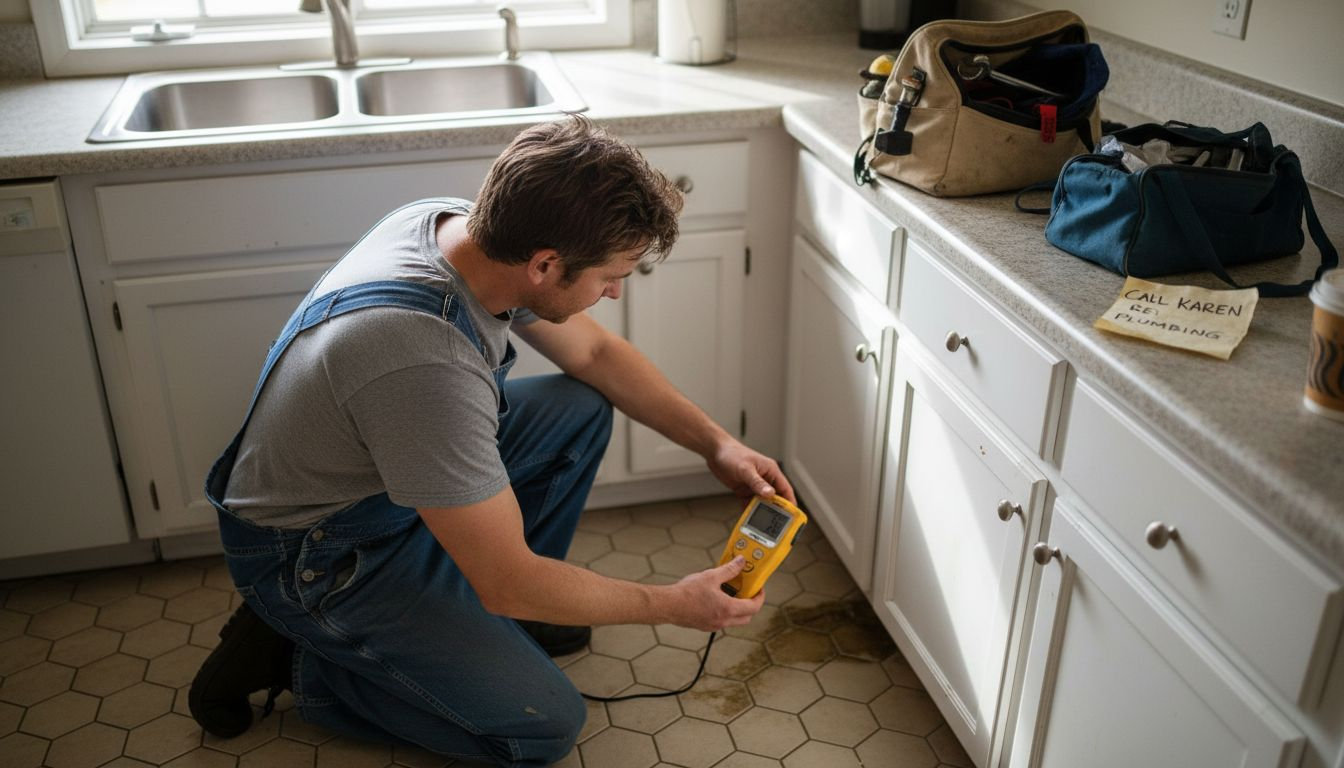
- Use moisture detection tools around foundation areas
- Inspect soil drainage patterns
- Look for subtle ground movement indicators
Consistent moisture monitoring can prevent significant structural damage to your home’s foundation.
Pay special attention to moisture-related leak prevention techniques. Areas with poor drainage or recent landscape changes can significantly impact slab moisture levels and potential water intrusion risks.
Pro tip: Invest in a professional-grade moisture metre with deep penetration capabilities to accurately assess hidden water accumulation beneath your slab.
Protect Your Home from Costly Slab Leaks with DrainWorks Plumbing

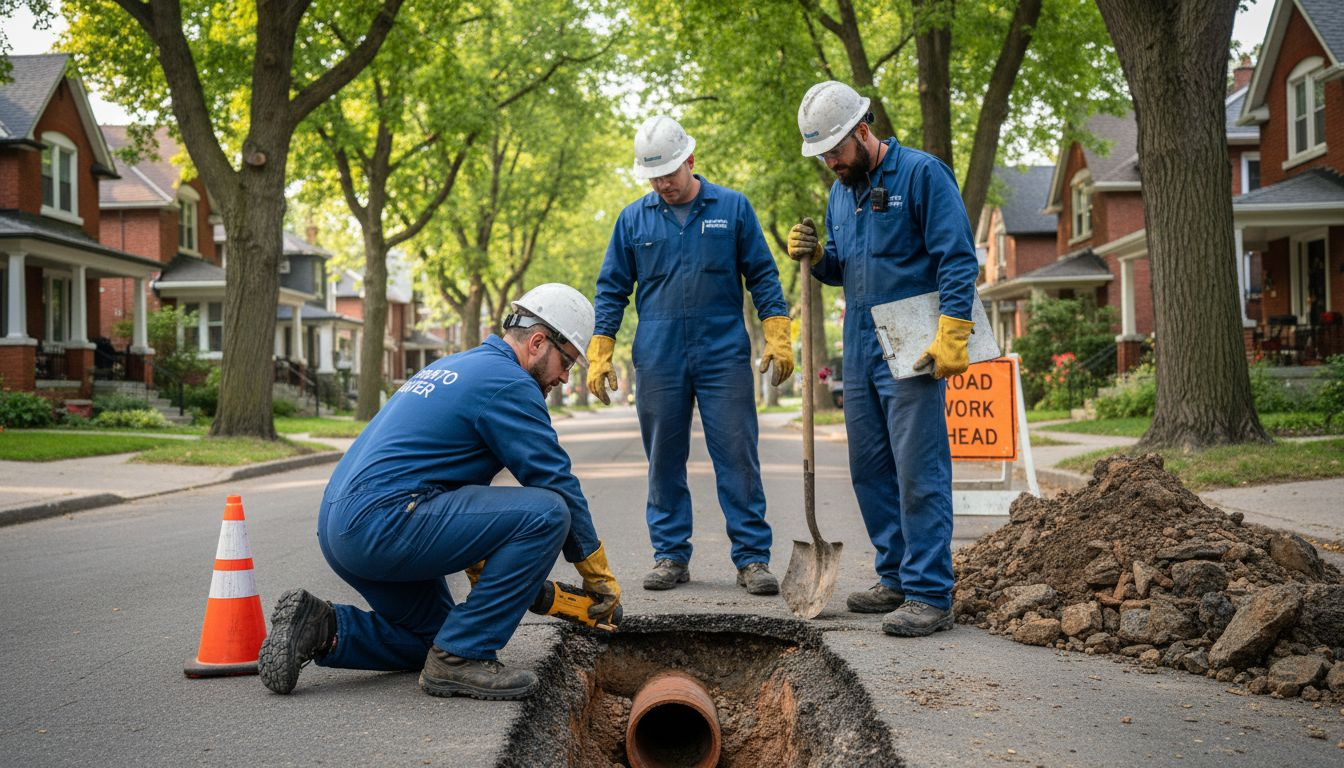
Don’t let a small leak turn into a major disaster. Contact DrainWorks Plumbing today for reliable slab leak detection and professional plumbing services trusted across Toronto Ontario. Benefit from clear up-front pricing, certified licensed technicians, and over 30 years of expertise. Learn more about how we prevent leaks and conduct detailed leak detection to keep your home safe and dry. Act now to protect your foundation and enjoy peace of mind with our proven solutions.
Frequently Asked Questions
How do I prepare my home for a slab leak inspection?
To prepare your home for a slab leak inspection, clear access points to the foundation and potential problem areas. Gather recent water bill statements and document any observed symptoms like damp spots or unexplained moisture to share with the technician.
What are common signs of a slab leak indoors?
Common signs of a slab leak include unexpected increases in your water bill, warm or damp spots on the floor, and mysterious sounds of running water. Regularly check for these indicators to catch potential leaks early and reduce repair costs.
How can I inspect my plumbing for hidden leaks?
Inspect your plumbing by examining fixtures and looking under sinks for signs of moisture. Turn off all water sources and monitor your water metre for unexpected movement to identify any potential leaks.
What testing methods can confirm water loss and moisture around the slab?
Testing methods include monitoring your water metre, checking for dampness around the foundation, and performing pressure tests on water lines. Conduct a 30-minute water metre reading test to identify any unexplained consumption.
What steps can I take to prevent future slab leaks?
To prevent future slab leaks, ensure proper drainage around your home and regularly inspect plumbing lines for wear and tear. Implement moisture detection strategies by using a moisture metre and addressing any identified issues immediately.
Recommended