
How to Maintain Sump Pump for a Flood-Free Home

Mud, leaves, and unexpected puddles in your basement are more than an inconvenience for many Greater Toronto Area homeowners. Sump pump maintenance often falls to the bottom of busy to-do lists, but a neglected pump is a hidden risk that can lead to stressful leaks and costly damage. By focusing on a clean workspace, debris removal, and regular inspection , you can keep your home dry and your sump pump working smoothly through unpredictable Canadian weather.
Table of Contents
- Step 1: Prepare Your Workspace And Safety Tools
- Step 2: Inspect The Sump Pit And Remove Debris
- Step 3: Test The Sump Pump Operation And Float
- Step 4: Clean The Discharge Line And Vent Holes
- Step 5: Verify Proper Operation And Monitor Performance
Quick Summary
| Effective Insights | Clear Explanation |
|---|---|
| 1. Ensure a Safe Workspace | Clear the area around the sump pump and use appropriate safety equipment like gloves and goggles to prevent accidents. |
| 2. Regularly Inspect and Clean Pit | Check for and remove debris in the sump pit to ensure efficient water flow and optimal pump operation. |
| 3. Test Pump Functionality Often | Regularly test the sump pump’s operation by pouring water in and monitoring the float’s activity for proper activation. |
| 4. Maintain Discharge Line | Periodically clean the discharge line and vent holes to prevent blockages that hinder water flow out of the basement. |
| 5. Monitor Pump Performance | Pay attention to sounds and cycling frequency to identify potential issues early, ensuring prompt attention if needed. |
Step 1: Prepare your workspace and safety tools
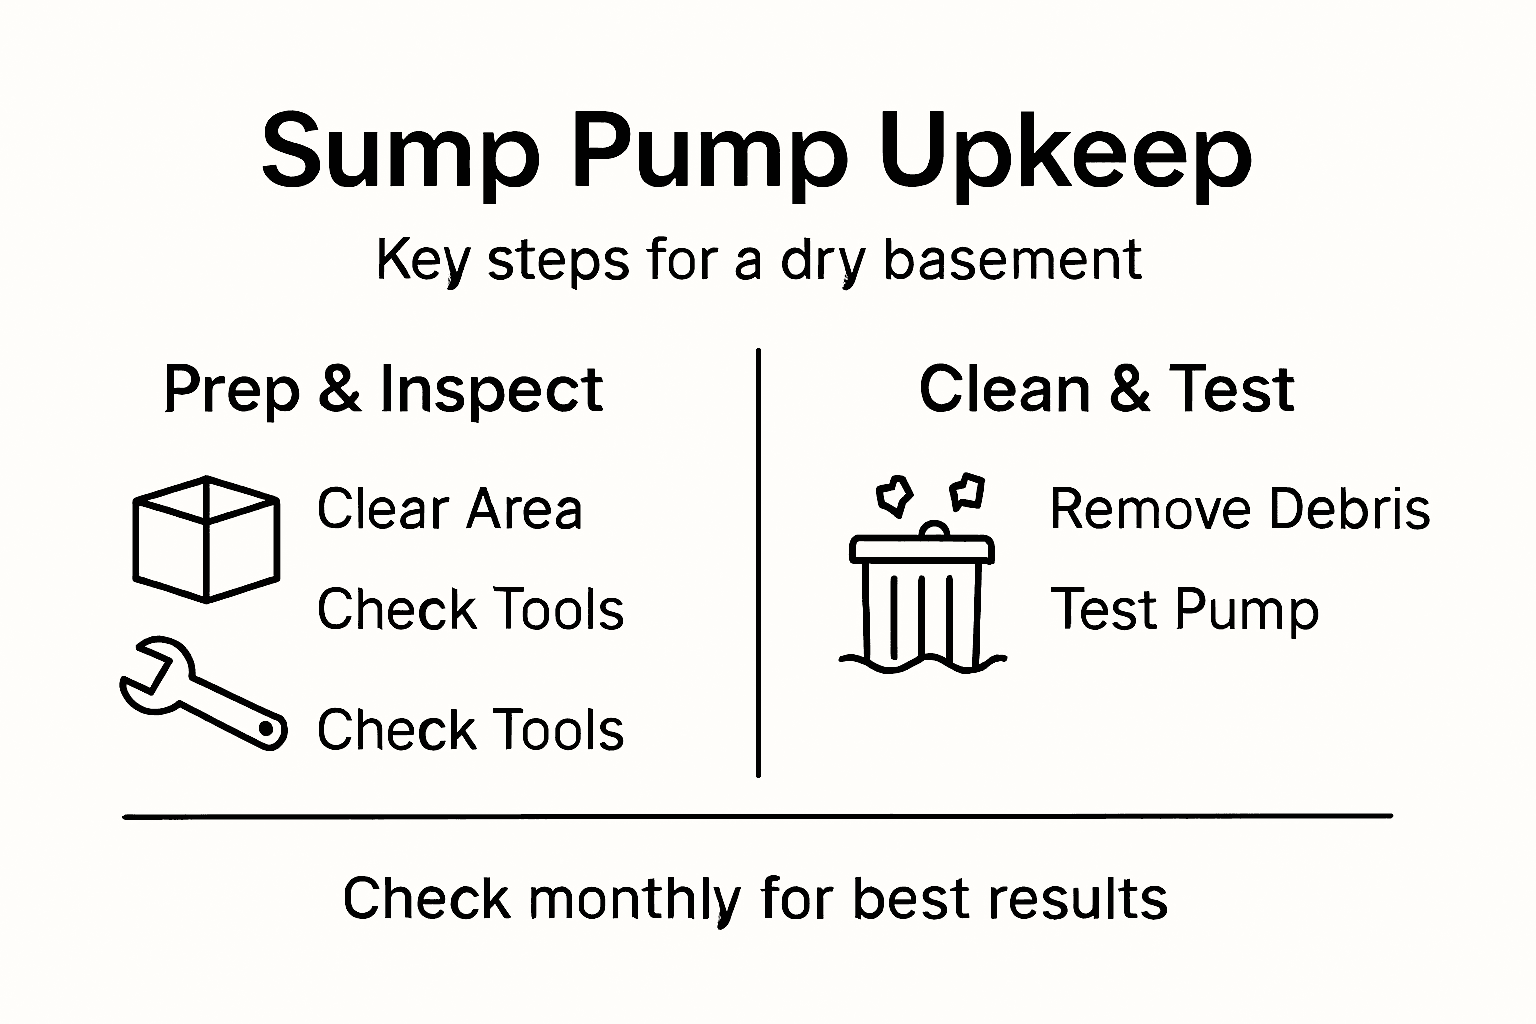
Before you touch your sump pump, you need to create a safe environment for yourself and ensure you have the right protective equipment on hand. This step takes just 15 to 20 minutes but makes a tremendous difference in preventing injuries during maintenance. Think of it as setting yourself up for success rather than scrambling mid-project.
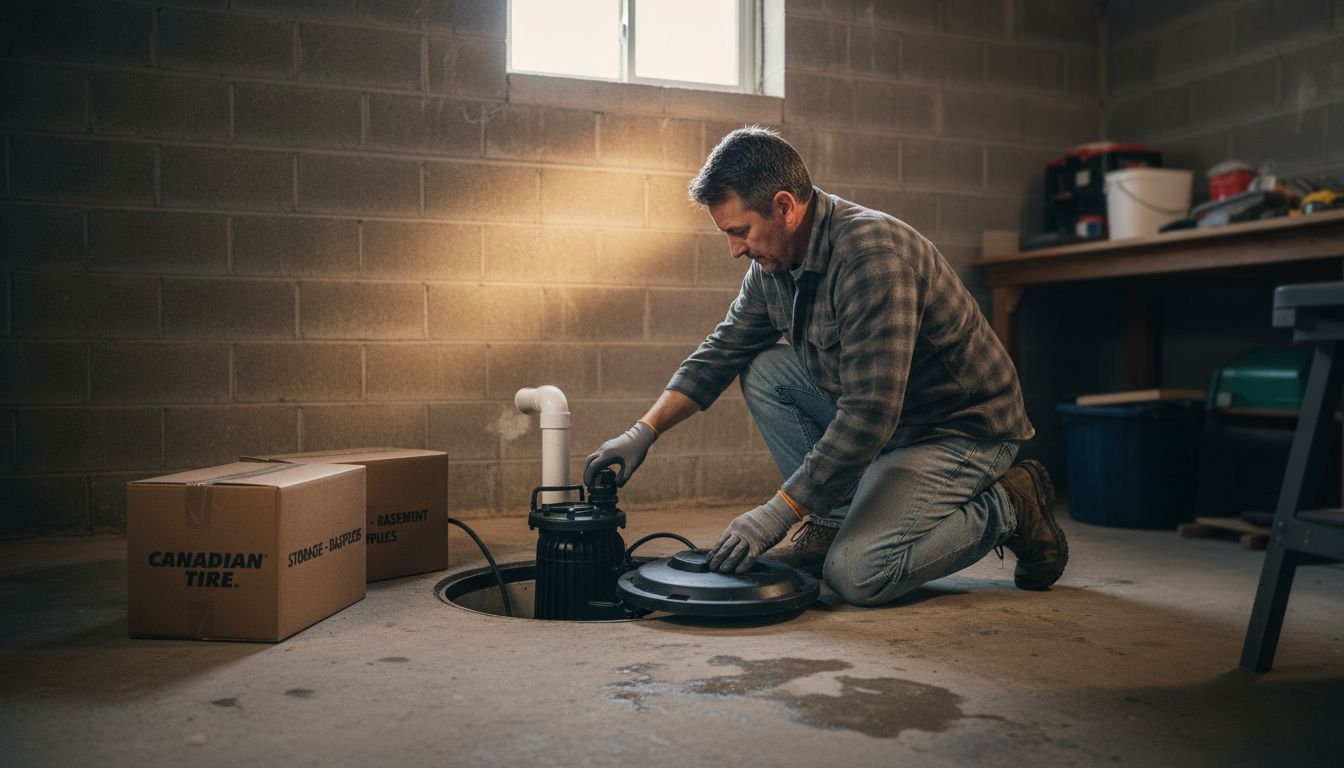
Start by clearing the area around your sump pump basin. Remove boxes, stored items, tools, or anything else cluttering the space. You need room to move safely and access the pump without tripping or knocking something over. If your basement is damp (which it often is in the Greater Toronto Area), wipe down any wet surfaces near the pump with a dry cloth. A slippery floor around your sump basin is an accident waiting to happen. Check that the floor is level and stable where you’ll be standing. If you notice water pooling or soft spots in the concrete, address that before proceeding. According to workplace safety guidelines, maintaining a clean and dry work area is one of the most basic yet effective ways to prevent accidents during maintenance tasks.
Next, gather your personal protective equipment before you start any work. You’ll want nitrile gloves to protect your hands from dirty water, bacteria, and any sharp edges on the pump components. Safety glasses keep splashes out of your eyes. A dust mask or respirator becomes important if you’re working in a musty basement or dealing with mold growth near the pump. Closed-toe shoes with good traction are essential, not optional. If you’re working in a confined or poorly lit basement, bring a reliable flashlight or headlamp so you can actually see what you’re doing. Poor visibility leads to mistakes and injuries.
Inspect your tools before use. This is something many homeowners skip, but it matters. Check that your wrench or adjustable spanner isn’t bent or cracked. Make sure any screwdrivers have intact handles. If you’re using a power tool like a small drill, verify the cord isn’t frayed or damaged. A defective tool can malfunction at the worst possible moment, potentially causing injury or damaging your pump. Keep your tools organized on a small workbench or clean surface near your sump basin so you’re not constantly bending down or reaching into cramped spaces to retrieve them.
Finally, ensure you have adequate lighting in your basement. Many sump pump failures go unnoticed simply because homeowners can’t see the pump clearly during their inspections. Position your light source so it illuminates the pump basin without creating shadows. If your basement is particularly dark, consider setting up a temporary work light. You should also know where your electrical panel is and understand how to turn off power to the pump if needed for safety during maintenance.
Pro tip: Keep a small bucket of clean water and paper towels near your workspace so you can rinse off your gloves and hands quickly without tracking basement water through your home.
Step 2: Inspect the sump pit and remove debris
Your sump pit is basically a collection point for groundwater, and it naturally attracts all sorts of unwanted material. Leaves, soil particles, sand, gravel, and bits of concrete can accumulate over time and interfere with your pump’s ability to do its job. This step involves looking inside the pit, identifying what shouldn’t be there, and removing it before it causes problems. The good news is this usually only takes 20 to 30 minutes, and you’ll immediately see the difference in how your pump operates.
Before you do anything, unplug your sump pump from the electrical outlet. This is non-negotiable. You never want to inspect the pit with the pump powered on because you could accidentally touch moving parts or create an electrical hazard near water. Once the pump is unplugged, remove the sump lid or cover. If it’s stuck, don’t force it. Use a flathead screwdriver to gently pry one edge up, then work your way around. Basements in the Greater Toronto Area are often humid, and lids can stick from moisture and rust buildup. Take your time here. Now shine your flashlight into the pit and look carefully at what’s inside. You’re looking for leaves, twigs, dirt, sand, gravel, or any other debris that has settled at the bottom. This debris is what prevents proper water flow and forces your pump to work harder than it needs to. According to maintenance guidelines, sediment and debris buildup is one of the most common reasons sump pumps fail prematurely.
Start removing debris using a small handheld scoop, a net, or even a slotted spoon. Scoop out visible debris and place it in a bucket. Work carefully around the pump intake, which is the opening where water enters the pump. Be gentle and avoid scratching or damaging any part of the pump itself. If debris is compacted or stuck to the bottom, use a soft brush or old toothbrush to loosen it before scooping. Once you’ve removed the larger pieces, use a wet/dry shop vacuum to clean out finer sediment and remaining particles. This is where a vacuum really shines, as it can extract material that a scoop would miss. Keep the vacuum nozzle away from the pump intake to avoid accidentally damaging internal components. After you’ve cleaned thoroughly, visually inspect the pit again. You should see mostly just water and the pump sitting at the bottom, not a layer of sediment or loose debris. This is the goal.

If you notice an unusually thick layer of sediment or debris, this tells you something important. It could mean your downspouts are draining directly into the pit without proper filtration, or water is entering from sources other than groundwater. Take a mental note to investigate further once you’ve finished this step. A clear, clean pit is what you want, as it allows your pump to operate efficiently and reduces the risk of clogs or malfunctions. Once you’re satisfied with the pit’s condition, replace the sump lid securely and plug your pump back in.
Pro tip: Take a photo of your clean sump pit with your phone, then compare it to photos you take during future inspections; this visual record makes it easy to spot when debris is accumulating and helps you plan cleaning more effectively.
Step 3: Test the sump pump operation and float
Now that your pit is clean, it’s time to verify that your sump pump actually works when you need it most. Testing your pump regularly catches problems before heavy rain arrives and leaves you with a flooded basement. This step takes about 10 to 15 minutes and gives you confidence that your system is ready for the next storm. Many homeowners skip this part, but testing is what separates those who stay dry from those who don’t.
Start by checking the discharge pipe, which is the pipe that carries water out of your sump pit to the exterior of your home or to your storm drain. Make sure this pipe is clear and unobstructed. Walk outside and look at where the discharge outlet ends. There should be nothing blocking it, no debris covering the opening, and no ice or snow restricting flow during winter months. If the discharge pipe is blocked, your pump will run but water will back up into the pit. Back inside, look at the float switch, which is the device that triggers your pump to turn on and off. It usually looks like a ball or bulb attached to an arm, and it floats on the water surface. Move the float gently by hand to make sure it moves freely without sticking. If it feels stuck or doesn’t move smoothly, this is a red flag that needs attention. A stuck float means your pump might not activate when water levels rise.
Now plug your pump back in and carefully pour water into the sump pit using a bucket. Fill it slowly and watch what happens. As the water level rises, the float should rise with it. When the water reaches the activation point, your pump should turn on and begin running. You should hear it humming or running smoothly. Listen for any unusual noises like grinding, squealing, or rattling, which could indicate wear or damage to internal components. Let the pump run for a few seconds to make sure water is actually flowing out through the discharge pipe. Then stop adding water and let the pump drain the pit. The float should descend as the water level drops, and the pump should shut off automatically at the cutoff point. Repeat this test two or three times to confirm the pump consistently activates and deactivates at the correct levels. Each cycle should be smooth and quiet.
If your pump fails to activate when the float rises, or if it makes unusual noises, unplug it immediately and investigate further. You might have a problem with the electrical connection, the float mechanism, or the pump itself. If everything runs smoothly, congratulations. Your sump pump is working correctly and ready to protect your home during heavy rainfall. This kind of regular testing is exactly what prevents sump pump failure during the intense storms that Greater Toronto Area homeowners experience in spring and summer.
Pro tip: Keep a record of your test dates and results in a simple notebook or phone notes app; documenting that your pump works consistently gives you peace of mind and helps you spot trends if performance changes over time.
Step 4: Clean the discharge line and vent holes
Your sump pump’s discharge line is like the exit route in a theatre. If it gets blocked, everything backs up regardless of how well the pump itself works. Vent holes in the discharge line also need attention because they allow air pressure to equalise and prevent vacuum buildup. This step protects your pump from unnecessary strain and ensures water actually leaves your basement instead of recirculating. You’ll spend about 15 to 20 minutes on this task, and it’s one of the most overlooked maintenance steps that makes the biggest difference.
First, unplug your sump pump again. You’re going to be working with the discharge line, and you want zero risk of accidental activation. Locate where the discharge line exits your home, typically on an exterior foundation wall or through a basement window well. Follow the line from the pump outlet all the way to where it ends outside. This line might be PVC pipe, flexible plastic tubing, or rigid metal depending on your installation. Look for obvious blockages like leaves, dirt, or debris packed into the pipe opening. If you see anything blocking the outlet, remove it carefully by hand or with needle-nose pliers. Don’t just assume the line is clear because it looks okay from the outside. Blockages can happen inside the pipe where you cannot see them. Unscrew or disconnect the discharge line from the pump outlet if you can do so safely. Some systems make this easy with quick disconnect fittings, while others use threaded connections that require a wrench. If you’re uncomfortable disconnecting anything, skip this part and move on to checking the vent holes.
If you do disconnect the line, look inside the opening at the pump outlet. You might see debris or buildup restricting flow. Use a straightened wire coat hanger or plumbing snake to gently push through the discharge line to dislodge any blockages. Work slowly and carefully to avoid damaging the interior of the pipe. Reconnect the line securely when you’re finished. Now locate the vent holes, which are small openings typically found along the discharge line, usually near where it attaches to the pump or at high points in the line. These holes allow air to escape as water flows through, preventing pressure buildup. They’re often just quarter inch diameter holes, so they can get clogged with dust or debris. Use a straightened paperclip or thin wire to poke through each vent hole, clearing away any blockage. If vent holes are seriously clogged or crushed closed, you might need to drill them out or replace that section of pipe. Before you plug the pump back in, pour a bucket of water slowly into the pit and watch the discharge line. Water should flow smoothly out the exterior outlet without backing up or spraying from unexpected places. If water seems sluggish or doesn’t exit properly, you have a remaining blockage that needs attention.
Clean discharge lines and open vent holes are fundamental to pump longevity. When these pathways are clear, your pump operates efficiently and doesn’t labour unnecessarily during heavy rainfall. Greater Toronto Area homeowners who maintain these components consistently experience fewer sump pump failures and avoid costly emergency repairs during storm season.
Pro tip: Install a screen or grate over your exterior discharge outlet to prevent leaves and debris from entering the line, and check it monthly during autumn and after heavy winds.
Step 5: Verify proper operation and monitor performance
Maintenance doesn’t end once you’ve cleaned and tested your pump. The real work is ongoing monitoring to catch problems early before they become expensive failures. This step teaches you what to listen for, what to watch for, and how often to pay attention to your sump pump’s behaviour. Think of it as becoming familiar with your pump’s personality so you can spot when something feels off.
Start by establishing a baseline of what normal sounds like. When your pump runs, it should produce a steady humming sound without grinding, squealing, or rattling. Run your pump through a test cycle again and pay close attention to the noise it makes. This becomes your reference point. Over the coming weeks and months, listen during natural pump activation when it rains or groundwater levels rise. If you ever hear grinding, that suggests internal wear or debris caught in the impeller. Squealing or high-pitched noises often indicate bearing problems. Rattling or vibration means something loose inside or outside the pump needs attention. These sounds are your pump’s way of telling you something is wrong before it completely fails. Also pay attention to how often your pump cycles on and off. On a normal day without rainfall, your pump might cycle once every few hours or even just once daily, depending on groundwater levels in your area. If your pump suddenly starts cycling every 5 or 10 minutes, that’s a red flag. Rapid cycling suggests a float switch problem, a leak in the discharge line, or water entering the pit faster than normal. In the Greater Toronto Area, excessive cycling can happen during spring snowmelt or after heavy rain, but it shouldn’t persist during dry periods.
Check your sump pit regularly, ideally once a month. Remove the lid and look inside. The pit should be relatively dry under normal conditions, with just a small amount of standing water at the very bottom. If you see water constantly high or accumulating faster than before, investigate why. This could indicate heavy groundwater pressure, exterior water infiltration, or a drainage problem that needs professional attention. Keep an eye on the discharge line outlet outside your home, especially after rain. Water should flow freely out of the outlet. If you notice water pooling near the outlet or backing up instead of flowing away, something is restricting discharge. Check that the outlet hasn’t been blocked by ice, snow, leaves, or dirt since you last cleaned it. Document what you observe. Write down test dates, what the pump sounded like, how often it cycled, and any changes you noticed. This record helps you spot trends. Maybe your pump cycled more frequently this month than last month, suggesting groundwater levels are rising. Or maybe you’re noticing a new rattling sound that wasn’t there before. These patterns tell you whether something needs immediate attention or if it’s just seasonal variation.
If you detect any concerning symptoms, don’t wait. Unusual noises, excessive cycling, or a constantly high water level in the pit warrant professional inspection. DrainWorks Plumbing offers sump pump inspections and can identify problems that homeowners might miss. The cost of a professional inspection is far less than the cost of water damage from a failed pump. Regular monitoring combined with annual or semi-annual professional maintenance keeps your sump pump running reliably year after year.
Here’s a summary of common sump pump problems and what they may indicate:
| Symptom | Possible Cause | Suggested Action |
|---|---|---|
| Pump grinding noise | Internal wear, debris stuck | Inspect impeller, clean or repair |
| Squealing/high-pitched | Bearing problems | Check pump bearings, service pump |
| Rattling or vibration | Loose parts, mounting issues | Tighten fittings, inspect housing |
| Rapid cycling | Float switch, water ingress | Test float, check discharge line |
| Water not discharging | Blocked outlet or line | Clean discharge pipe, verify exit |
| Constantly high water | Excess groundwater, drainage | Seek professional assessment |
Pro tip: Set a phone reminder to check your sump pit on the same day each month, then spend just 5 minutes listening to the pump and observing conditions; this consistent habit catches problems early and keeps your system healthy.
For quick reference, here’s how often each sump pump maintenance step should be performed:
| Maintenance Task | Recommended Frequency | Why It Matters |
|---|---|---|
| Clean sump pit and remove debris | Every 6-12 months | Prevents clogs, extends lifespan |
| Test pump and float operation | Every 1-2 months | Ensures reliable activation |
| Check discharge line and vent | Every 3-6 months | Avoids backups and flooding |
| Inspect for unusual noises | During every pump cycle | Detects issues before failure |
Keep Your Home Flood-Free with Expert Sump Pump Support
Maintaining a sump pump is essential to prevent costly basement flooding and unexpected water damage, especially in the Greater Toronto Area where heavy rains and groundwater pose real risks. If you find yourself worried about blocked discharge lines , debris buildup , or a malfunctioning float switch after following the maintenance steps from the article, DrainWorks Plumbing is here to help. With over 30 years of trusted experience, our licensed and insured technicians understand the importance of a reliable sump pump system that protects your home year-round.

Don’t wait until water starts seeping in or your pump fails during the next storm. Act now to ensure your sump pump operates smoothly by scheduling a professional inspection or service with DrainWorks Plumbing. We provide clear up-front pricing with no hidden fees and employ full-time non-commissioned experts devoted to your peace of mind. Learn more about our residential plumbing services and how we can help you maintain a dry, safe home. Visit DrainWorks Plumbing today to book your sump pump check-up and secure your home against flooding threats.
Frequently Asked Questions
How often should I clean the sump pit and remove debris?
To maintain your sump pump effectively, clean the sump pit and remove debris every 6 to 12 months. This prevents clogs and ensures proper water flow, helping your pump last longer.
How can I test the function of my sump pump?
To test your sump pump’s function, unplug it, then pour water into the sump pit until the float rises. The pump should activate as the water level rises and turn off once the water drains; repeat this test two to three times to confirm consistent operation.
What should I look for when checking the discharge line?
When checking the discharge line, ensure it is clear of blockages like leaves or dirt and that the vent holes are not clogged. Disconnect the line safely if possible and use a coat hanger or wire to dislodge any internal obstructions, promoting smooth water flow.
How can I monitor the performance of my sump pump?
Monitor your sump pump’s performance by listening for steady humming during operation and checking the frequency of its cycling. If you notice unusual sounds or increased cycling, investigate the issue immediately to prevent failure.
What common issues should I be aware of when maintaining my sump pump?
Be aware of symptoms like grinding noises, rapid cycling, or stagnant water in the pit, as these can indicate potential problems. Document your observations regularly to spot trends and schedule a professional inspection if you notice consistent issues.
How can I simplify the sump pump maintenance process?
Simplify your sump pump maintenance by setting a monthly reminder to check the sump pit and listening to the pump during natural activation. This consistent habit helps catch early signs of problems, keeping your system healthy.
Recommended