
How to Check for Leaks in Your Home Plumbing System
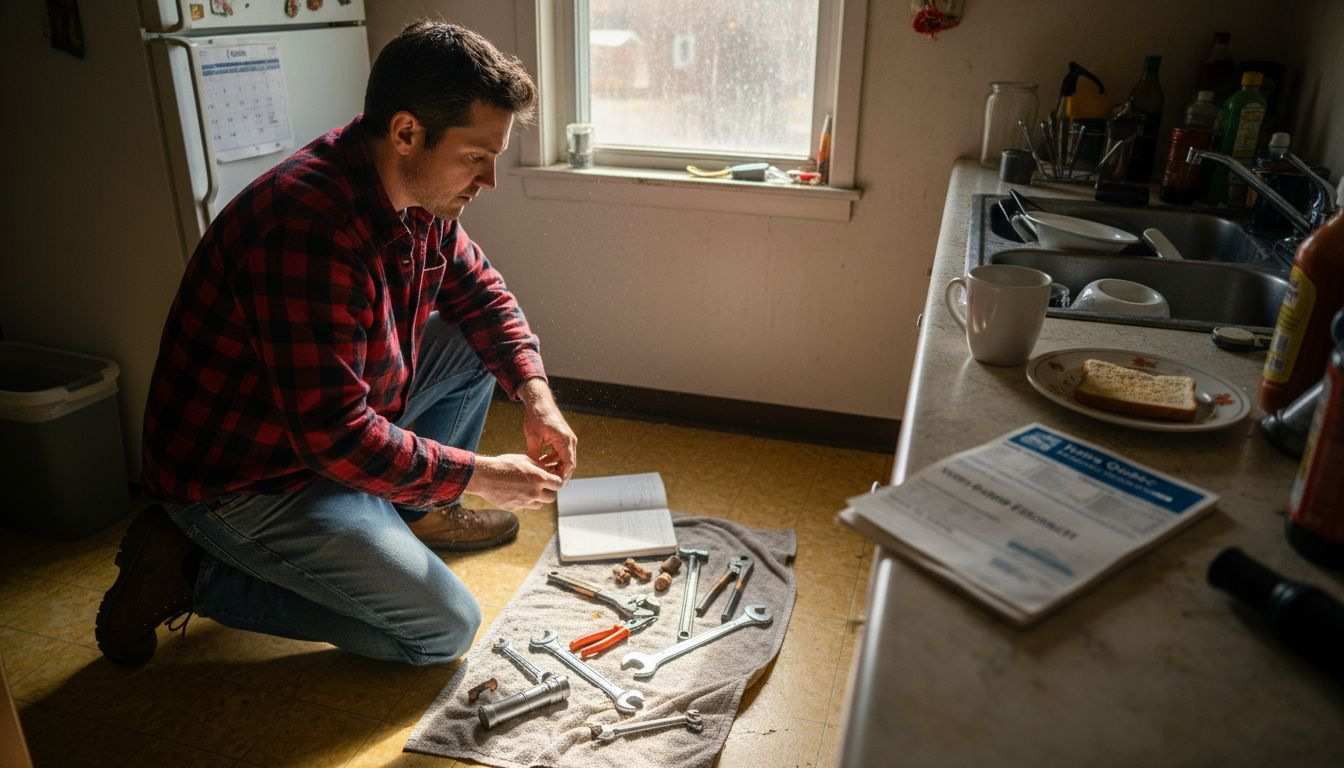
A small drip under the sink or a silent leak in the basement can quietly threaten your Toronto home’s comfort and safety. Plumbing leaks are more than just annoying—they can silently drive up your utility bills and put your home at risk for hidden water damage. By preparing your home and gathering a few basic tools, you can take charge of leak detection, spot potential problems early, and protect your investment for the long run. For many homeowners, a little preparation now means peace of mind all year.
Table of Contents
- Step 1: Prepare Your Home And Gather Essentials
- Step 2: Inspect Visible Plumbing Fixtures And Areas
- Step 3: Test For Hidden Leaks In Walls And Ceilings
- Step 4: Check Water Meter And Monitor Usage
- Step 5: Confirm And Address Detected Leaks
Quick Summary
| Key Point | Explanation |
|---|---|
| 1. Gather essential leak detection tools | Collect items like a flashlight, utility bill, and food colouring to accurately inspect for leaks. |
| 2. Inspect visible plumbing fixtures | Check all faucets and connections for signs of drips or leaks to catch issues early. |
| 3. Monitor your water meter regularly | Record water meter readings to identify unusual consumption that may indicate leaks. |
| 4. Address leaks promptly | Repair detected leaks immediately to prevent further damage and high water bills. |
| 5. Maintain a detailed repair log | Document all repairs and inspections to track your plumbing maintenance over time. |
Step 1: Prepare your home and gather essentials
Detecting plumbing leaks requires careful preparation and a few basic tools. In this section, youll learn how to set up your home for an effective leak investigation that can save you significant water and money.
Start by gathering essential items for your leak detection mission. Youll need your recent utility bill to compare water usage, a flashlight for examining dark spaces, a screwdriver to access your water meter, and some food colouring for testing toilet leaks. Make sure to locate your water meter first. In most Toronto homes, this is typically situated near the curb or inside the basement. Before beginning your investigation, turn off all water sources in your home to ensure accurate readings.
Your water meter will be your primary diagnostic tool. Take an initial reading when all water sources are completely off. Wait about 15 minutes without using any water and then check the meter again. Any movement in the meter reading indicates a potential leak somewhere in your plumbing system. Carefully record these initial measurements to track potential water loss.
Pro Tip : Keep a dedicated notebook or digital spreadsheet specifically for tracking your home’s water meter readings and potential leak investigations to create a comprehensive maintenance record.
Here’s a summary of essential tools and their roles for leak detection:
| Tool or Material | Purpose | Where to Use |
|---|---|---|
| Recent utility bill | Compare water usage history | Meter check and investigation |
| Flashlight | Illuminate dark spaces | Under sinks, basements, ceilings |
| Screwdriver | Access water metre panel | Meter location in home |
| Food colouring | Detect toilet bowl leaks | Toilet tank and bowl |
| Moisture metre | Check for hidden moisture | Walls and ceilings |
Step 2: Inspect visible plumbing fixtures and areas
Now that youve prepared your leak detection tools, its time to conduct a thorough visual inspection of your home’s plumbing system. This critical step will help you identify potential water leaks before they become costly repairs.
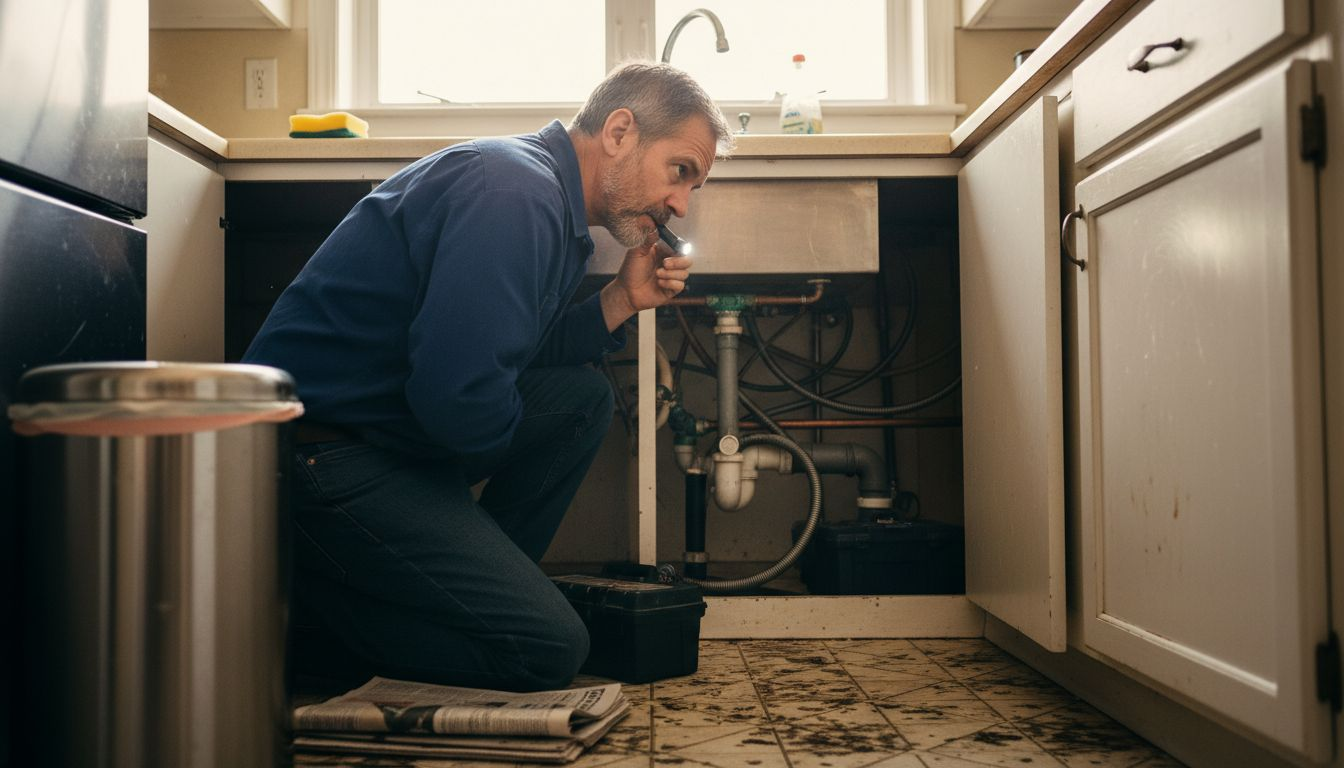
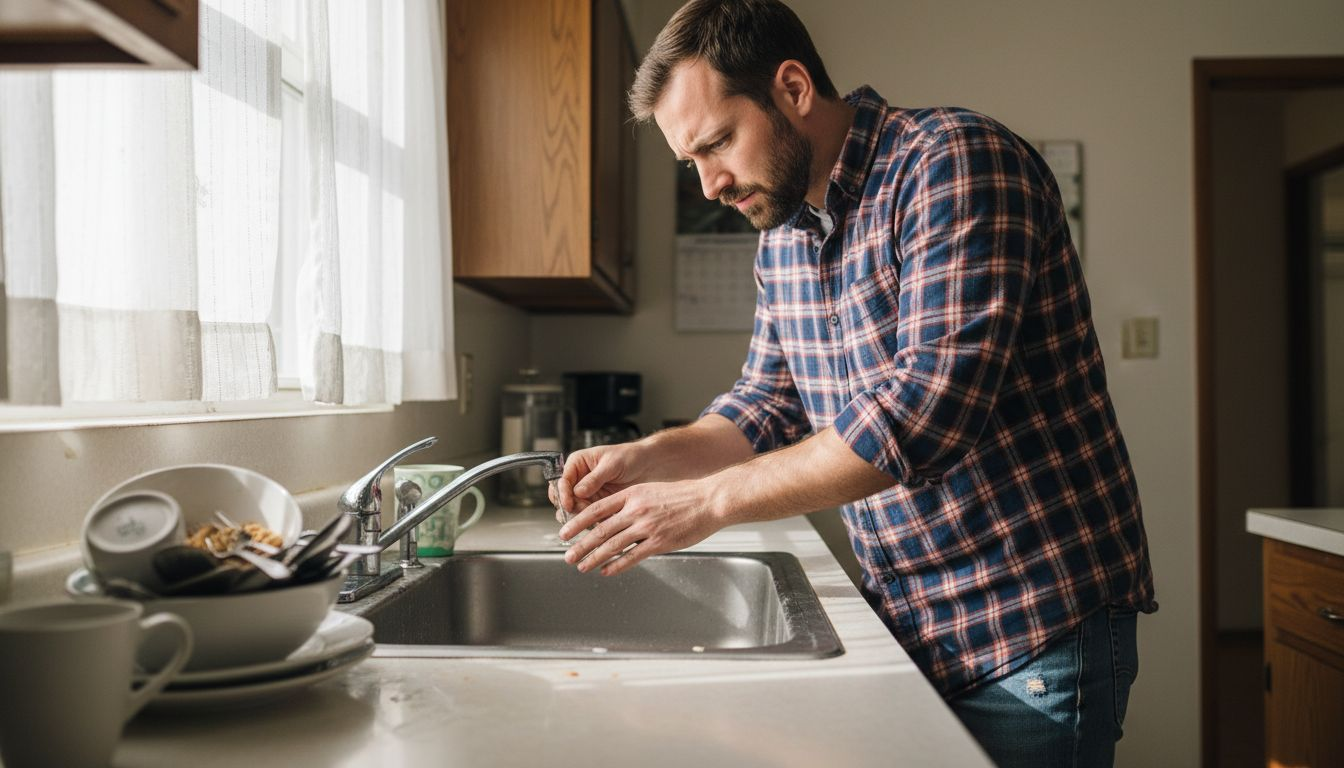
Start by examining all visible plumbing fixtures systematically. Check faucets in your kitchen, bathroom, and utility areas for any signs of dripping or water accumulation. Look closely at connections under sinks, watching for moisture, water stains, or mineral buildup that might indicate a slow leak. Pay special attention to toilet bases and toilet connections where water can often pool unnoticed. For toilets, look for signs of water movement in the bowl without flushing, which could indicate a faulty flapper or seal.

Move through your home methodically, inspecting areas like basement pipes, exposed plumbing in utility rooms, and around water heaters. Check for discolouration on walls, warped flooring, or soft spots that might suggest hidden moisture. Irrigation systems and outdoor hose bibs are also critical inspection points especially after winter when pipes might have experienced stress.
Pro Tip : Use a flashlight and dry paper towels during your inspection to help highlight subtle moisture signs that might be invisible to the naked eye.
Step 3: Test for hidden leaks in walls and ceilings
Detecting hidden leaks requires careful investigation beyond visible surfaces. This critical step helps you uncover potential water damage lurking inside your home’s walls and ceilings before they become expensive repairs.
Begin by carefully examining your walls and ceilings for telltale signs of moisture intrusion. Look for discolouration, dark spots, peeling paint, or unusual staining that might indicate water movement. Pay special attention to areas near plumbing fixtures, around windows, and along exterior walls where moisture can accumulate. Insulation and moisture barriers play a crucial role in preventing water damage, so check these areas thoroughly.
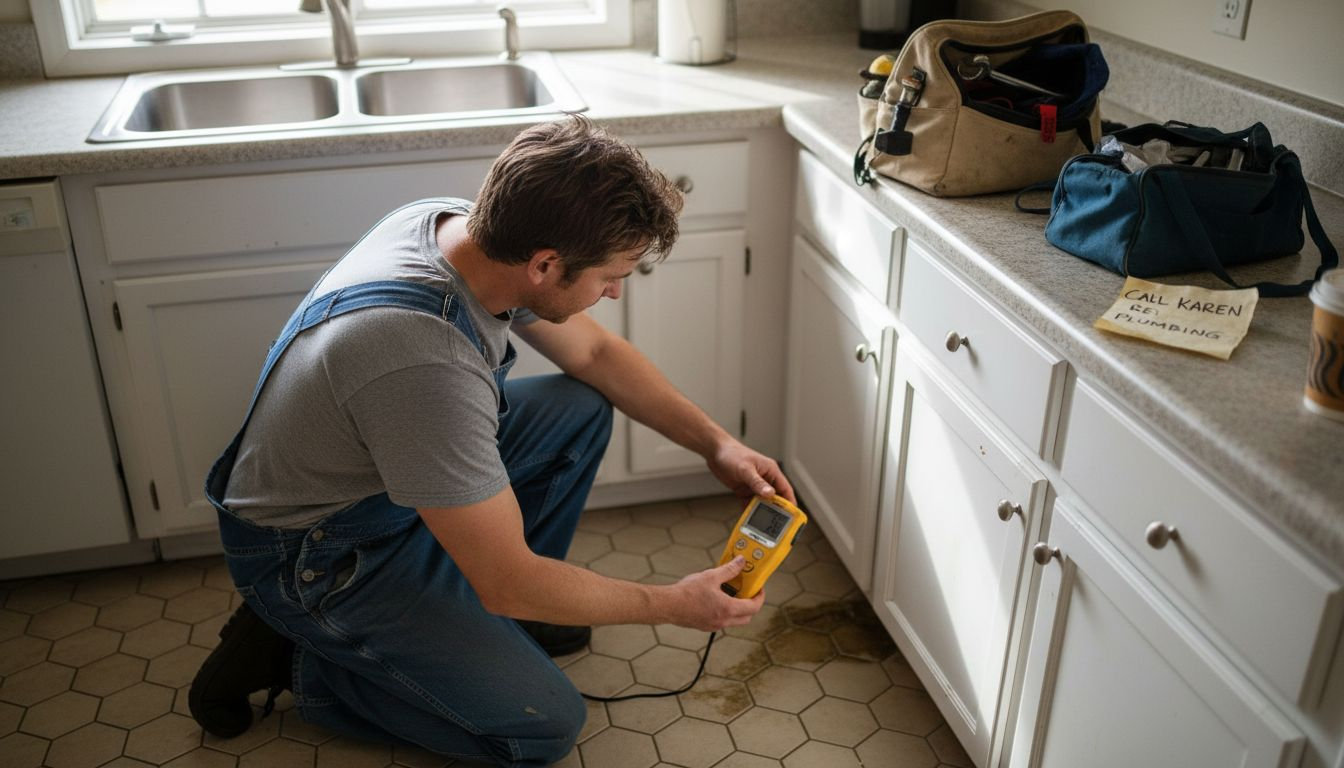
To test for hidden leaks, perform a simple moisture detection technique. Use a moisture metre or even a clean paper towel pressed against suspicious areas. Soft or spongy wall sections, unexplained musty odours, and persistent coolness in specific wall areas can signal hidden water infiltration. In winter, watch for unusual ice formations on exterior walls or icicles that might suggest internal moisture problems. If you notice significant signs of potential leakage, consider hiring a professional for a comprehensive infrared imaging assessment.
Pro Tip : Keep a detailed photographic record of any suspicious areas you discover during your inspection to track changes and provide evidence for potential professional assessments.
Step 4: Check water meter and monitor usage
Monitoring your water metre is a critical step in detecting and preventing potential leaks in your home plumbing system. This process helps you track water consumption and identify unusual usage patterns that might indicate hidden problems.
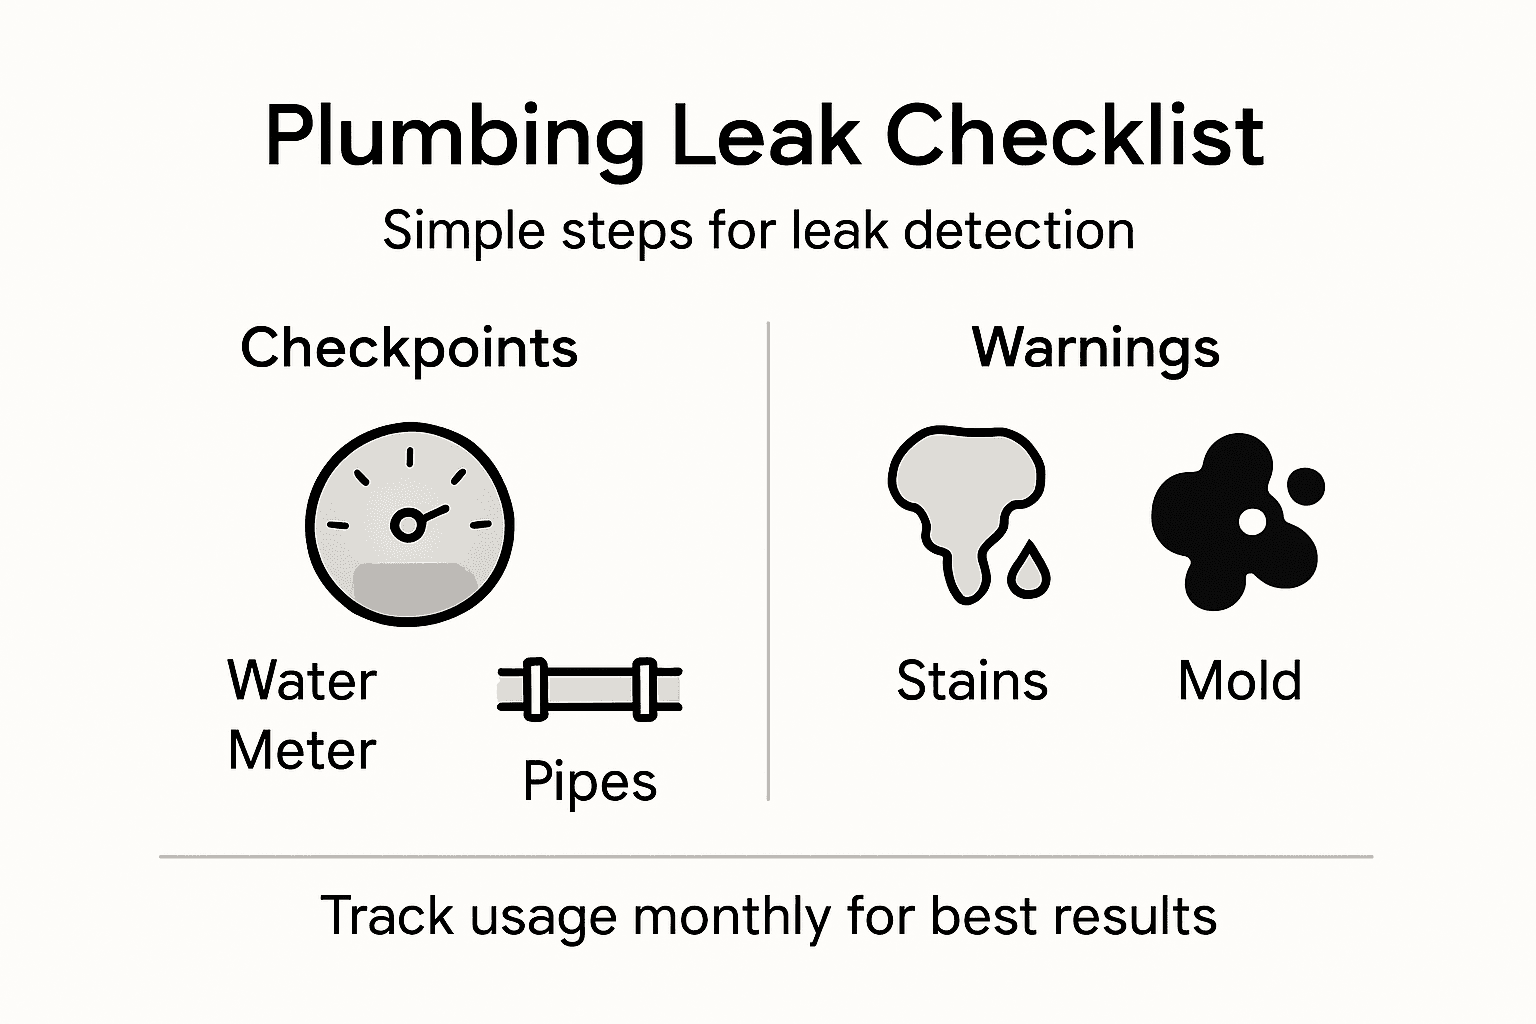
Locate your water metre typically near the main water connection or shut-off valve. Most Canadian homes have metres situated in basements, crawl spaces, or near the property line. Take initial readings when all water sources are completely off. Write down the current numbers and track usage with a smart water monitoring tool to help identify unexpected fluctuations. Compare your current reading with previous utility bills to spot any significant discrepancies that might suggest an undetected leak.
For a comprehensive leak check, perform a simple metre test. Turn off all water sources in your home and record the metre reading. Wait 15 to 20 minutes without using any water. Check the metre again. If the numbers have changed, you likely have a leak somewhere in your plumbing system. Regular monitoring can help you catch small leaks before they become expensive repairs and prevent potential water damage to your home.
Pro Tip : Create a monthly spreadsheet to log your water metre readings and compare them systematically to quickly identify any unusual consumption patterns.
Step 5: Confirm and address detected leaks
Once youve identified potential leaks in your home plumbing system, its crucial to take immediate action to prevent water damage and reduce unnecessary water waste. This step will help you systematically confirm and repair the detected issues.
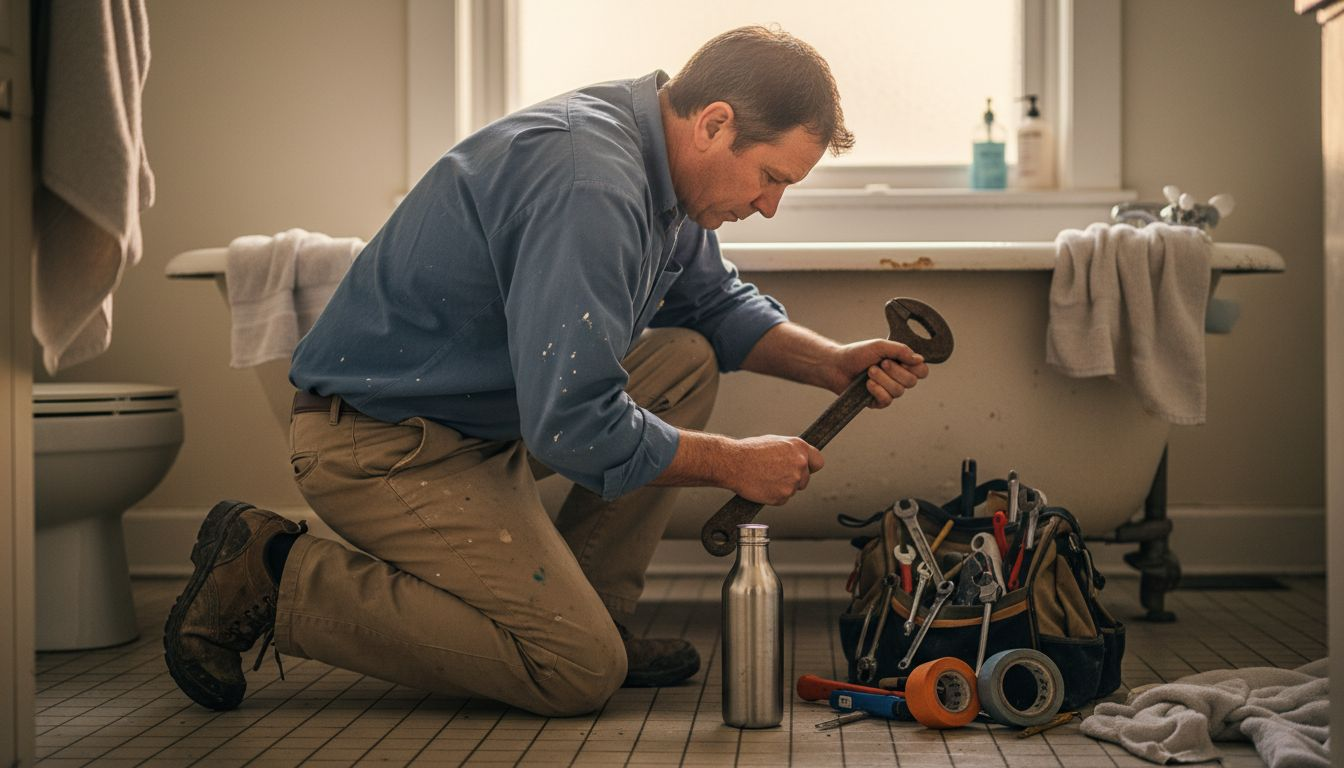
Start by carefully examining the specific areas where you suspect leaks. For toilets, check the flapper and seal for signs of wear. Replacing worn toilet components can often resolve minor leakage problems. Faucet leaks typically require replacing worn washers or damaged seals. Use adjustable wrenches and plumbing tape to ensure tight connections. Pay special attention to pipe joints, connection points, and areas around fixtures where water might be seeping through.
If your initial investigations reveal complex or extensive leakage, its time to consider professional intervention. Some leaks hidden within walls or underground may require specialized equipment and expertise to diagnose and repair effectively. Persistent leaks can cause significant structural damage if left unaddressed, potentially leading to mould growth, wood rot, and compromised building foundations. While some minor repairs are manageable for DIY enthusiasts, larger issues demand professional assessment to prevent costly long term damage.
Pro Tip : Keep a detailed repair log documenting each leak location, repair method, and date to help track your homes plumbing maintenance history.
Below is a quick guide comparing DIY versus professional leak repairs:
| Factor | DIY Repair | Professional Repair |
|---|---|---|
| Cost | Lower initial cost | Higher, but expert service |
| Complexity | Suitable for simple fixes | Required for hidden or extensive leaks |
| Time commitment | Quick for minor issues | Longer for complex diagnostics |
| Result reliability | May require repeat effort | Comprehensive, long-lasting solutions |
Take Control of Your Home Plumbing Leaks Today
Leaks in your home plumbing system can lead to costly water waste and serious damage if left unchecked. From hidden leaks inside walls and ceilings to slow drips around toilets and faucets, this article highlights the essential steps to identify and confirm these issues early. At DrainWorks Plumbing, we understand how frustrating and overwhelming leak problems can become. Our expert team has over 30 years of experience serving Toronto homeowners with reliable leak detection and repair solutions tailored to your needs.

Don’t wait for water damage to escalate. Whether you need help with general leak repairs, toilet component replacements, or a comprehensive plumbing inspection, our licensed and insured technicians provide clear up-front pricing and trusted service. Experience the peace of mind that comes from hiring Toronto’s best plumbers, recognized by HomeStars and Toronto Life Magazine. Visit DrainWorks Plumbing now and schedule your leak assessment. Take the first step towards protecting your home from hidden leaks and costly repairs.
Frequently Asked Questions
How can I detect leaks in my home plumbing system?
You can detect leaks by conducting a thorough visual inspection of all visible plumbing fixtures and areas, such as faucets, toilet connections, and pipe joints. Use a flashlight to spot any signs of dripping or water stains, and consider turning off all water sources and checking your water meter for movement to confirm potential leaks.
What tools do I need to check for leaks in my plumbing system?
Essential tools include a recent utility bill to compare water usage, a flashlight to illuminate dark spaces, a screwdriver to access your water meter, and food colouring to test for toilet leaks. Gather these items before starting your leak detection investigation to ensure a comprehensive assessment.
How do I test for hidden leaks in walls and ceilings?
To test for hidden leaks, visually inspect your walls and ceilings for discolouration or water stains. Use a moisture meter or a clean paper towel pressed against suspicious areas to identify hidden moisture, and pay attention to any unusual sounds or musty odours.
What should I do if I find a leak in my plumbing system?
If you find a leak, start by confirming the exact source, such as checking toilet seals or faucet connections. Address minor leaks by replacing worn components or tight-fitting joints, but consider hiring a professional for extensive issues to prevent further damage.
How often should I check my water meter for leaks?
It’s recommended to check your water meter at least once a month to monitor for unusual consumption patterns. Turn off all water sources and record the meter reading, then check again after 15-20 minutes; any change indicates a potential leak that should be investigated.
What are the signs of a plumbing leak I should look out for?
Signs of a plumbing leak include discolouration on walls, bubbling or peeling paint, warped flooring, or unusual moisture odors. Regularly inspect high-risk areas like under sinks or around appliances, as these can often show the first signs of trouble.
Recommended