
How to Detect Leaks in Your Home: Step-by-Step Guide
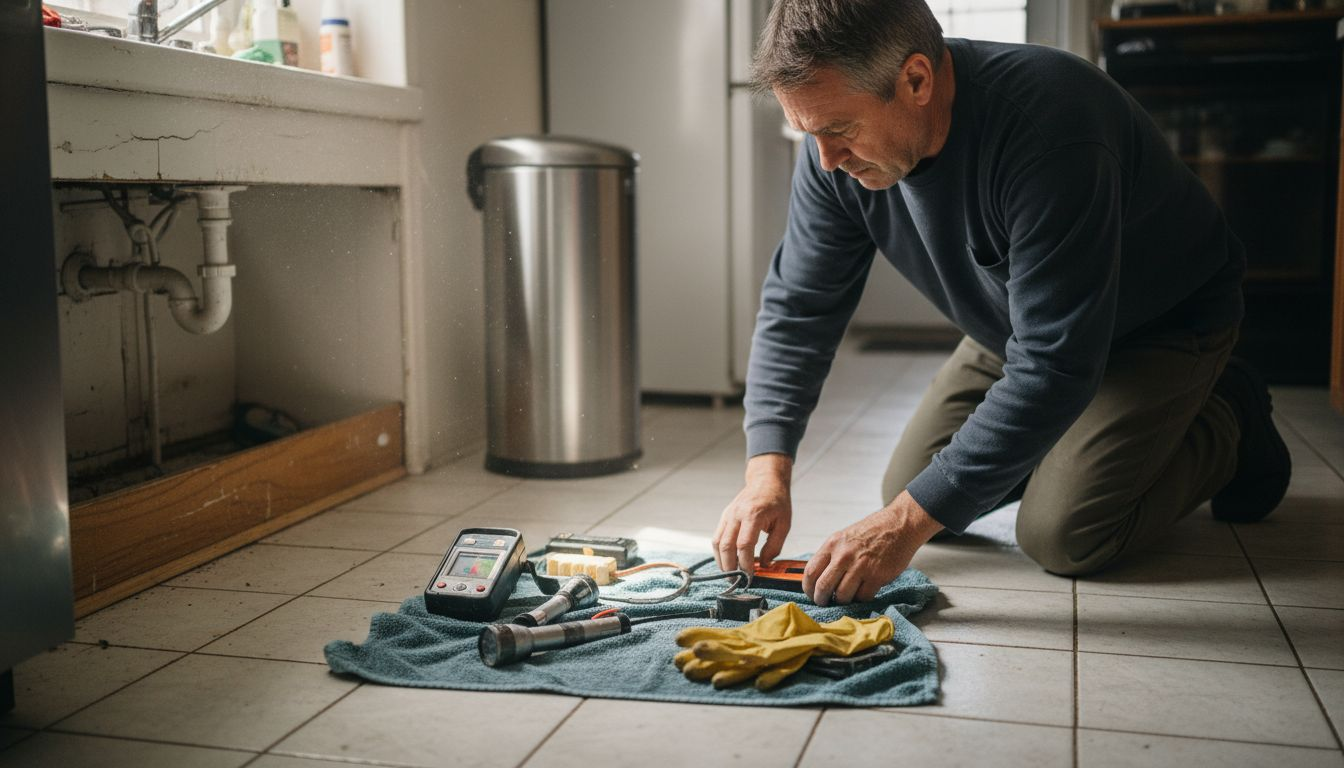
Water leaks are one of the most common headaches for Canadian homeowners, with up to 20 percent of homes experiencing hidden plumbing issues each year . Living in Toronto and the GTA means property repairs can quickly get costly if water damage goes undetected. Understanding what tools you need for leak detection and acting fast will help keep your home safe, dry, and free from unexpected repair bills.
Table of Contents
- Step 1: Gather Essential Leak Detection Tools
- Step 2: Inspect Visible Plumbing Fixtures And Fittings
- Step 3: Check Walls, Ceilings, And Floors For Moisture
- Step 4: Test Water Meter And Observe Usage Changes
- Step 5: Verify And Trace The Source Of Any Detected Leaks
Quick Summary
| Key Point | Explanation |
|---|---|
| 1. Assemble essential leak tools | Gather moisture metres, thermal cameras, and ultrasonic detectors for effective leak detection. |
| 2. Inspect plumbing fixtures carefully | Check all visible plumbing for water stains, rust, or pooling to identify early leak signs. |
| 3. Monitor water meter readings | Track your water meter usage to identify unexpected consumption that may indicate hidden leaks. |
| 4. Document findings thoroughly | Take photographs and notes during inspections to keep track of potential problem areas for future reference. |
| 5. Consult professionals if needed | For complex leaks or those in hard-to-reach areas, seek professional plumbing services for assessment. |
Step 1: Gather essential leak detection tools
Detecting water leaks in your home requires having the right equipment ready before problems escalate. In this section, you will learn what is available to homeowners for effective home leak investigation.
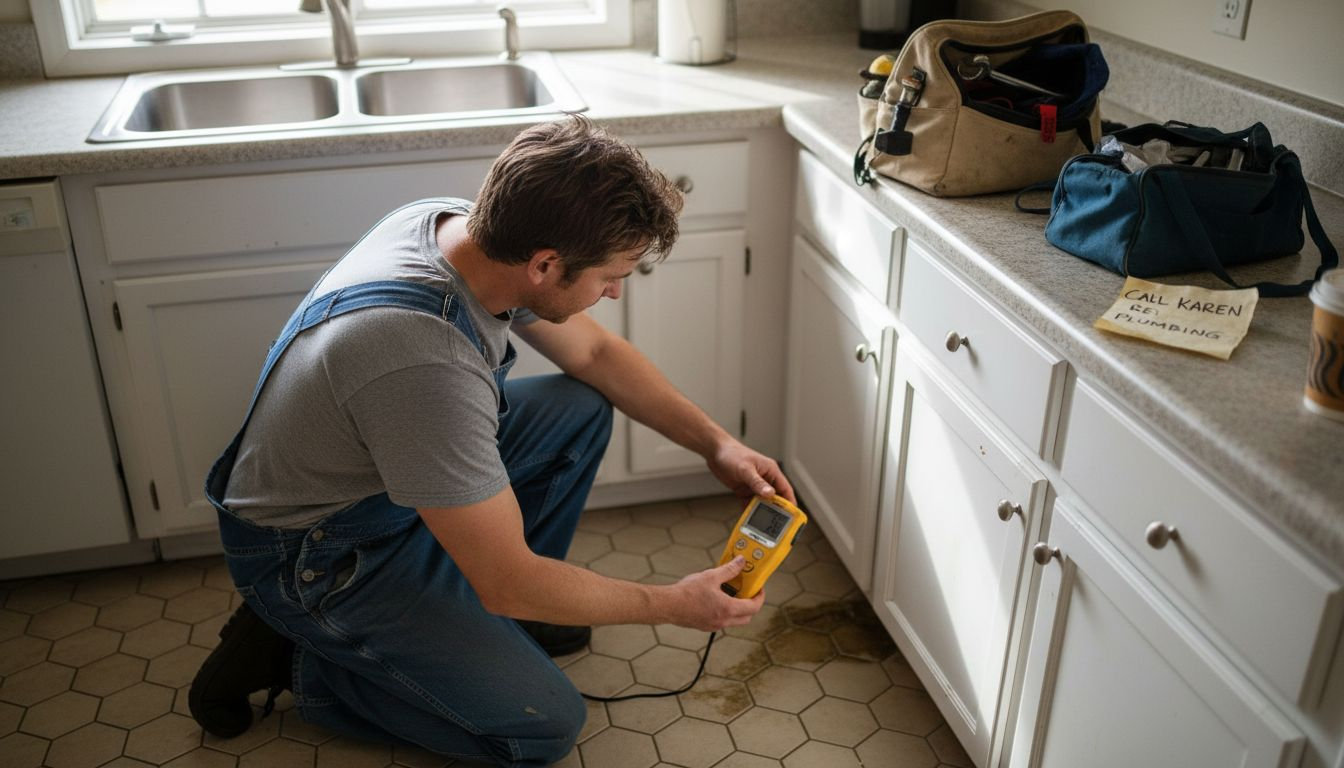
Start by assembling a comprehensive toolkit that includes moisture metres, thermal imaging cameras, and ultrasonic leak detectors. These sophisticated instruments help you pinpoint hidden water damage precisely. A reliable moisture metre will measure dampness levels in walls, floors, and ceilings using electronic sensors. Thermal cameras allow you to visualise temperature variations indicating potential water infiltration behind surfaces.
Additional critical tools include bright flashlights with adjustable beams, protective rubber gloves, a sturdy ladder for accessing hard-to-reach areas, and a digital notepad for documenting your findings. Consider purchasing a professional grade infrared thermometer which can detect subtle temperature differences that might suggest underlying moisture problems. Stanford University recommends using sensor-based thermal conductivity detectors for precise leak identification.
Here is a quick reference to professional leak detection tools and their key benefits:
| Tool Name | Main Purpose | Unique Benefit |
|---|---|---|
| Moisture metre | Measures moisture in materials | Detects hidden damp spots |
| Thermal imaging camera | Visualizes temperature differences | Locates water behind surfaces |
| Ultrasonic leak detector | Listens for sound of leaks | Pinpoints leaks not visible |
| Infrared thermometer | Identifies surface temperature changes | Spots subtle moisture areas |
| Sensor-based conductivity | Measures conductivity via sensors | Provides highly accurate results |
Quality leak detection requires patience and systematic investigation. Move methodically through different areas of your home checking surfaces, examining pipes, and recording observations. Remember that early detection can prevent extensive water damage and costly repairs.
Pro tip: Purchase tools from reputable hardware stores and consider taking a basic home inspection course to understand how to use these sophisticated leak detection instruments effectively.
Step 2: Inspect visible plumbing fixtures and fittings
Identifying potential leaks requires a thorough and systematic inspection of your home’s visible plumbing fixtures and fittings. This step will help you detect early warning signs of water damage before small issues become expensive repairs.

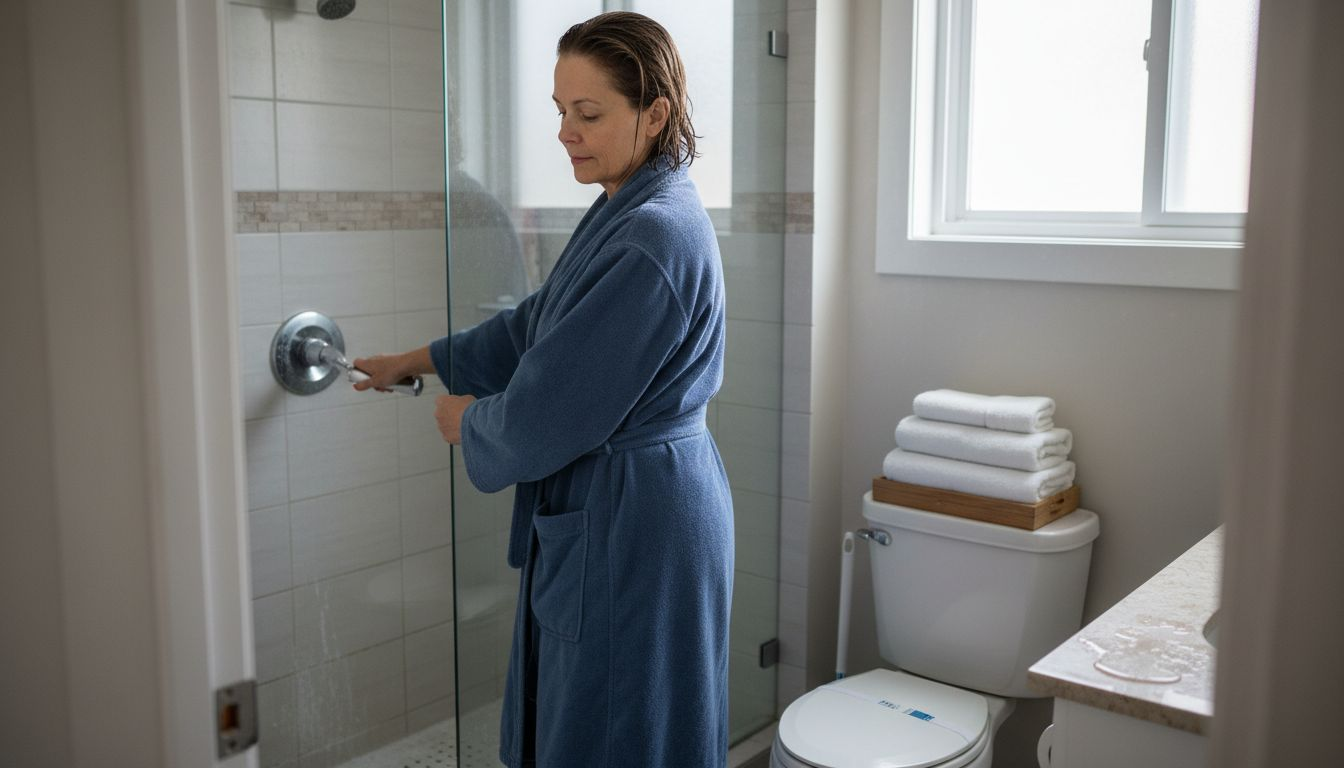
Begin by carefully examining each fixture in your home including sinks, toilets, showers, and bathtubs. Look for telltale signs of water leakage such as water stains, discoloration, rust, or mineral buildup around connections and joints. Pay close attention to pipe materials and their potential vulnerabilities which can indicate potential weak points in your plumbing system.
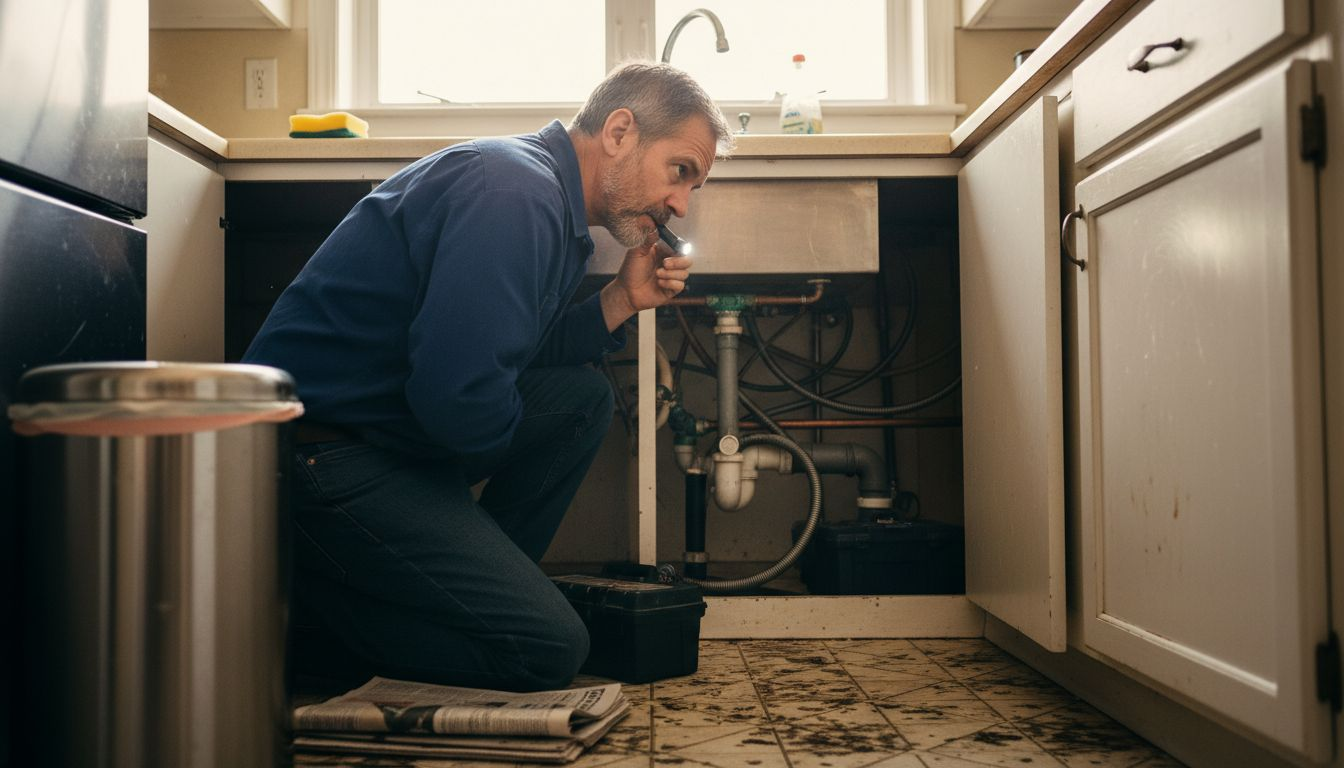
Check under sinks and around toilet bases for moisture, pooling water, or soft spots in surrounding flooring. Inspect faucet connections by running water and observing whether any droplets emerge from unexpected areas. Tighten loose nuts carefully and look for hairline cracks or corrosion in metal components. Remember that even small drips can indicate larger underlying plumbing issues that require professional assessment.
Your visual inspection should be methodical and comprehensive. Move room by room documenting any suspicious areas with photographs or notes. This systematic approach helps track potential problem spots and provides valuable information if you need professional intervention.
Pro tip: Use a bright flashlight and white paper towels when inspecting dark or tight spaces to help reveal moisture that might otherwise go unnoticed.
Step 3: Check walls, ceilings, and floors for moisture
Detecting hidden moisture in your home requires a strategic and thorough investigation of walls, ceilings, and floors. This crucial step helps you identify potential water damage before it leads to extensive and costly repairs.
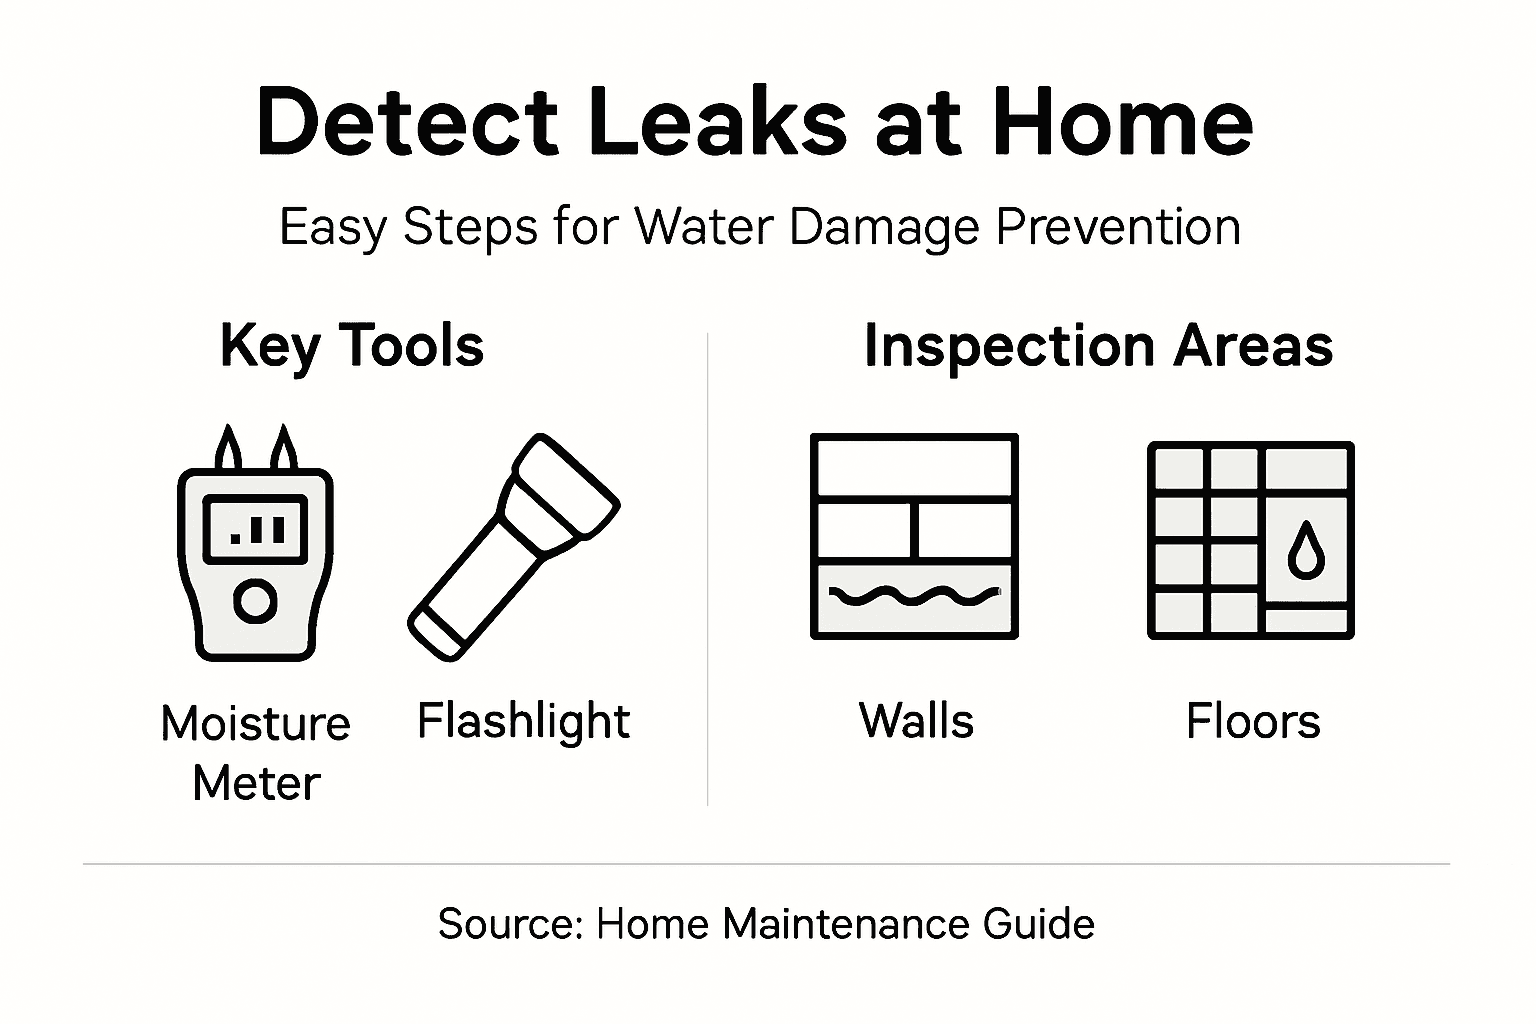
Start by carefully examining walls and ceilings for subtle signs of moisture intrusion. Look for discoloration, water stains, bubbling paint, or unusual soft spots that might indicate underlying water problems. Use a moisture meter to understand potential hidden vulnerabilities in your home’s structural components. Pay special attention to areas near plumbing fixtures, windows, and exterior walls where moisture tends to accumulate.
For floor inspections, check for warping, soft spots, or unexplained dampness particularly in basement areas, around toilets, and near kitchen and bathroom fixtures. Tap surfaces gently to detect potential water damage hidden beneath flooring materials. Run your hands along baseboards and wall edges to feel for unexpected moisture or temperature differences. Remember that some water damage can remain concealed for extended periods, potentially causing significant structural issues if left unaddressed.
Documenting your findings with clear photographs and detailed notes will help track potential problem areas and provide valuable information for future repairs or professional consultations. Systematic and patient investigation is key to protecting your home from water damage.
Below is a summary of common moisture warning signs and likely locations:
| Warning Sign | Likely Location | What It Might Mean |
|---|---|---|
| Warped flooring | Bathroom, basement | Ongoing leak under surface |
| Bubbling paint | Near windows, ceilings | Water seepage behind surfaces |
| Rust/corrosion | At pipe joints/fittings | Ageing or faulty pipe connections |
| Discoloured walls | Kitchen, laundry area | Hidden moisture from slow leaks |
Pro tip: Use a bright flashlight at an angle to help reveal subtle texture changes or moisture patterns that might be invisible under normal lighting conditions.
Step 4: Test water meter and observe usage changes
Detecting hidden water leaks in your home can be efficiently accomplished by carefully monitoring your water meter readings. This step will help you identify unexpected water consumption that might indicate an undetected leak in your plumbing system.
Begin by ensuring all water sources in your home are completely shut off. This includes turning off washing machines, dishwashers, ice makers, and closing all faucets. Carefully review your water meter’s configuration and locate the leak indicator typically found as a small triangle or rotating dial. Record the current meter reading precisely and wait approximately 15 minutes without using any water.
After the waiting period, check the meter reading again. Any movement in the meter dial or change in numbers suggests an active water leak somewhere in your home. Pay special attention to subtle movements that might indicate slow leaks in pipes, toilets, or underground connections. Consider tracking your meter readings over several days to establish a baseline and detect any unusual consumption patterns.
Maintaining a log of your water meter readings can provide valuable insights into your home’s water usage and help you catch potential leaks early. This systematic approach can save you significant money on water bills and prevent potential water damage to your property.
Pro tip: Take photographs of your meter readings to create a digital record and make tracking changes easier over time.
Step 5: Verify and trace the source of any detected leaks
Once you have identified potential water leaks through your initial investigations, the next critical step is systematically tracing and verifying the exact source of moisture intrusion. This careful process will help you understand the precise location and potential extent of water damage in your home.
Start by conducting a detailed visual inspection around the areas where you initially detected moisture or unusual water meter readings. Carefully examine the pipe materials and connections using a bright flashlight to illuminate potential problem areas. Look for signs of corrosion, small cracks, loose fittings, or mineral buildup that might indicate ongoing water leakage. Pay special attention to joints, bends, and areas where pipes connect to fixtures or pass through walls.
To confirm the leak source, use a combination of techniques such as tissue paper testing and moisture metre readings. Place dry white tissue paper or paper towels along suspected leak areas and observe for damp spots or discolouration. Use a moisture metre to quantify dampness levels in surrounding materials. For underground or concealed leaks, listen carefully for subtle sounds of running water when all fixtures are turned off or consider professional acoustic leak detection services if you cannot pinpoint the exact location.
Documenting your findings with clear photographs and detailed notes will provide valuable information for potential repairs. If the leak appears complex or is located in hard to access areas, consider consulting a professional plumbing service to perform a comprehensive assessment.
Pro tip: Create a simple sketch of your home’s plumbing layout to help systematically track and document potential leak sources during your investigation.
Protect Your Home with Expert Leak Detection and Plumbing Solutions
Detecting leaks early can save you from costly water damage and hidden structural issues. If you have noticed warped floors, bubbling paint, or unexpected changes in your water meter readings the next step is to act with confidence to pinpoint and repair leaks effectively. At DrainWorks Plumbing we understand the frustration and worry that comes with potential water damage. With over 30 years of experience serving Toronto Ontario homes we provide trusted plumbing services that go beyond detection to deliver reliable repairs and lasting peace of mind.

Don’t let small leaks become large expensive problems. Our licensed and insured technicians use advanced tools like moisture metres and thermal imaging combined with thorough inspections to identify and fix leaks quickly. Whether you need help with plumbing repairs fixture replacements or drain service our clear upfront pricing ensures no hidden fees or surprises. Visit DrainWorks Plumbing today to schedule your inspection or learn more about how we can safeguard your home. Let us help you stop leaks at the source before damage takes hold.
Frequently Asked Questions
What tools do I need to detect leaks in my home?
To effectively detect leaks in your home, you should gather essential tools like a moisture metre, thermal imaging camera, and ultrasonic leak detector. Start by assembling a comprehensive toolkit and familiarize yourself with how to use each device for optimal leak detection.
How can I inspect plumbing fixtures for potential leaks?
Begin your inspection by closely examining sinks, toilets, showers, and bathtubs for signs of leaks like water stains or rust. Document any suspicious areas and tighten any loose fittings to prevent minor issues from escalating into expensive repairs.
What signs of moisture should I look for on walls and floors?
Look for discoloration, bubbling paint, or soft spots on walls and floors as potential signs of moisture intrusion. Check areas near plumbing fixtures and document any findings to monitor for changes over time.
How do I use my water meter to detect leaks?
To detect leaks using your water meter, first ensure all water sources in your home are turned off. Record the meter reading, wait for 15 minutes, and check for any changes; if the dial moves, it indicates an active leak.
What steps should I take after detecting a potential leak?
After detecting a potential leak, conduct a detailed visual inspection of the area and use techniques like tissue paper testing to confirm the leak source. Document your findings and consider calling a professional if the leak appears complex or difficult to access.
How do I document my findings during a leak investigation?
Document your findings by taking clear photographs and jotting down detailed notes during your leak inspection. Consider creating a simple sketch of your plumbing layout to track potential leak sources systematically.
Recommended